


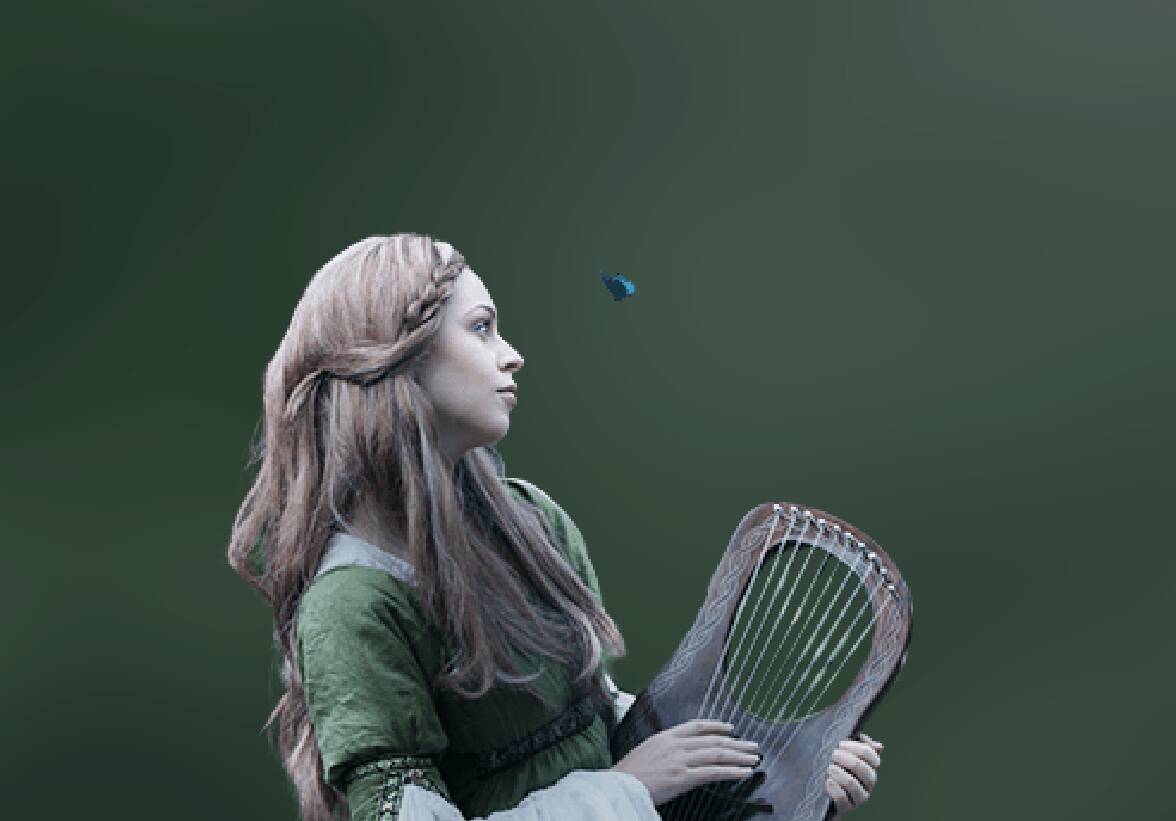
Step 27
Next we will openButterfly. After you open the image, use Lasso Tool(L) and start selecting butterfly. After the selection area has been created, simply copy (Ctrl / Cmd + C) and Paste (Ctrl / Cmd + V) it to our work canvas. Then position the image with the transform tool (Ctrl / Cmd + T). Hold Alt + Shift and resterize like image below. In Photoshop CC only hold Alt to resterize al sides together.

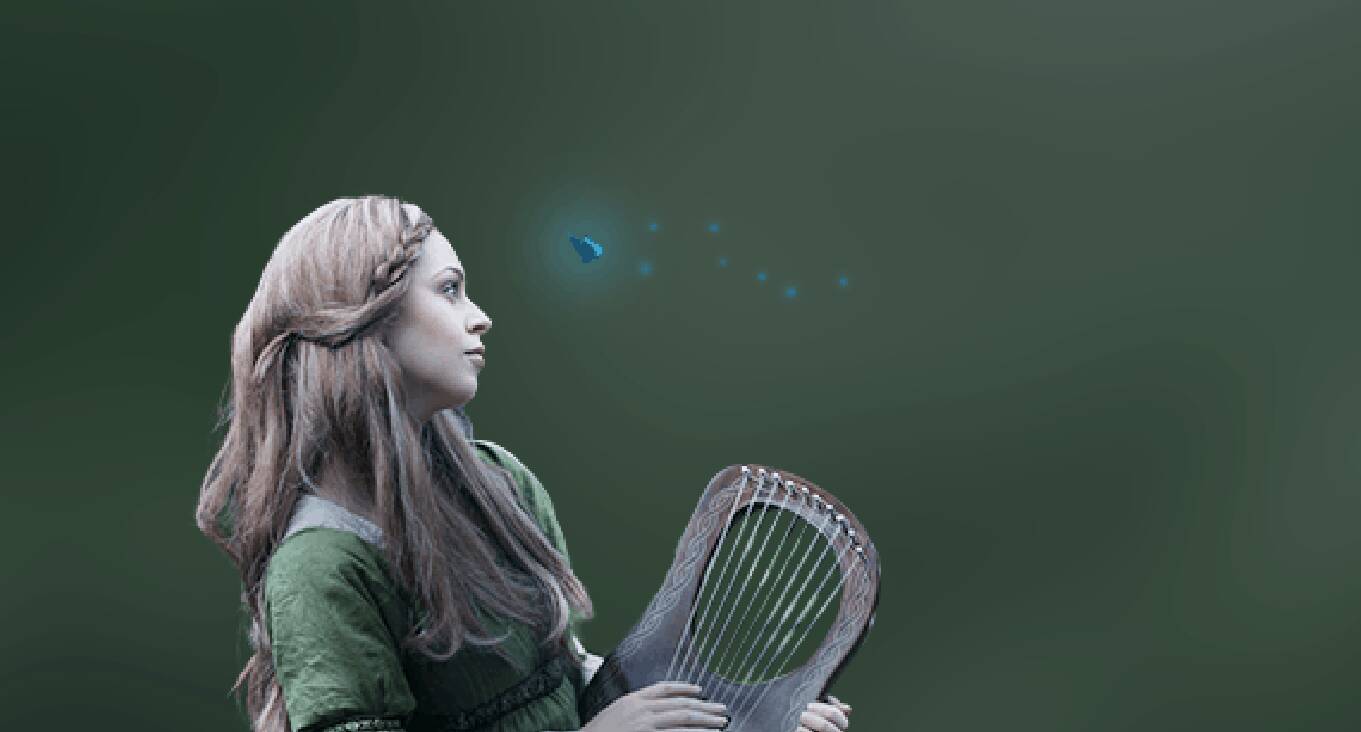
Step 28
In this step create a two layers, on first layer change blend mode to Linear Dodge (Add) with Opacity 17%. On second layer also set Blend mode to Linear Dodge (Add) with Opacity 6%. Use Brush Tool (B) Soft Round (Brush Flow 10%) with foreground color blue #1482de then start painting Butterfly, for second repeat the same process only use different color code #065ba2 then paint.


Step 29
Next, we add Stars but first we need to import brushes. Select a Brush Tool(B) and right click on background. Now click on the gear icon and Import Brushes (Select a downloaded brush).


Now we can paint some stars…
Step 30
Now right click on layer and select Blending Options. We now get an Layer Style options window. 1. Outer Glow


Step 31
Add anotherButterfly. After you open the image, use Lasso Tool(L) and start selecting butterfly. After the selection area has been created, simply copy (Ctrl / Cmd + C) and Paste (Ctrl / Cmd + V) it to our work canvas. Then position the image with the transform tool (Ctrl / Cmd + T). Hold Alt + Shift and resterize like image below. In Photoshop CC only hold Alt to resterize al sides together.


Step 32
Create a three layers, Blend mode change to Linear Dodge (Add) with Opacity 25%. Then use Brush Tool (B) Soft Round (Brush Flow 10%) with foreground color blue #1a82da then start painting Butterfly, for second repeat the same process only use different color code #165888 then paint. For last layer use darken Foreground color #063760 and paint.


Step 33
Add lastButterfly. After you open the image, use Lasso Tool(L) and start selecting butterfly. After the selection area has been created, simply copy (Ctrl / Cmd + C) and Paste (Ctrl / Cmd + V) it to our work canvas. Then position the image with the transform tool (Ctrl / Cmd + T). Hold Alt + Shift and resterize like image below. In Photoshop CC only hold Alt to resterize al sides together.
4 responses to “Create a Surreal Mushroom Forest Night Scene in Photoshop”
-

Nice Work
-
Thank you! Inspiriing.
-
You have ten steps and twenty layers to spare, you complicate your life in an incredible way. To publish in Adobe you have to do so much foolishness ???
-
Good job with effective and easy comment.
Leave a Reply