


Step 34
Create a three layers, Blend mode change to Linear Dodge (Add) with Opacity 21%. Then use Brush Tool (B) Soft Round (Brush Flow 10%) with foreground color blue #1973b9 then start painting Butterfly, for second repeat the same process only use different color code #1061a2 then paint. For last layer use darken Foreground color #083c69 and paint.


Step 34
Add Adjustment Layer “Solid Color” Opacity set to 68%. Use Brush Tool(B) Soft Round with foreground color black and start painting the light part…

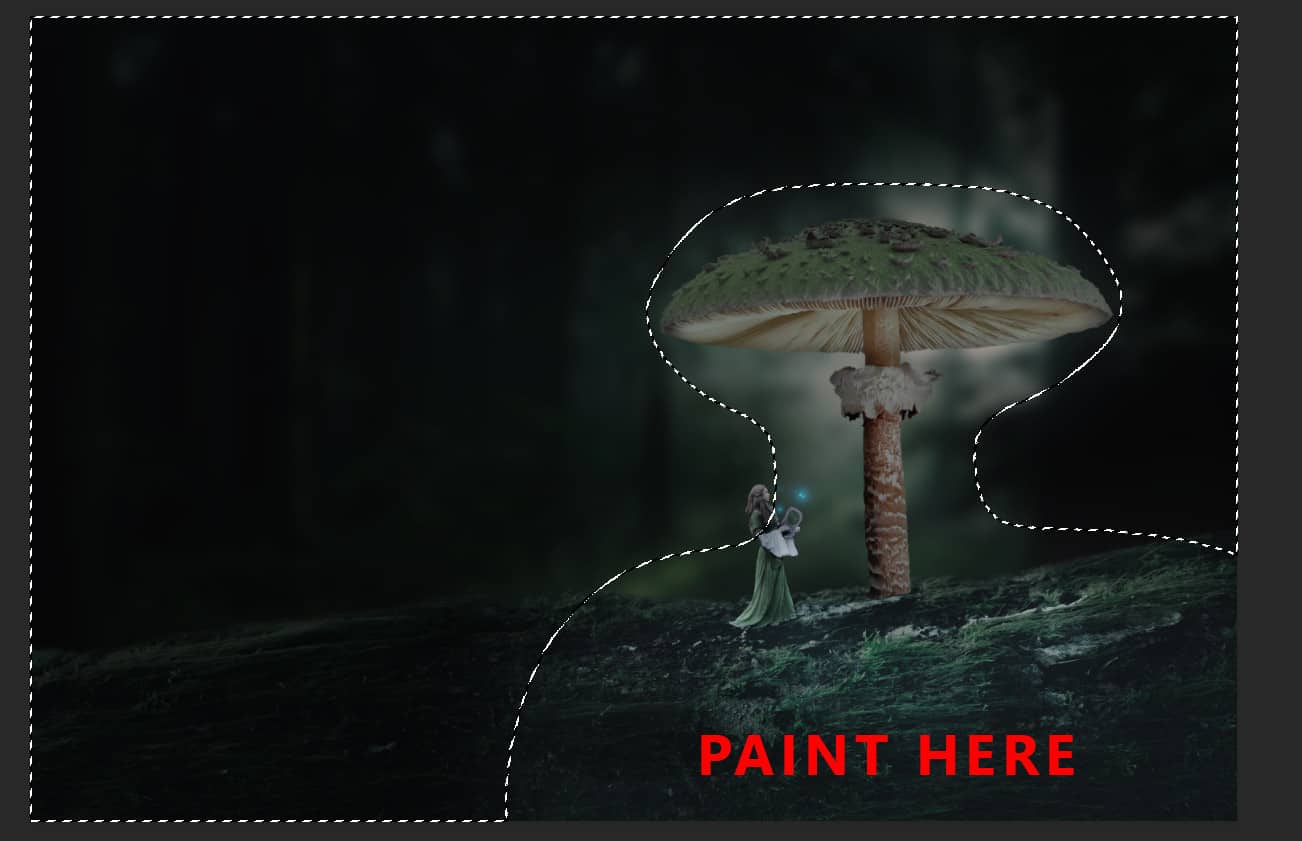
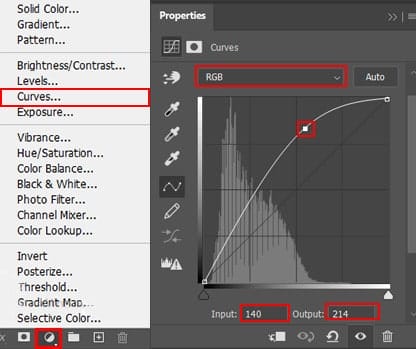
Step 35
Let”s add some light, first use Polygonal Lasso Tool(L) and make selection form left corner. Then click on adjustment layer icon and select Curves. Go to Filter > Blur > Gaussian Blur and set Radius to 200px. Opacity set to 22%.
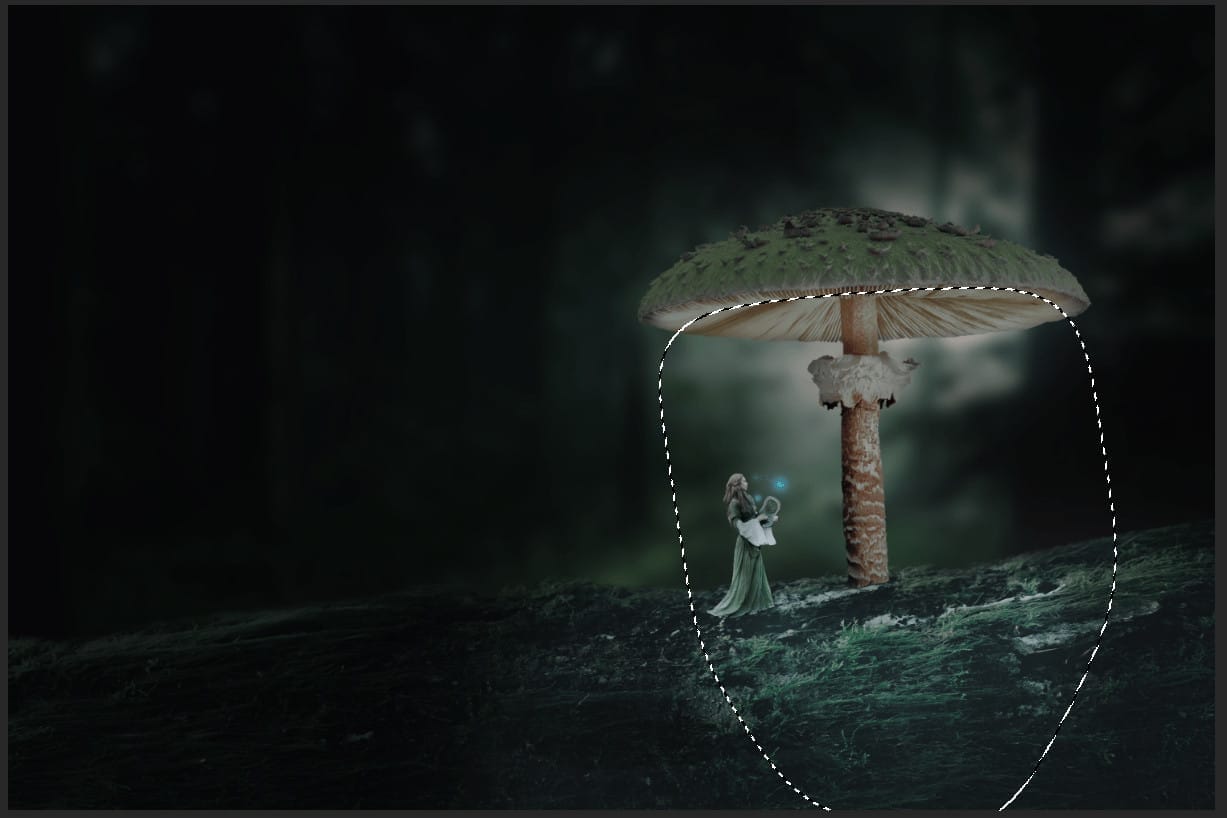

Step 36
Next, create another Polygonal Lasso selection then add adjustment layer curves and go to Filter > Blur > Gaussian Blur and set Radiuss 200px. Opacity set to 22%.
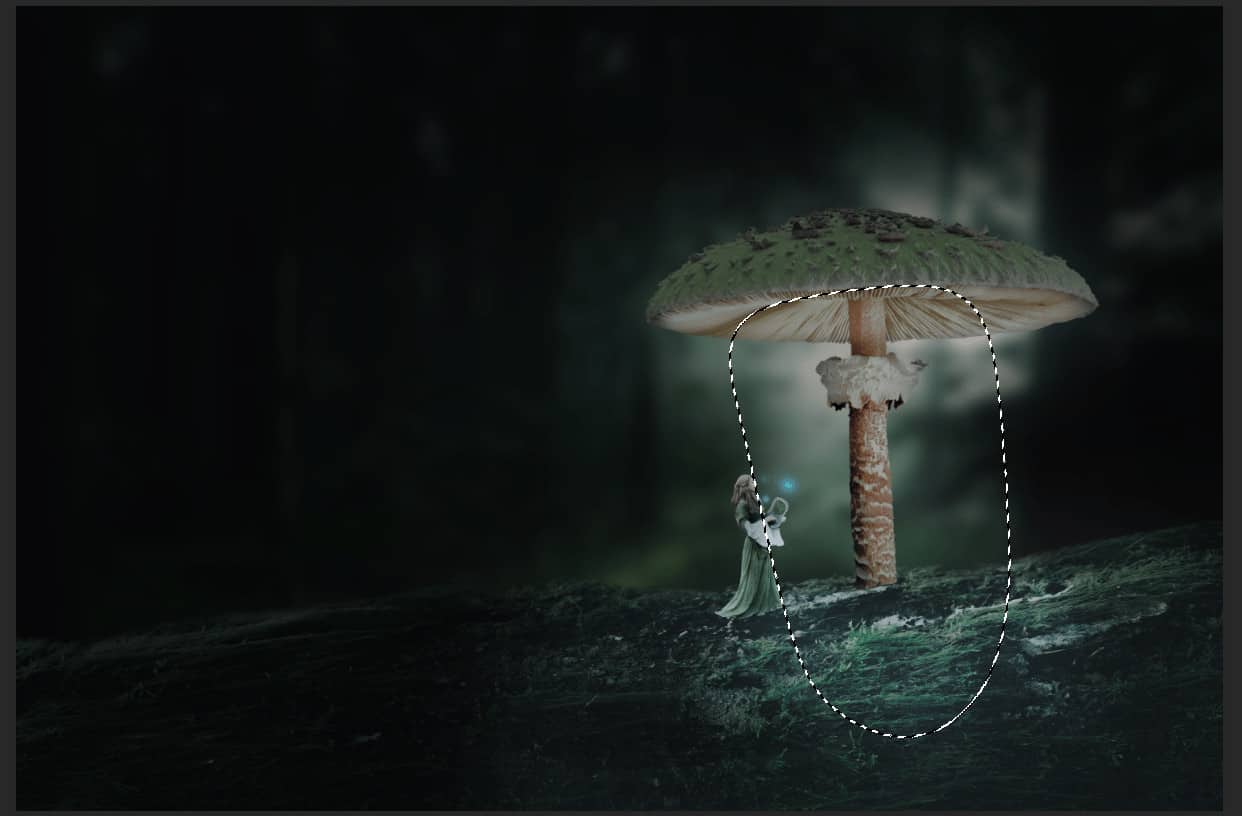
Step 37
Create the last Polygonal Lasso selection and Add Adjustment Layer “Curves” then go to Filter > Blur > Gaussian Blur and set Radius to 200px. Opacity set to 39%.


Step 38
Next, create a new layer then use a Brush Tool(B) with foreground color Blue #0e5ec0 and in Starry Night folder select Starrysky select and paint particles under the Mushroom.


Step 39
Add Adjustment Layer “Gradient Map” Blend mode change to Soft Light with Opacity 25%.

Step 40
Add Adjustment Layer “Gradient Map” Blend mode change to Soft Light with Opacity 33%.

Step 41
Add Adjustment Layer “Selective Color”

Step 42
When we finished all this, now merge all layers to one. Slecet the last layer and hold CTRL/CMD + SHIFT + ALT + E. Now we have a final layer, right click on mouse and select Convert to Smart Object. Then go to Filter > Camera RAW Filter. At its most basic, the Photoshop Camera Raw filter allows you to use the functions of the ACR interface at any time within Photoshop. This allows you to make any adjustments within ACR at any time during your workflow instead of just limiting its usage to theraw processing stage.While it would be possible to import your working file into Lightroom to make the same sets of adjustments, doing this in Photoshop saves you from that cumbersome step. It allows you the use of these tools without any extra effort.
4 responses to “Create a Surreal Mushroom Forest Night Scene in Photoshop”
-

Nice Work
-
Thank you! Inspiriing.
-
You have ten steps and twenty layers to spare, you complicate your life in an incredible way. To publish in Adobe you have to do so much foolishness ???
-
Good job with effective and easy comment.
Leave a Reply