
Use the Move tool to position your text if needed.
Step 17
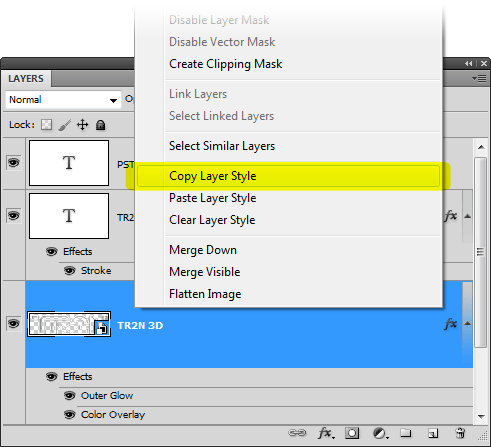
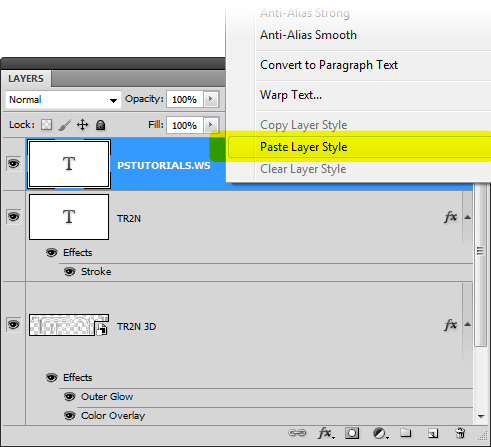
We’re going to apply a blue glow to the subtitle. Because we did this earlier, we can copy the layer style settings from the logo and paste it into the subtitle. To do this, right-click on the TR2N 3D layer and click Copy Layer Style then right-click on the subtitle layer and click Paste Layer Style.
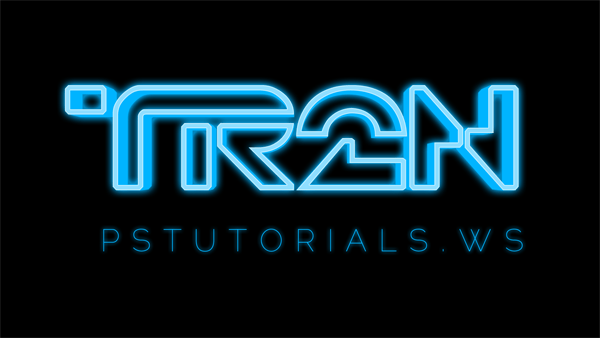
Here’s what the subtitle looks like with the blue glow.

Step 18
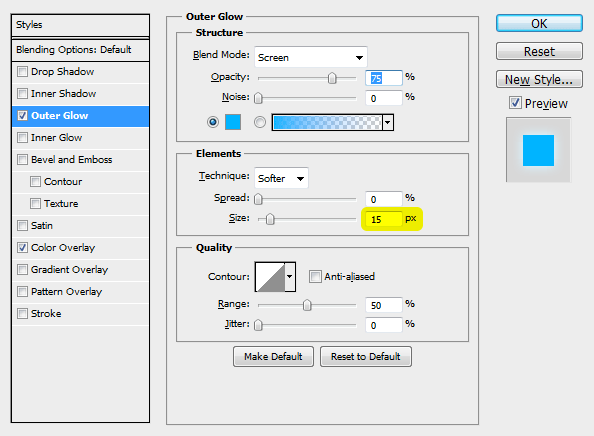
Before we continue, we’re going to reduce the outer glow a little on the subtitle. Double-click on the Outer Glow layer style.
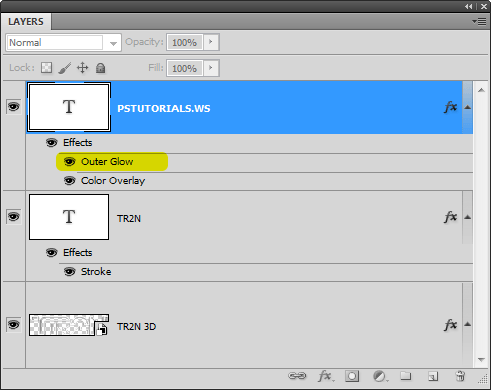
Reduce the outer glow size then click OK.
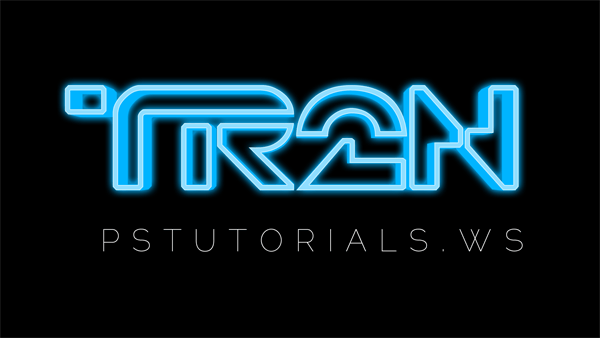
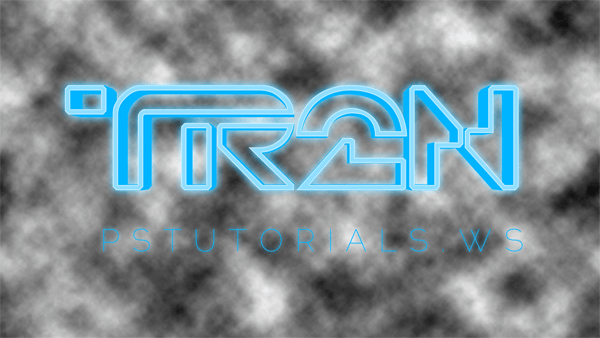
We’re done with the 3D text! Here’s what it looks like.
Step 19
Just having 3D text on a black background is boring so we’re going to create a cool grid background and top it off with some bokeh. We’re going to start off with the grid background.
This grid background is pretty cool because it uses only Smart Filters and you can create unlimited variations with two clicks. I’ll show you more about this later. First, let’s create a grid background. Create a new layer and position it above the Background layer. Rename this layer to “Grid Background”.
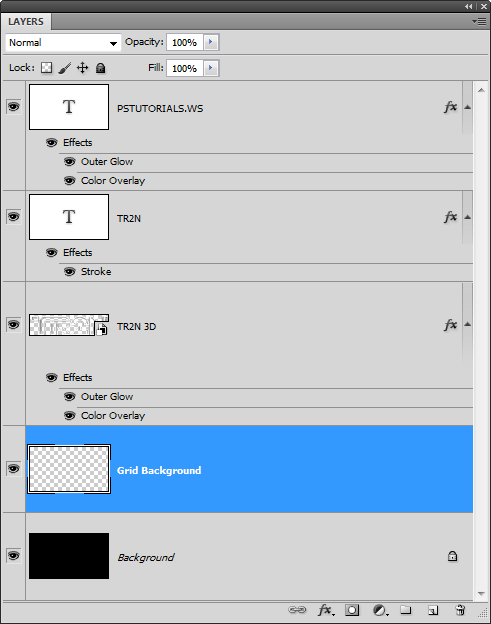
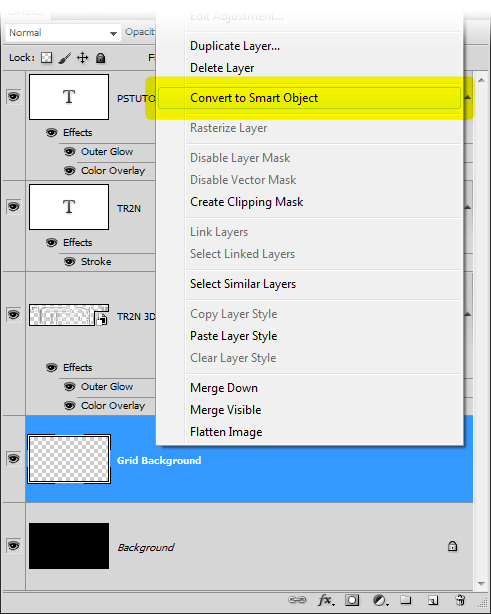
Right-click on the layer then choose Convert to Smart Object. By converting the layer into a Smart Object, we can apply Smart Filters which are the non-destructive version of filters that let us edit the settings anytime we like.
Step 20
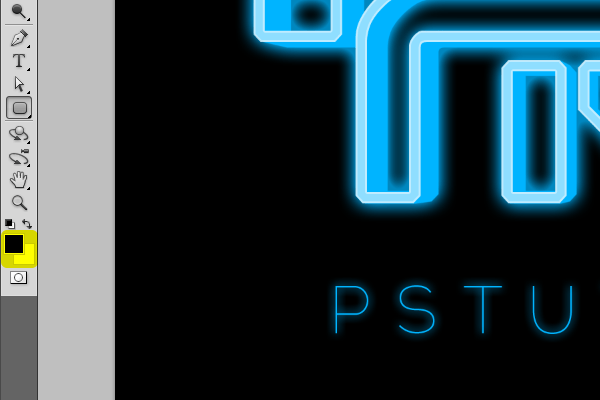
Now we’re going to apply a secret combination of filters to create a grid background – no drawing necessary! First, make sure your foreground and background colors are set to the default colors. You can reset the foreground and background colors by pressing D on your keyboard.
Go to Filter > Render > Clouds.
Step 21
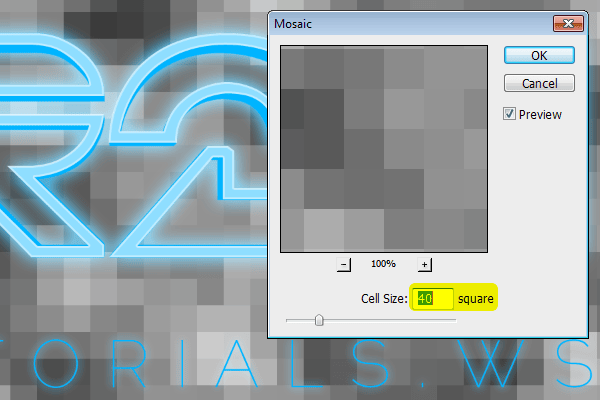
We’re going to turn the clouds into a mosaic pattern with round edges. Go to Filter > Pixelate > Mosaic. Set the Cell Size to 40 square then click OK.
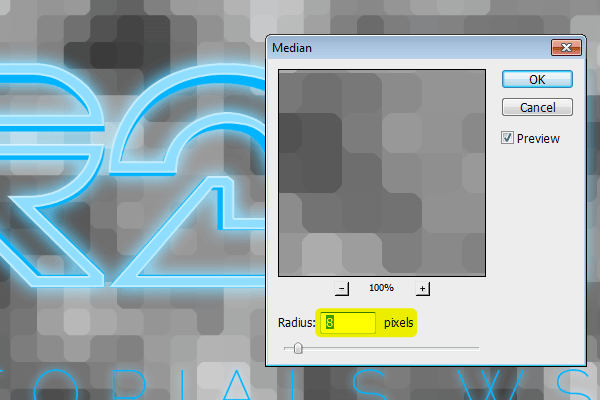
To give the mosaic round corners, we’re going to use the Median filter. Go to Filter > Noise > Median. Set the Radius to 8 pixels then click OK.
Step 22
Now we’re going to give the mosaic pattern some glowing edges. Go to Filter > Stylize > Glowing Edges. Set the Edge Width to 1, Edge Brightness to 10, and Smoothness to 1 then click OK.
14 responses to “How to Create Glowing TRON-Inspired 3D Text in Photoshop Extended”
-

thank you
-
The download link is broken. (404 Not Found). Please reupload it! :)
-
um can someone please help me. MY font size at 480pt is so tiny that i can barely see it. How do I fix it?
-
Thanks for this
-
can you post a tutorial for cs6? I have a hard time applying the 3d instructions
-
I feel your pain as I type this :\
-
-
Thanks for this tutorial! Very well done; explains everything clearly and has the screencaps too.
-
i dont find Repoussé tool
help me
i work by photoshop cc-
me too
-
-
Thanks :) easy to follow
-
thanks
-
For some reason, when I try to do the colorize on the Bokeh, it doesn’t work at all. I also made the layer mask and tried to erase some of the dots but that is not working either. I am using Photoshop CS5 Extended x64
-
very nice very nice very nice!
i really love your tutorial!! -
Very good tutorial. Very good descriptions, pictures and techniques. I am a PS amateur and I never had the feeling I didn’t understand or didn’t know what to do. Thank you for sharing this.
Leave a Reply