
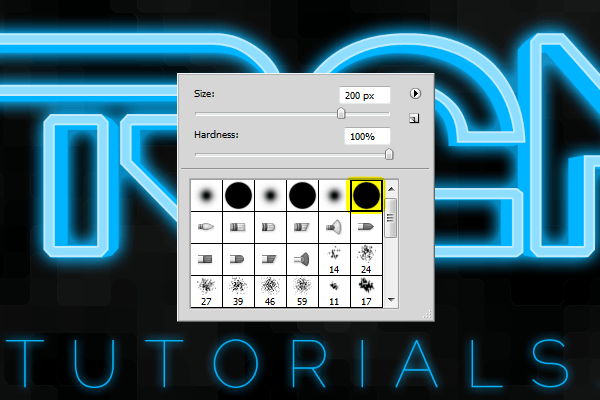
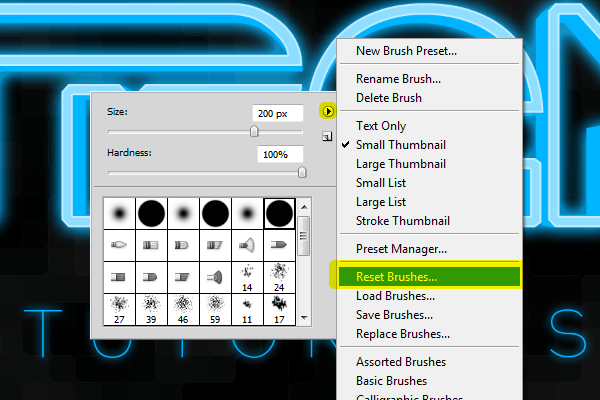
If you don’t see this brush, you can click on the flyout menu and click Reset Brushes.
Step 28
Go to Window > Brushes. Enable the Shape Dynamics option the set the Size Jitter to 100%. Make sure your Control option is set to Off.

Next, enable the Scattering option then checkmark the Both Axes option and set the Scatter to 1000%. Make sure your Control setting is off, Count 1, and Count Jitter 0%.
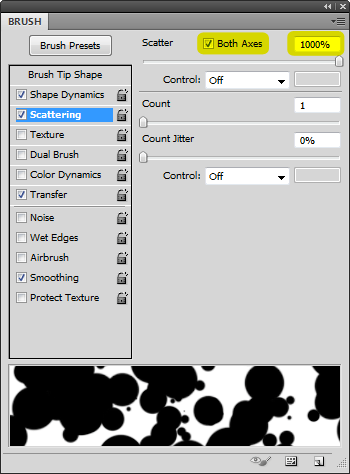
Enable the Color Dynamics Option then set the Hue Jitter to 3%.

Select the Transfer option then set the Opacity Jitter to 100%.

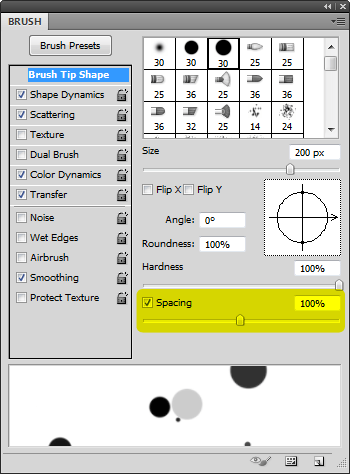
Finally, click on the Brush Tip Shape and enable Spacing. Set the spacing to 100%.
Step 29
We’re done setting up the brush! Now we can start painting. First, set your foreground color to white. You can do this quickly by pressing D on your keyboard then X.
Paint around the image. You’ll get a bunch of randomly created circles. You may have to undo by pressing Ctrl/Cmd+Z and retry the painting several times before getting one that you like.

Step 30
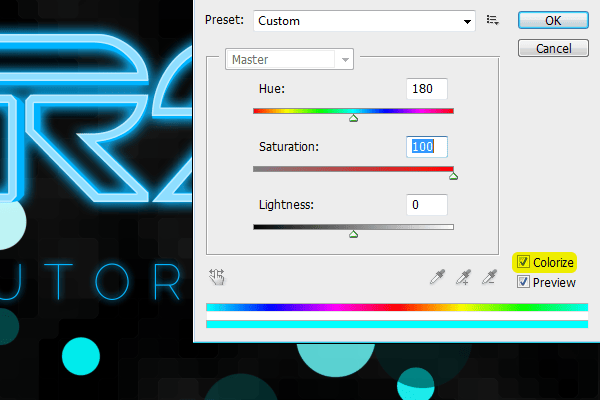
Go to Image > Adjustments > Hue/Saturation. Checkmark the colorize option then adjust the settings to get the color you like. Here are the settings we used:
Step 31
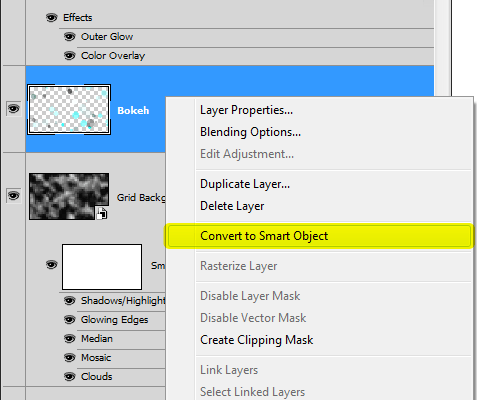
Right-click on the Bokeh layer then choose Convert to Smart Object.
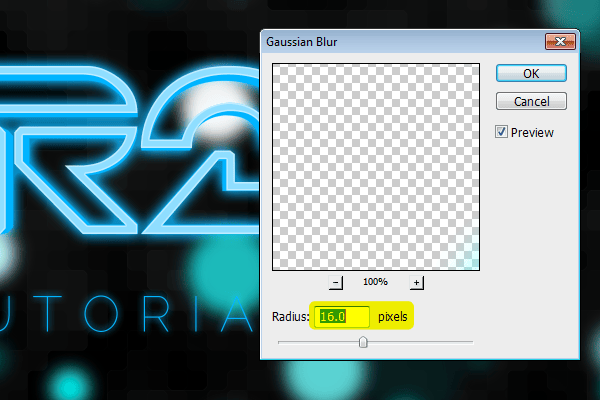
Go to Filter > Blur > Gaussian Blur. Set the Radius to 16 pixels then click OK.
Step 32
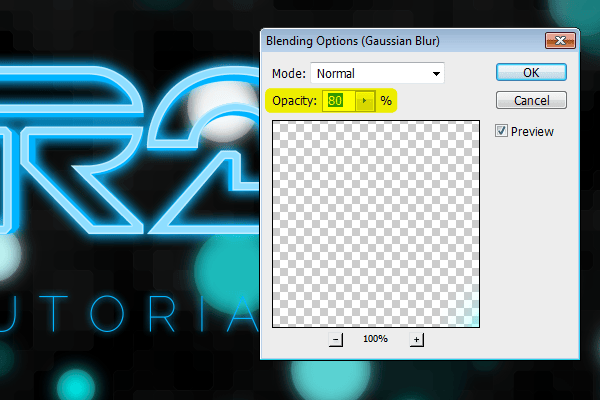
Double-click on the Gaussian Blur Smart Filter blending options button.

Set the Opacity to 80% then click OK.
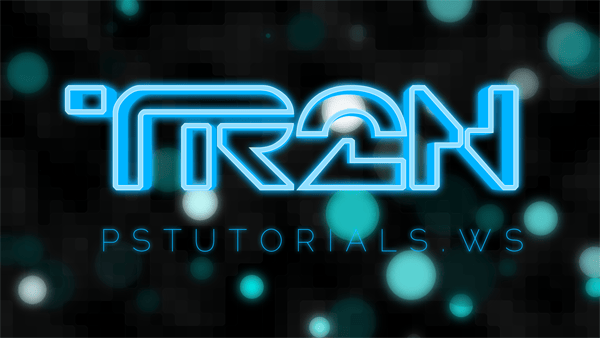
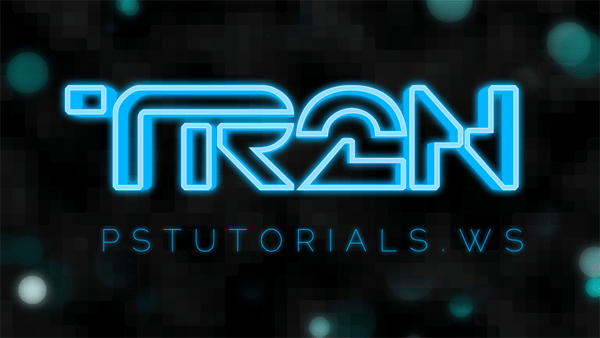
Here’s what the image looks like!
Step 32
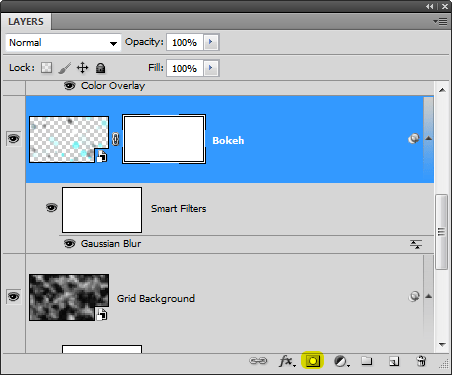
Finally, we’re going to erase some bokeh around the logo so that it’s not too distracting. In the Layers palette, click on the New Layer Mask button.
Select the Eraser tool. Make sure you have the default foreground and background colors. You can press D on your keyboard to reset your colors. Right-click anywhere in the document window to bring up the eraser brush settings. Select the Soft Round brush then set the size to 800 px.
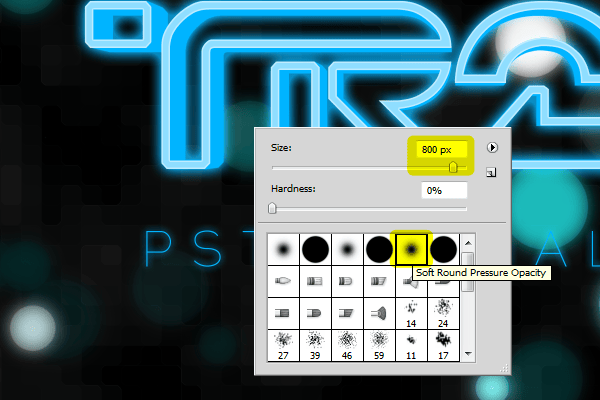
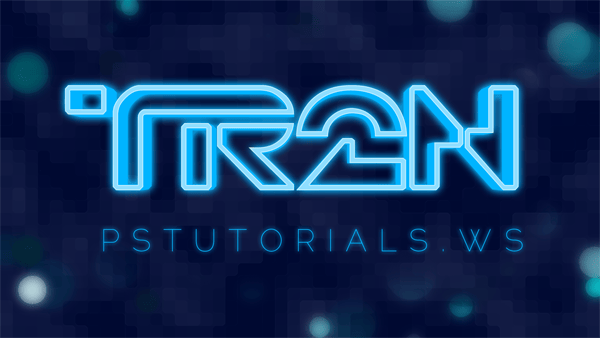
Erase the area near the logo. We’re done!

Final Results
You can also fill the background layer with any color you like:


Here’s a close-up at 100%.

Download the PSD
TRON-Inspired Text.zip | 5.98 MB
14 responses to “How to Create Glowing TRON-Inspired 3D Text in Photoshop Extended”
-

thank you
-
The download link is broken. (404 Not Found). Please reupload it! :)
-
um can someone please help me. MY font size at 480pt is so tiny that i can barely see it. How do I fix it?
-
Thanks for this
-
can you post a tutorial for cs6? I have a hard time applying the 3d instructions
-
I feel your pain as I type this :\
-
-
Thanks for this tutorial! Very well done; explains everything clearly and has the screencaps too.
-
i dont find Repoussé tool
help me
i work by photoshop cc-
me too
-
-
Thanks :) easy to follow
-
thanks
-
For some reason, when I try to do the colorize on the Bokeh, it doesn’t work at all. I also made the layer mask and tried to erase some of the dots but that is not working either. I am using Photoshop CS5 Extended x64
-
very nice very nice very nice!
i really love your tutorial!! -
Very good tutorial. Very good descriptions, pictures and techniques. I am a PS amateur and I never had the feeling I didn’t understand or didn’t know what to do. Thank you for sharing this.
Leave a Reply