In this Photoshop tutorial, you will learn how to work with shapes, texture, and patterns to create this wallpaper. Part of this tutorial uses Adobe Illustrator but a download is included in case you don’t have Illustrator.
Preview of Final Result

2010 Typographic Wallpaper Photoshop Tutorial
Step 1 – Create a new Document
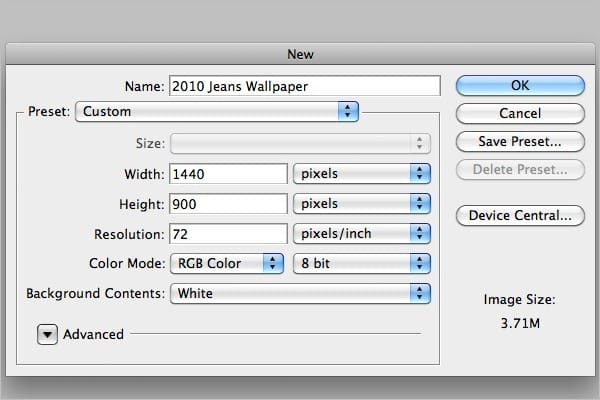
Open Photoshop and create a new image (Ctrl+N or File > New) with the settings shown below.
- Width: 1440
- Height: 900
- Resolution: 72
- Background Contents: White
Step 2 – Creating Background
To create a striped background, press “D” to reset the color palette to black and white. Then create a new layer and fill the area in with white.
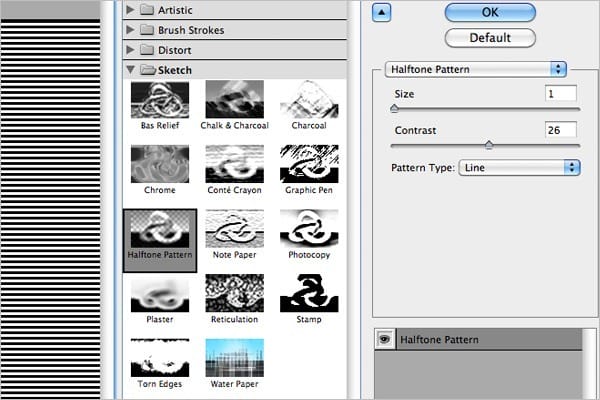
Next, filter the image (Menu > Filter > Sketch >Choose Halftone Pattern) with the settings shown below:
- Size: 1
- Contrast: 26
- Pattern Type: Line
Step 3 – Removing lines
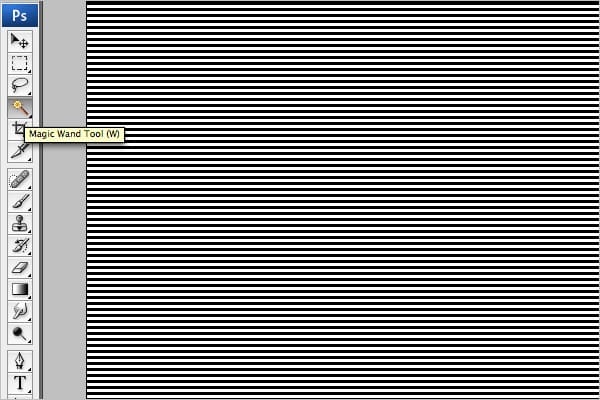
Choose the Magic Wand Tool (W) and click on any area that is white.
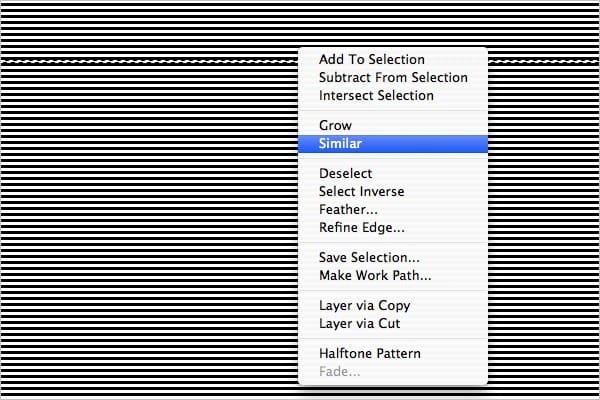
Then right click and choose Similar Option. This will now select all white areas.
Next, press “delete” to remove all the white lines.
Step 4 – Expanding the Lines
Expand the lines using the Transform tool (Ctrl + T) to fit your screen.
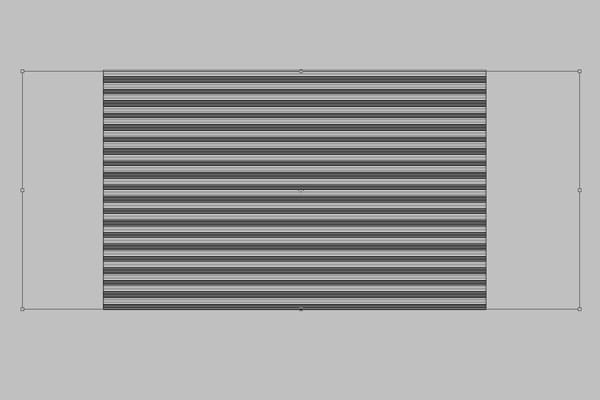
Step 5 – Rotating Lines
Rotate the lines to -45°. Duplicate the lines and place them next to each other, filling your canvas with lines.
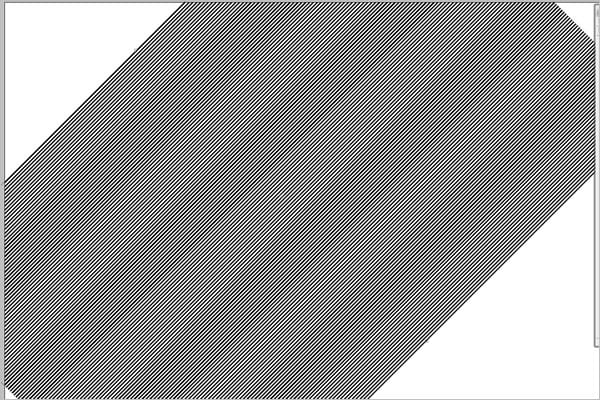
Step 6 – Changing Color
Select the lines and lock transparent pixels from the layers palette. Then change the foreground color to the settings below:
- R: 22
- G: 22
- B: 22
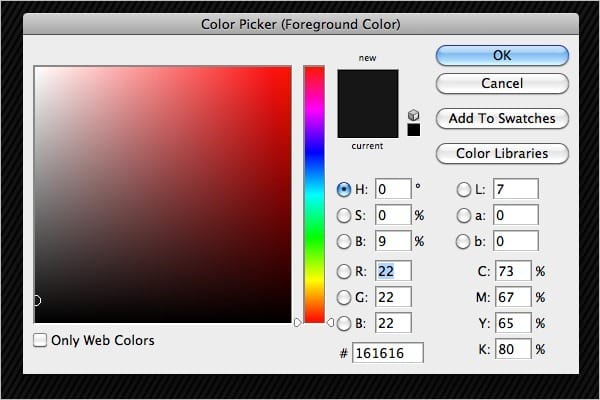
Step 7 – Adjusting Lines
Use the Free Transform tool (Ctrl+T or Edit > Free Transform) to rotate the lines -10°.
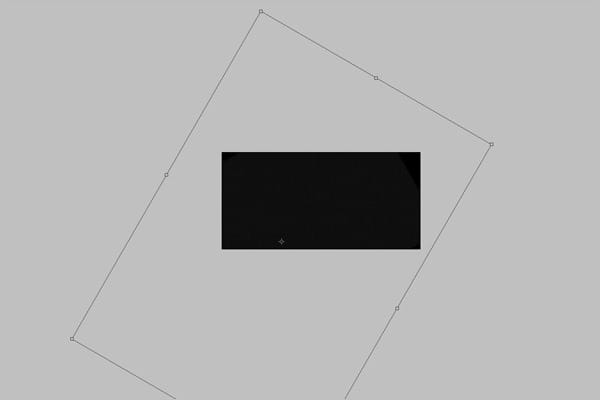
Step 8 – Adding Filter Effects
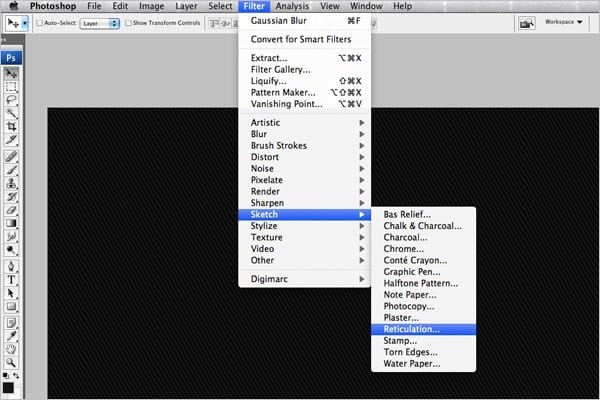
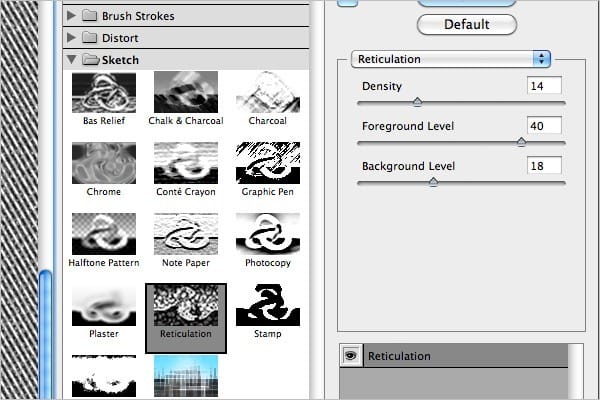
Add grains to the lines by locking the transparent pixels. Then use the Reticulation filter (Filter > Sketch > Reticulation) with the settings shown below:
- Density: 14
- Foreground Level: 40
- Background Level: 18
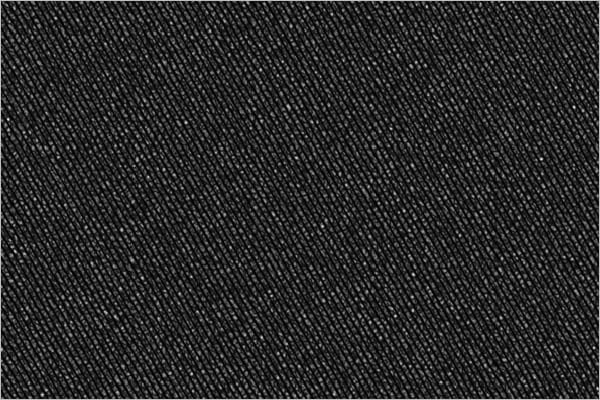
Your image should now look like this:
Step 9 – Adding Blur
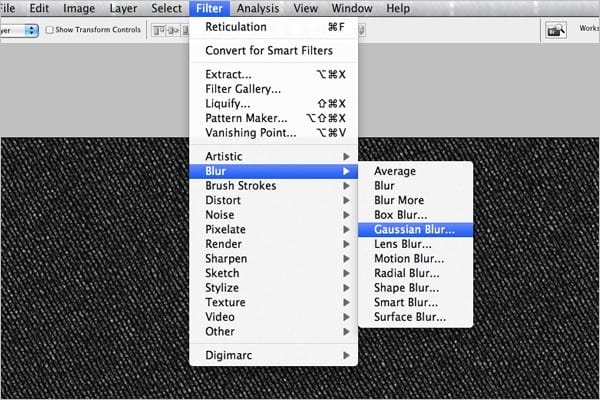
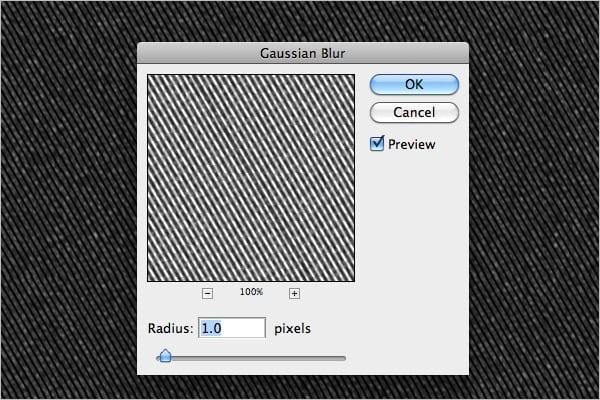
Smooth out your image with Gaussian Blur (Filter > Blur > Gaussian Blur) with a radius of 1 pixel:
Step 10 – Adding Levels
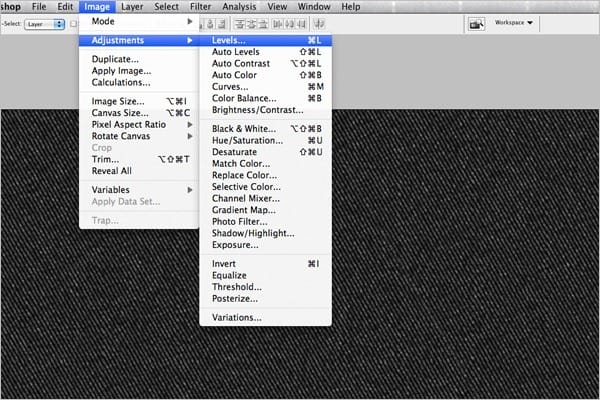
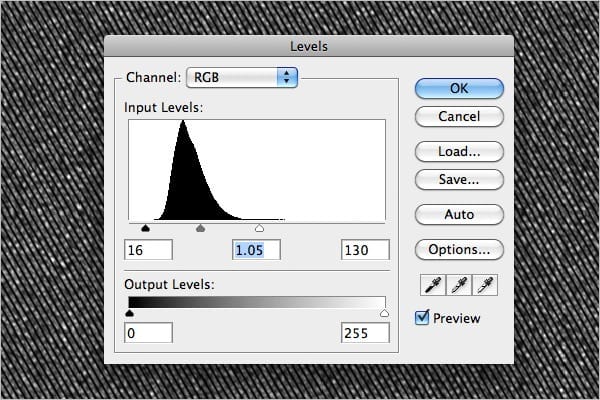
Brighten up the image by adjusting the levels (Menu > Image > Adjustments > Levels) to the settings shown below:
- Input Levels: 16, 1.05, 130
- Output Levels: 0, 255
Your image should now look like this:

Step 11 – Adding Spotlight
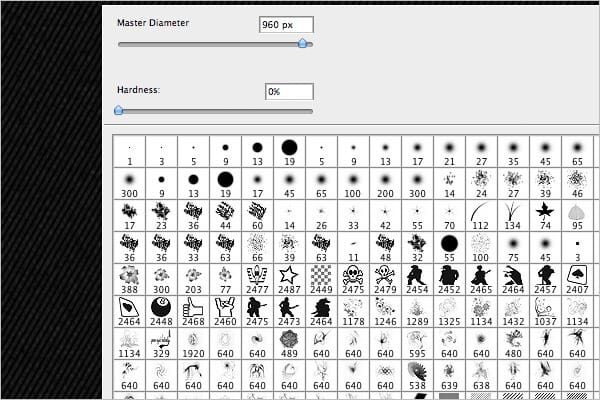
Adding spotlighting to the image helps create dimension. Select the Brush tool (B). Right click on your image and select the soft rounded 300px brush.
Then set your foreground color to white and click on the center of your image. Your image should now look like this:

Step 12 – Creating Pocket
The pocket is the next level of the image. Merge (Ctrl+E) all layers except for the layer with the spotlight. Choose the Pen tool (P) and create a shape like the pocket you see below. Right click on the path then choose Stroke Path. Select the Brush option in the popup.
1 response to “Create this 2010 Typographic Wallpaper in Photoshop”
-
I really liked it Mr.Shiva Kumar sir but it was in long process that is why somewhere I felt bore and hope you will provide some easy method in net episode.


Leave a Reply