
This is what it should look like:

Step 7
Now for the Outline. First we need to make a selection out of our Text Layer (there are various ways to do that: Go to Select>Load Select>Ok |or| While holding down the Ctrl key, Click on the T icon next to the Text Layer as demonstrated below)

After that we need to expand it. Go to Select>Modify>Expand.

A small window will pop-out, adjust it like so: Expand: 20 px
This is what you should have by now:

Step 8
Create A New Layer and place it below the Text Layer. Rename it to ‘Outline’

Step 9
Change your Foreground Color to #0F0F10. Now using the Paint Bucket Tool, Fill in the Selection we just made then Deselect (click on the Marquee Tool at the Tools Panel located before to the Move Tool |or| Press M then just randomly click on the canvas).

Step 10
Now we need to add some effects to it. Click on the Layer Style Icon and follow these settings:
Drop Shadow:

Inner Shadow:

Inner Glow:

Bevel and Emboss:

Gradient Overlay: (Use the same Gradient as before)

This is what you should have by now:

Step 11
Next, we add more details to the Outline. Create A New Layer, place it above the Outline Layer and Name it ‘Brush’

Step 12
Using the some of Crack Brushes Pack, mix a few of them together, it doesn’t have to be as close as what I made. With that being said, you can totally use brushes of your choice if you don’t like the ones I used.
I used these brushes:

Step 13
Almost Done! We just need to some crack effects to the Text Layer. Making sure the Text Layer is selected, Click on the Layer Mask Icon.

Step 14
Grab the same crack brushes we used before and brush over the Text Layer.
Step 15
Now you don’t necesarily need to use the same color as the one I used, experiment with other colors, use other brushes, add more effects like a grain texture or patterns etc. Just let your creativity flow


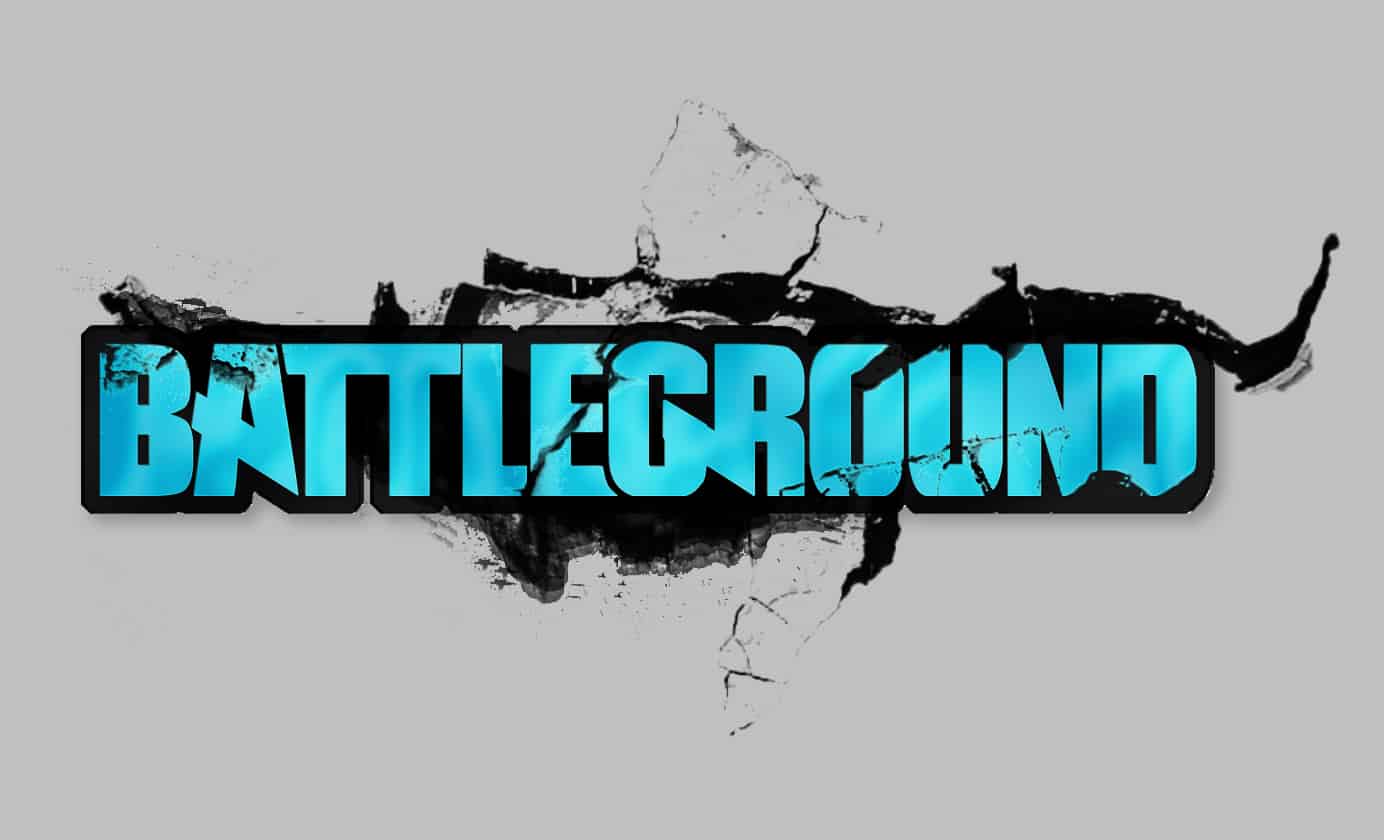
Final Results
Download the PSD
[vc_column width=”1/1″ el_position=”first last”] [vc_cta_button title=”Download” href=”https://downloads.photoshoptutorials.ws/Battleground Text.zip” color=”btn” size=”btn-large” icon=”none” target=”_self” position=”cta_align_right” call_text=”Battleground Text.zip | 931 KB” width=”1/1″ el_position=”first last”] [/vc_column]
Tutorial by x–tenshii

And we are done! If you we’re able to create the final result of the tutorial without any problems then Good Job! Give yourself a pat on the back or something. Feel free to message me if you weren’t able to understand some of the steps.
– x–tenshii
5 responses to “How to Create a Cool Metallic Text Effect in Photoshop”
-

You missed the screen shot for the Emboss settings, apart from that top tutorial! Thanks!
-
acho que perdir alguma coisa
I think I missed something..
from step 5 -
from where can i get crack brush pack
-
Hello, Sir. I’m 100% new here, in fact I just logged in to reply to this article.
First of all it’s an awesome tutorial, but I kinda struggled at the ending (Yup, I know it’s about imagination) The problem is, nothing I do satisfies me.. Can I contact you on FB, G+ or whatever you want?
Thanks. -
can you upload tutorials for making cool profile pic
Leave a Reply