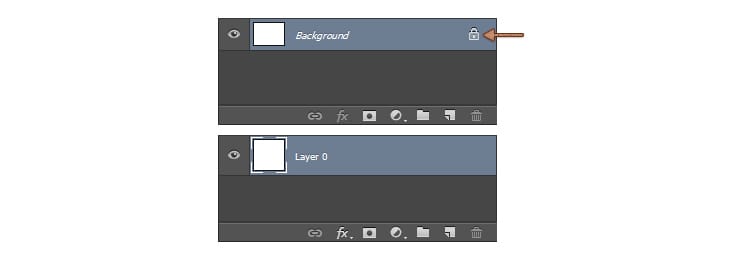

Step 23
Focus on the Layers panel, select the Background layer and click on the padlock icon to unlock the layer. Set the foreground color to #335671 , grab the Paint Bucket Tool and fill the canvas with a new color. Open theLayers Style window for the unlocked layer in this step and enter the settings mentioned in the next images.


Final Results

Download the PSD
[vc_column width=”1/1″ el_position=”first last”] [vc_cta_button title=”Download” href=”https://downloads.photoshoptutorials.ws/Water Text Effect.zip” color=”btn” size=”btn-large” icon=”none” target=”_self” position=”cta_align_right” call_text=”Water Text Effect.zip | 1.87 MB” width=”1/1″ el_position=”first last”] [/vc_column]
Tutorial by Razvan Gabriel

2 responses to “Turn Regular Text into Delicious Wafer Typography”
-
Sweet! Love this tutorial :)
-
Hello, I need a lot of help.
I was in charge of creating uniforms for students of a school in my city, I need editable templantes, to develop these uniform shirts, pants and skirts.
I would greatly appreciate it if you could help me through any link.


Leave a Reply