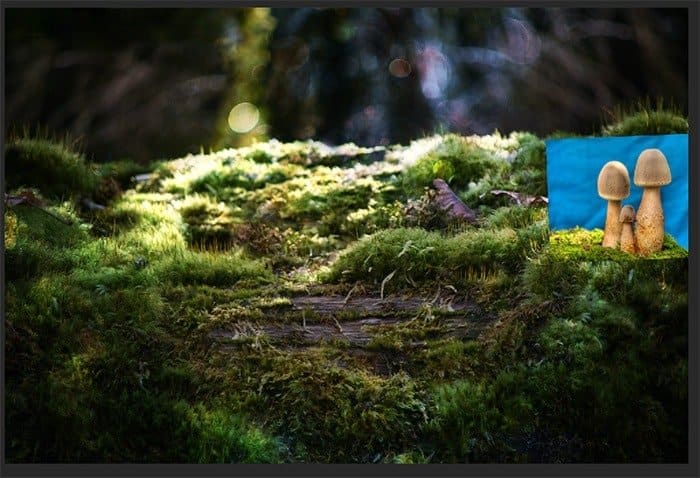
Step 14
Now use the Quick Selection Tool (W) on toolbar to select blue background and part of moss.
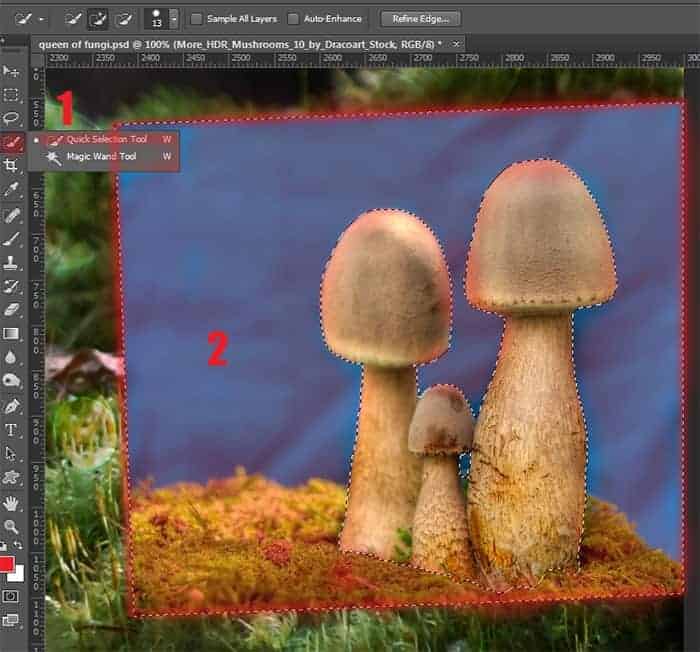
Invert selection (the short keys Cmd /Ctrl+ Shift + I). Go to Refine Edge… in the of top settings panel.
Step 15
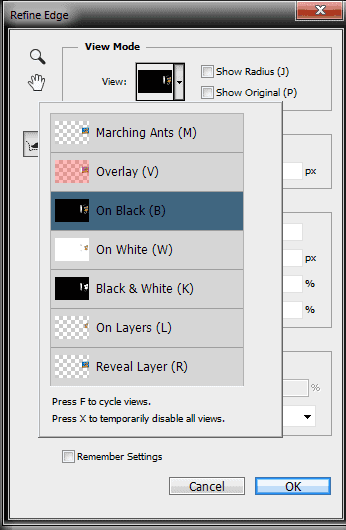
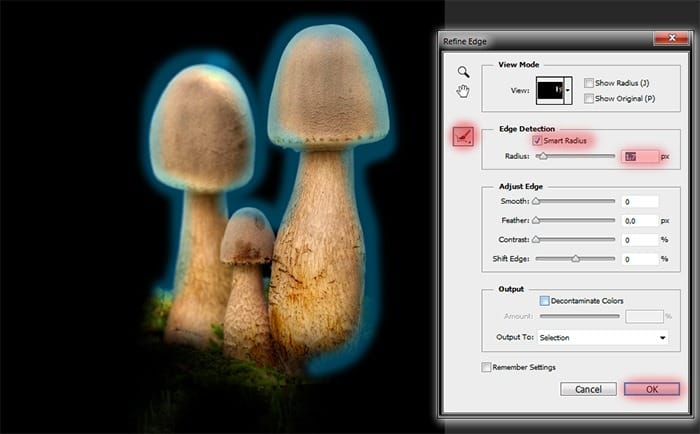
In Refine Edge we change the view on “On Black”. Take the brush in the window and spend it outside the of mushrooms, but not much touching them (otherwise you remove part of the fungus), to remove the remains of the background. Make the settings as shown in the figure. Press Ok.
Step 16
Now add a mask to this layer to remove the entire background.
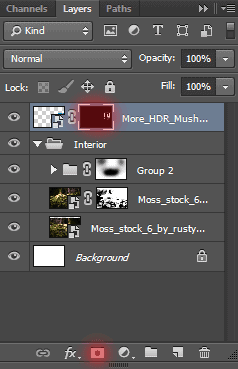
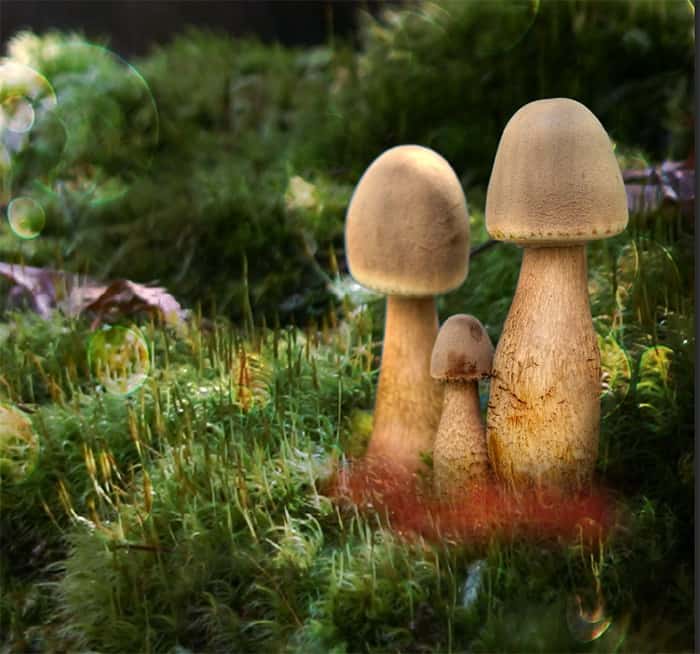
To mushrooms looked realistically go to his mask and using the Brush Tool (B) with there settings: Size: 100px, Hardness: 0%, Opacity: 50%, flow: 100% and remove the little foot fungus where it touches the moss (only very slightly).
Step 17
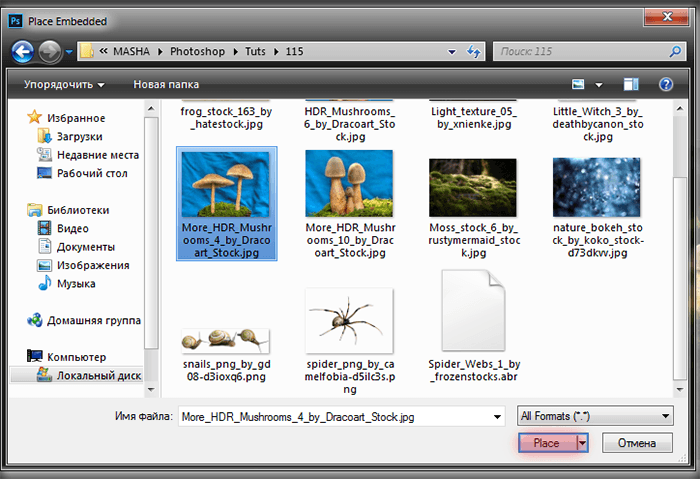
Follow the steps 12 – 16 with mushrooms “More_HDR_Mushrooms_4_by_Dracoart_Stock”.
Step 18
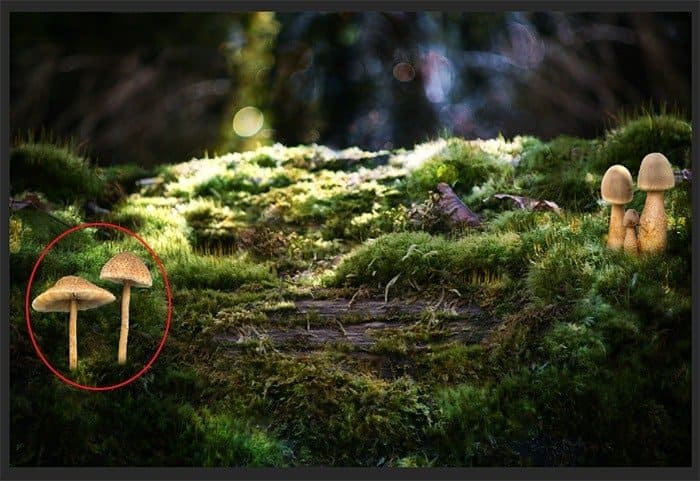
Duplicate this mushrooms once(Cmd/Ctrl + J). Then go to Edit > Transform > Flip Horizontal. Reduce their size (Cmd /Ctrl+ T or go to Edit > Free Transform).
Temporarily hide the layer by clicking the eye icon next to the layer.
Step 19
Now, of these two fungi, we will create a small glade. Hold Cmd/Ctrl and click on layer mask to select mushrooms. Select Lasso Tool (L) on toolbar. Hold Option/ Alt to take away from selection.

Circle high and rounded mushroom. Remaining mushroom duplicate 2 times (Cmd/Ctrl + J).
Step 20
Reduce mushroom and stretch it a bit wide (Cmd /Ctrl+ T or go to Edit > Free Transform) upper layer with mushroom. Place them as shown in Figure.
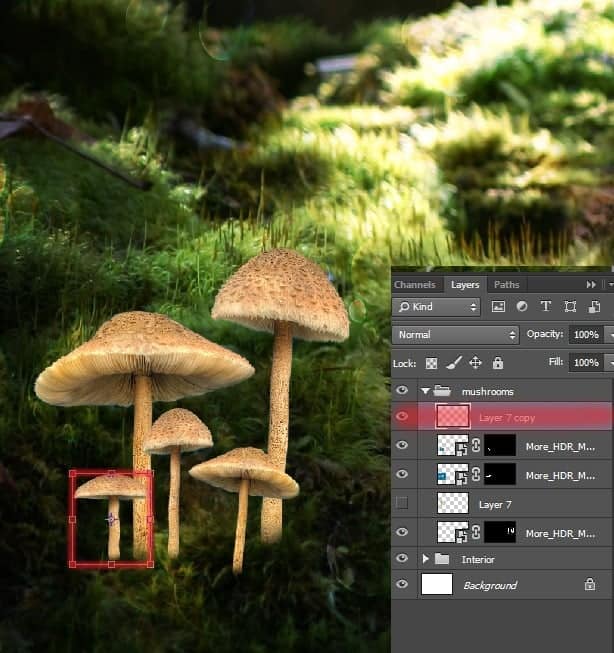
Duplicate it (Cmd/Ctrl + J) and place it as shown in Figure.
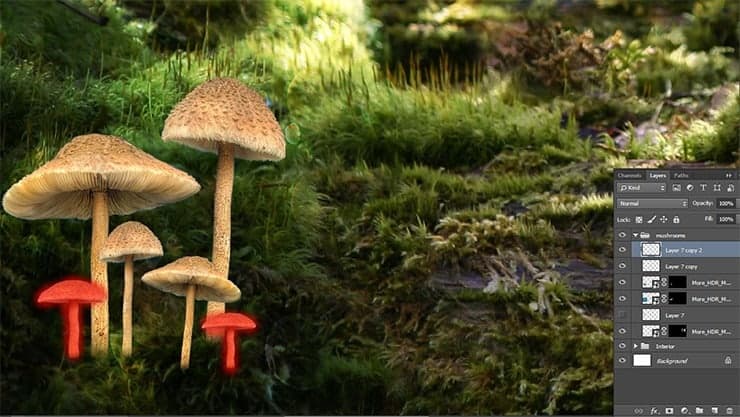
Go to the layer with this fungus, but that under the original layer. Using the Free Transform tool (Cmd /Ctrl+ T or go to Edit > Free Transform), Increase its size and place it as shown in Figure.
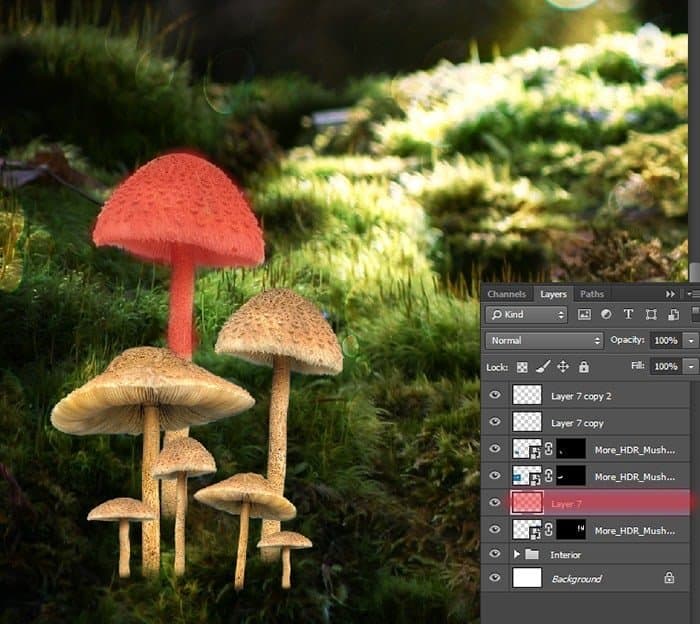
Step 21
We proceed to the last mushroom. Go to File > Place and select the image “HDR_Mushrooms_6_by_Dracoart_Stock”.
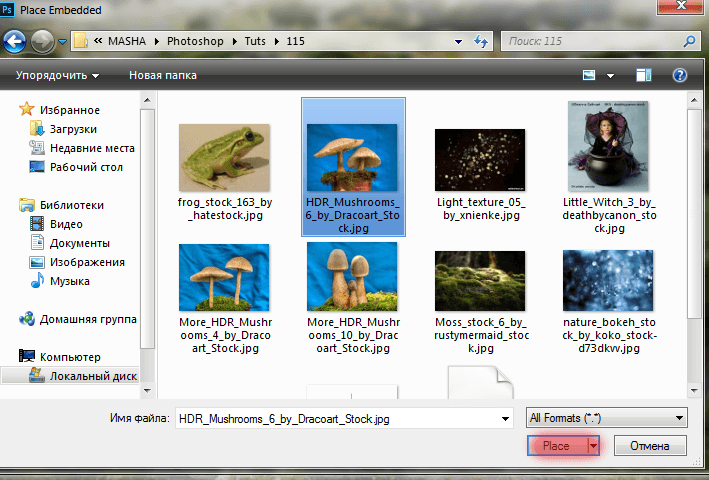
Increase mushrooms, tilt the image so that the central mushroom cap was raised, but he was in a steady position with respect to other fungi and flip them horizontally (Edit > Transform > Flip Horizontal). Place them as shown in the figure. This will be our central mushroom.
23 responses to “Turn Baby Photo into a Fairy Tale “Queen of Fungi” Composite”
-
did phone until I got to the star brush tutorial – that was it, the instructions were not in line with photoshop at all
-
Great tutorial!
-
Thank you for all your hard work and the wisdom you shared.
-
Thank you for all you hard work and the wisdom you shared :)
-
Why isn’t this tut visible? Post is two days ago but the comments dates are from 2014?
-
laborious lesson.It takes many time and a lot of effort to achieve a good result. Thanks for lesson
-
wove
-
Nice technique. Really useful…thanks for the post…
-
I like the idea of this tutorial, it’s very creative and the result looks great
-
Very creative and professional design.
-
Thank you very much! I do it.
-
спасибо за красивые уроки!!!!!!!!!!!!
-
Спасибо большое! Так приятно знать, что они понравились и ,надеюсь, полезны. Уже прочитали их? :) Скоро будут новые уроки! Если у вас будут вопросы, то пишите мне и я с радостью помогу вам.
-
-
Thank you for sharing this great tutorial well explained and I liked perform:
http://cartes-mireilled.eklablog.com/photomontage-magique-reine-des-champignons-a108935666-
Thank you very much! I am very pleased! I tried :) I really appreciate it! :D Unfortunately your link does not open. I would be happy to look your work!
-
-
Nice job
-
Thank you very much! I really appreciate it! :D
-
-
Really Nice.Thanks to share this Tutorial.
-
Thank you very much! I really appreciate it!
-
-
очень красивый урок!!!!!!!!
-
Спасибо большое! Мне очень приятно!:)
-
-
nice
-
Thank you very much!
-


Leave a Reply