

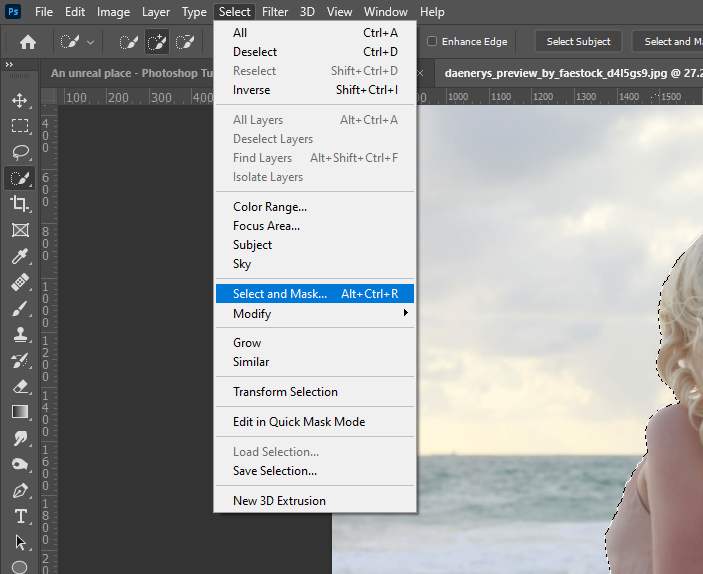
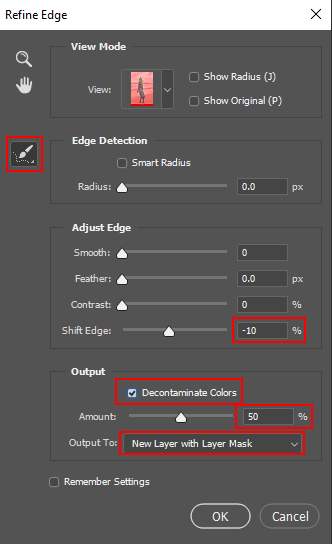
Now go to Select > Select and Mask… but hold Shift. Next use Refine radius tool and paint around the hair.
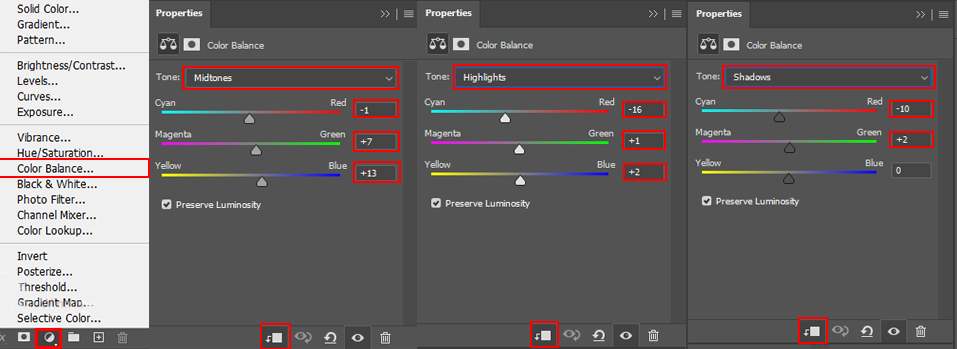
Step 8
Add Adjustment Layer “Color Balance”
Step 9
Add Adjustment Layer “Selective Color”

Step 10
Add Adjustment Layer “Curves” and press Ctrl/Cmd + I to invert and use Brush Tool(B) Soft Round with foreground color white and paint highlight part (Left Side).


Step 11
Add Adjustment Layer “Curves” and press Ctrl/Cmd + I to invert and use Brush Tool(B) Soft Round with foreground color white and paint dark part(Right Side).


Step 12
Create a new layer and change the Blend Mode to Soft Light then use a Brush Tool(B) Soft Round with foreground color white and paint on the left side of a woman (Source of light).


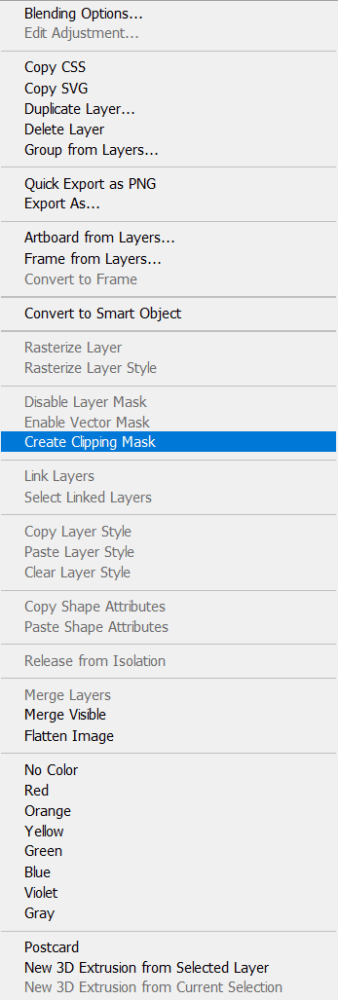
Select layer then right-click on mouse and Create Clipping Mask.
Step 13
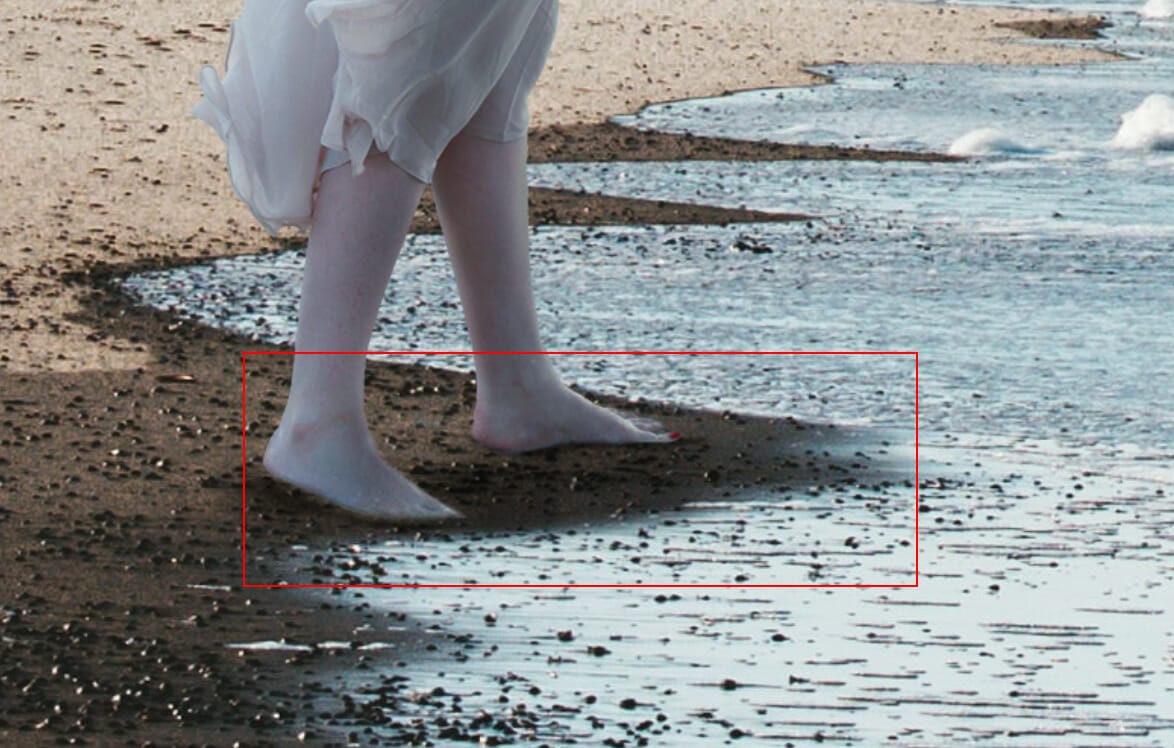
Select Woman layer and create below a new layer for shadow. Use Soft Round Brush Tool with the foreground color black and paint the shadow. The flow of brush set to 10% and blend mode change to Multiply.
Step 14
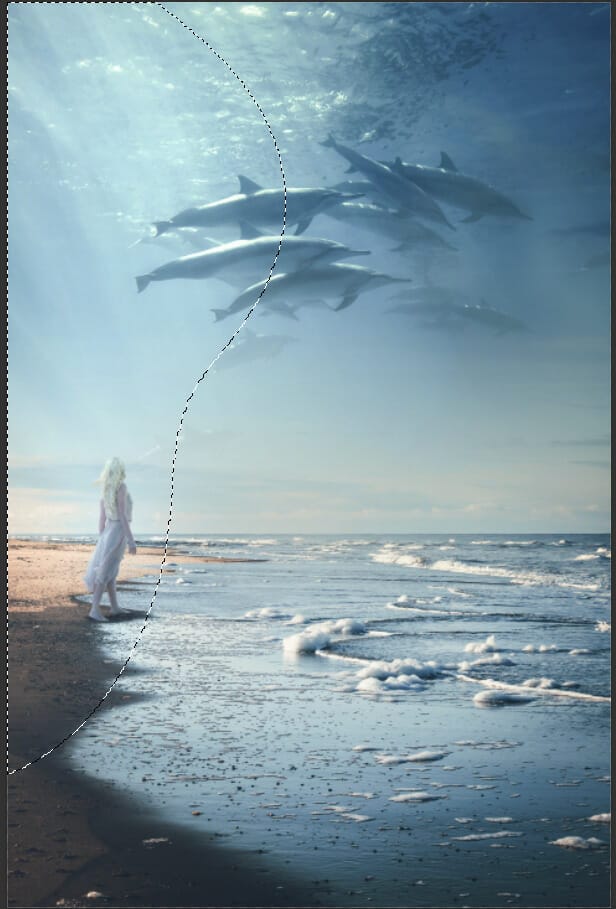
Next, we will add Ray Highlights but first, we need to import brushes. Select a Brush Tool(B) and right-click on the background. Now click on the gear icon and Import Brushes (Select a downloaded brush).

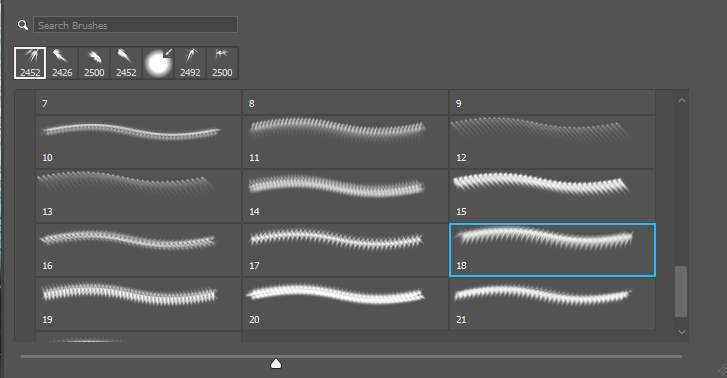
Now we can paint ray. Create a new layer and Foreground color use white.
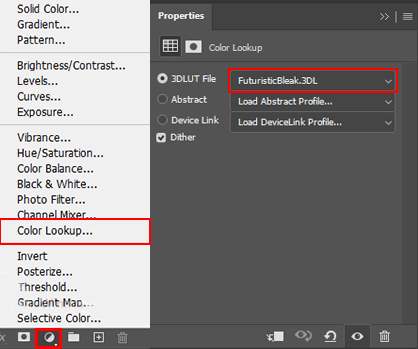
Step 15
Add Adjustment Layer “Color Lookup” and use Brush Tool(B) Soft Round with the foreground color black and paint. Opacity set to 55%.


Step 16
Add another “Color Lookup” and use Brush Tool(B) Soft Round with the foreground color black and paint.


Step 17
Add Adjustment Laye “Color Lookup” Blend mode change to Lighten.
Step 18
Add Adjustment Layer “Gradient Map” Blend mode change to Soft Light with the opacity of 58%.

Step 19
Create a new layer and change the Blend Mode to Soft Light with the opacity of 16%. Then use a Brush Tool(B) Soft Round with foreground color white and Size to max(5000px). Then paint to the left side.


Step 20
Add Adjustment Layer “Exposure” and press Ctrl/Cmd + I to invert and use Brush Tool(B) Soft Round with foreground color white and paint left side.

Step 21
Add Adjustment Layer “Hue/Saturation” Blend mode change to Hue with opacity of 50%.
Leave a Reply