
She walked out in the gray light and stood and he saw for a brief moment the absolute truth of the world. The cold relentless circling of the intestate earth. Darkness implacable. The blind dogs of the sun in their running. The crushing black vacuum of the universe. And somewhere two hunted animals trembling like ground-foxes in their cover. Borrowed time and borrowed world and borrowed eyes with which to sorrow it. In this Photoshop tutorial, we will learn how to create a Photomanipulation Tutorial. First, we created a new file and place Planet. Then add some Adjustment layers, next add City and clouds. Next, add Girl and blended it with Adjustment Layers and for the last effect, we added a Camera Raw filter.
Preview Of Final Image

Tutorial Resources
Step 1
Now, let’s start by creating a new image file, go to the Menu bar and click File > New, and then input the following values on their respective fields
- Preset: Custom
- Width: 3080px
- Height: 3850px
- Resolution: 300px
- Color Mode: RGB Color 8 bit
- Background Contents: Transparent

Step 2
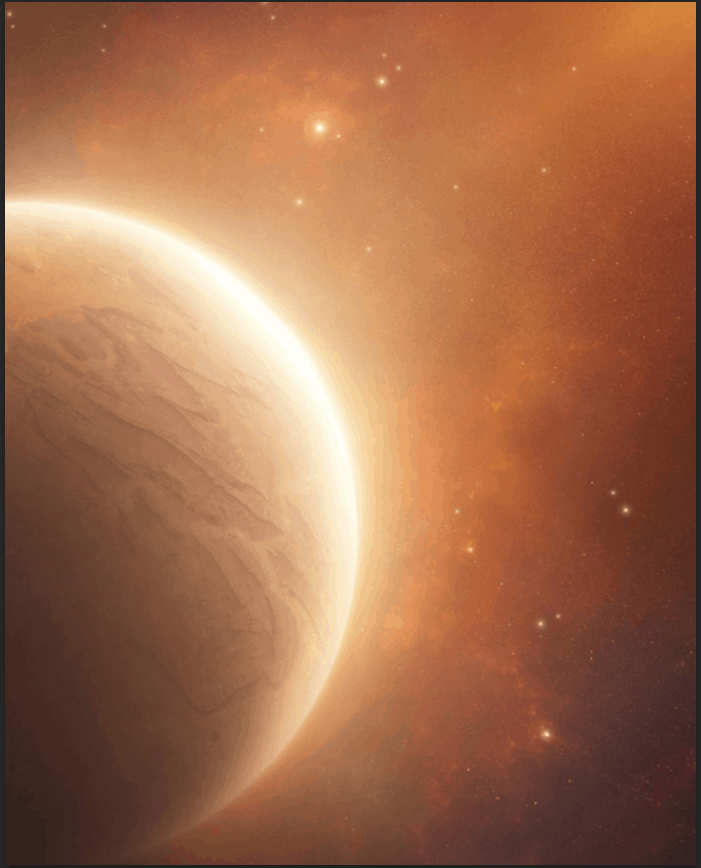
Now, place Planet Go to File > Place and select Planet. Then place it to our work canvas and position the image with the transform tool (Ctrl / Cmd + T). Hold Alt + Shift and rasterize like the image below. In Photoshop CC only hold Alt to rasterize all sides together.

Select layer and press Right click then click Convert to Smart Object and after than go to Filter > Blur > Gaussian Blur and set radius to 3px.

Step 3
Add Adjustment Layer Hue/Saturation

Step 4
Add Adjustment Layer “Curves”

Step 5
Add Adjustment Layer “Curves” and press Ctrl/Cmd + I to invert. Then use Brush Tool(B) Soft Round with foreground color white and paint the upper lighter part.


Step 6
Add Adjustment Layer “Curves” and press Ctrl/Cmd + I to invert. Then use Brush Tool(B) Soft Round with foreground color white and paint dark texture on planet.


Step 7
Now, place City Go to File > Place and select City, Then place it to our work canvas and position the image with the transform tool (Ctrl / Cmd + T). Hold Alt + Shift and rasterize like the image below. In Photoshop CC only hold Alt to rasterize all sides together.

Next select City layer and create layer mask. Then use Soft Round brush with foreground color black and paint on sky to delete it.
2 responses to “View to Apocalypse Photoshop Tutorial”
-

Very good 👍
-
Nice! Thank you!
Leave a Reply