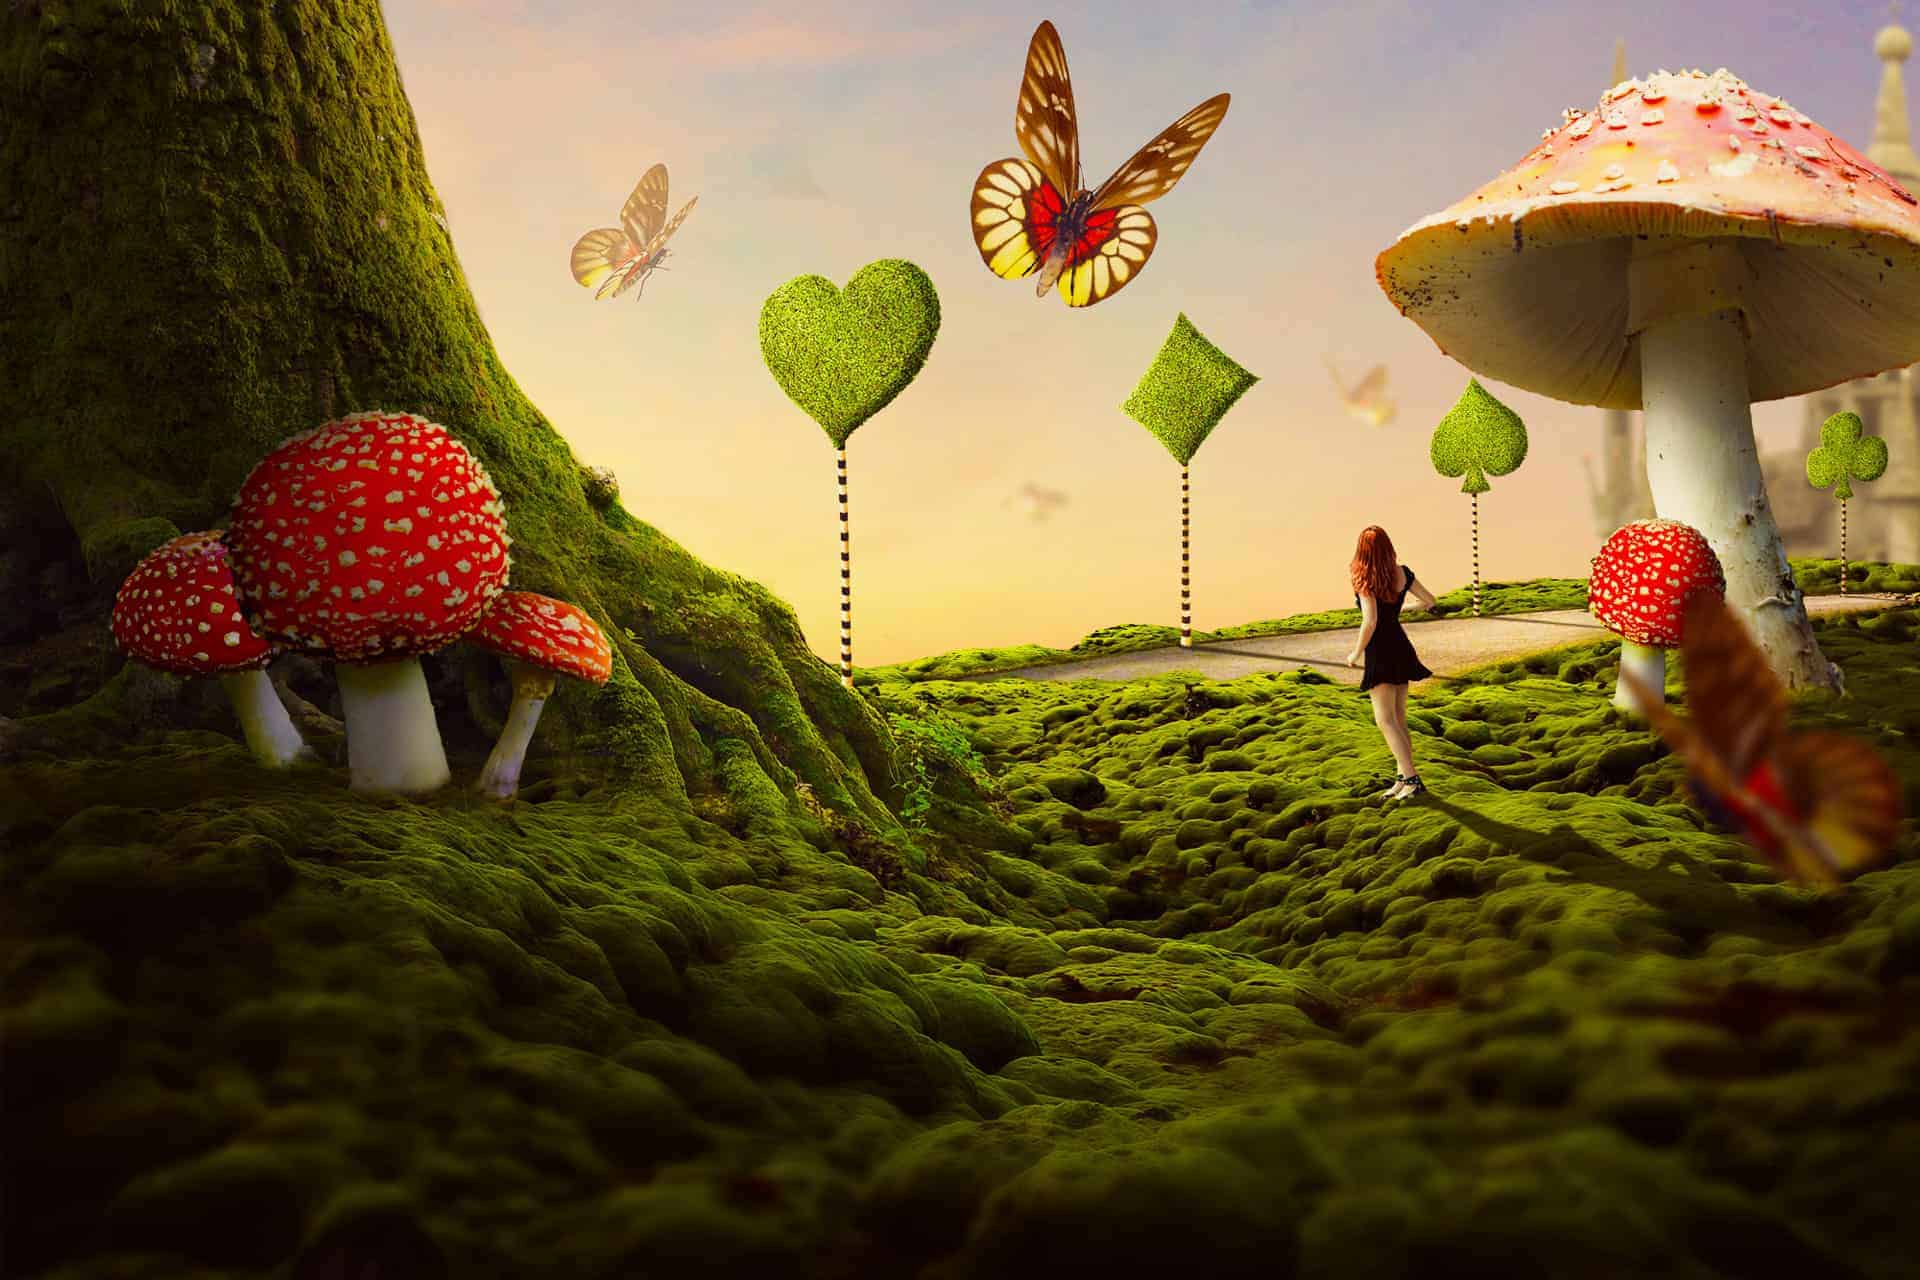
In this tutorial, I’ll show you how to create a fantasy photo manipulation featuring a wonderland with giant mushrooms and butterflies. First, we’ll build the base scene using a sky and ground images. Later, we’ll add the trees, road, castle and blend them together using adjustment layers, masking, and brushes. After that, we’ll add the model, mushrooms, and butterflies. We’ll use several adjustment layers to complete the final effect.
Preview of the Final Result
Tutorial Resources
Step 1
Create a new 2000×1333 px document and fill it with white. Open the ground image and use the Magnetic Lasso Tool (L) to isolate the mossy green and drag it into the white canvas using the Move Tool (V). Place it in the bottom half of the canvas and convert it to a Smart Object.

Step 2
Duplicate this layer and set it below the first one. Move it to the right and use the Free Transform Tool (Ctrl+T) to distort this part as shown below.

On each of the ground layers, click the second icon at the bottom of the Layers panel to add a mask to these layers. Activate the Brush Tool (B) and select a hard round one with black color. Use this brush to erase some of details of the ground .

Step 3
On the first ground layer, go to Filter > Blur > Gaussian Blur and set the radius to 6 px. On the filter mask, use a soft black brush to erase the softness on the background and midground, leaving the blur effect visible on the foreground.


Step 4
On each of the ground layers, make a new layer, change the mode to Overlay 100% and fill it with 50% gray.

Activate the Dodge Tool (O with Midtones Range, Exposure about 20-25% to brighten the details on the contour of the ground parts to fit the light on the background (we’ll add it in the next steps). You can see how I did it with Normal mode and the result with Overlay mode.


Step 5
Select the ground layers and the dodge ones and hit Ctrl+G to make a group for them. Change the group mode to Normal 100% and on top of the layers within this group, go to Layer > New Adjustment Layer > Curves and decrease the lightness. On this layer mask, use a soft black brush to erase the dark effect on the right of the background and midground to reveal the lightness there.
6 responses to “How to Create a Wonderland Photo Manipulation with Photoshop”
-

OMG, this kind of work must be exposed at museum.
-
You’re genius, a legend, excelent work.
-
Dear,
Always a beautiful, very clear tutorial.
Thanks for sharing.
Yves -
Sorry; stuck on step 8 not 9…
-
Stuck on step 9; the Curves adjustment layer brightens everything, not just the road.
-
You need to to Layer > New
-
Leave a Reply