


Step 37
Duplicate this layer and flip horizontally. Move it to the second column on the right and use Ctrl+T to make it a bit larger. Add a mask to this layer and use a hard black brush to erase the part outside the column and some details on the top.

Use the same method to add this effect to the third column.

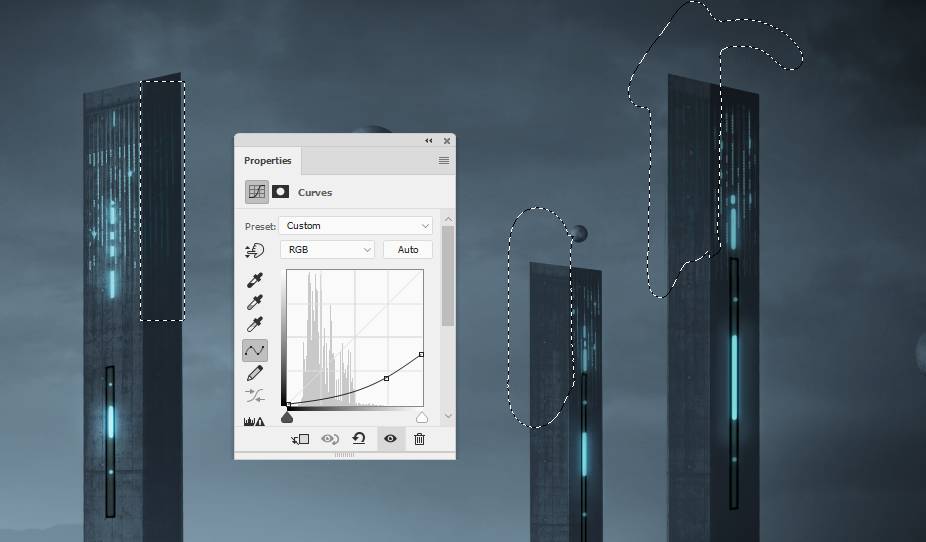
Step 38
Make a group for these effect layers and add a Curves adjustment layer to reduce the visibility of the effect part on the dark side of the columns. The selected parts show where to paint on the layer mask.
Step 39
Create a new layer and use the Rectangular Marquee Tool to make a frame around the biggest planet. Go to Edit > Stroke and pick the color #79c0cf and convert this layer to a Smart Object.


Step 40
Lower the opacity of this layer to 50% and double click this layer, choose Outer Glow. Set the color of glow to #79c0cf.

Go to Filter > Blur > Gaussian Blur and set the radius to 1 px:

Step 41
Make a new layer and use a tech brush (binary1) with the color #79c0cf to paint on the upper of the frame. Duplicate this layer to make the effect more visible. Duplicate this layer and use Ctrl+T to make it smaller and then duplicate it again to increase this visibility of the effect. Move them to the lower position of the frame. Repeat this step (duplicate, resize and then duplicate to make a stronger effect) and move them to the bottom right of the frame.

Create a group for these layers and add a mask to this group. Use a hard black brush to remove the effect part outside the frame.

Step 42
Make a new layer on top of the layers and hold Ctrl +Shift key while clicking the thumbnail of the planet layers (except the biggest one) to load their selection.

Stroke these circles with the color #66cef9 and the following settings:


Add a mask to this layer and use a soft black brush to remove the stroke on the right of the planets .

Step 43
Create a new layer and use the Rectangular Marquee Tool to draw a selection inside the frame and fill it with the color #79c0cf. Convert this layer to a Smart Object and use Ctrl+T to resize it down.
2 responses to “How to Create a Sci-Fi Landscape Photo Manipulation with Adobe Photoshop”
-

Thanks a lot!
-
Fantastic result, really well explained & very instructive3, thanks a lot !
Leave a Reply