

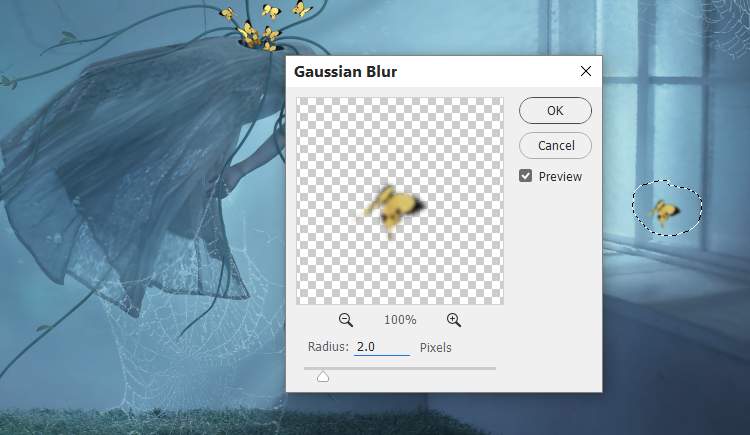
Step 32
Add some bigger butterflies to the edges of the room. Apply a Gaussian Blur of 2 px, 4 px and 8 pxto these ones to vary the depth of the scene.


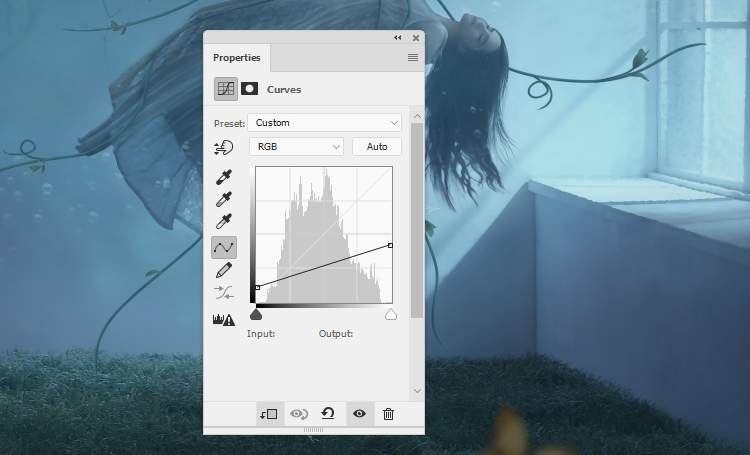
Step 33
Use a Curves adjustment layer on some of the butterflies to reduce their lightness.


Step 34
Make a group for the butterfliesand use a Hue/Saturationadjustment layer within the group to desaturate them.

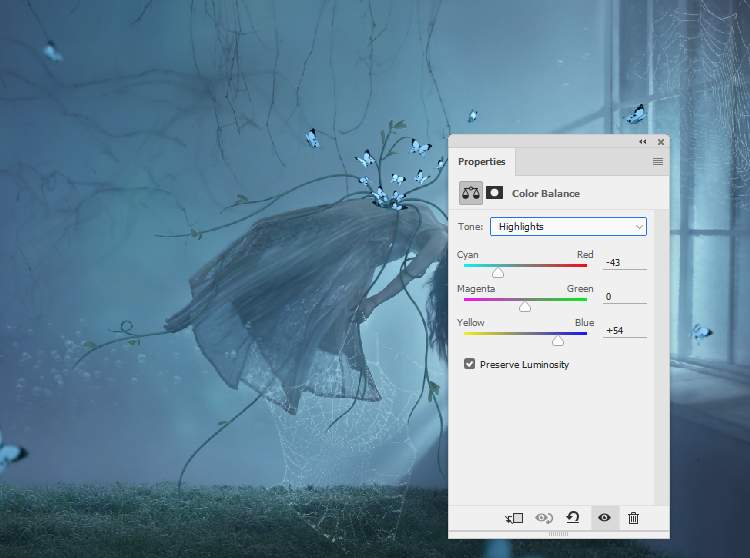
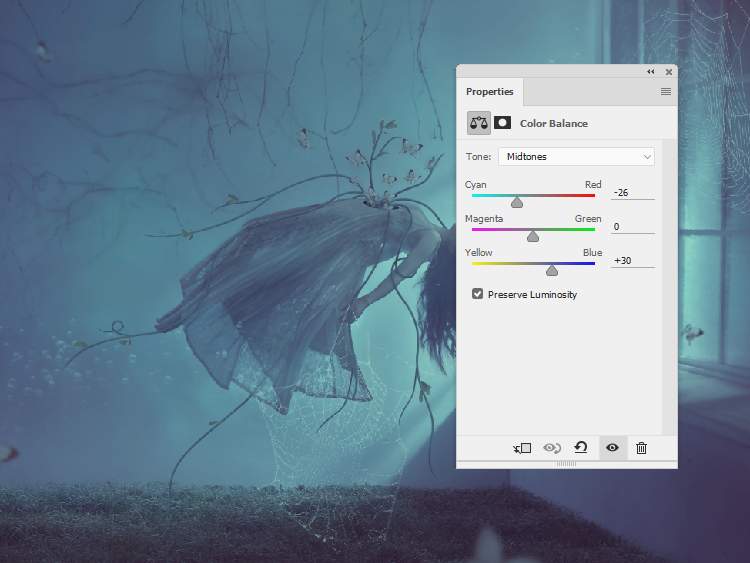
Step 35
Create aColor Balanceadjustment layer and alter the Midtonesand Highlightsvalues:

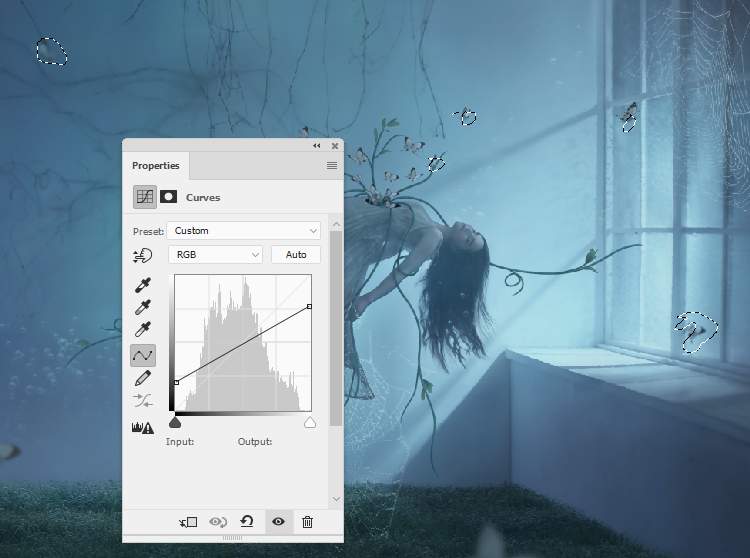
Step 36
Add a Curvesadjustment layer to darken the butterflies. On this layer mask, paint on the butterflies parts which are illuminated a little by the light from the window.

Make another Curvesadjustment layer to reduce the contrast of the butterflies. Use a soft black brush with the opacity about 20% to reduce the effect on some butterflies so they won’t be too dark or dim.
Step 37
Make a new layer on top of the layers and use a soft brush with the color #597e90,the opacity about 42%to paint on the butterflies around the hole to make them less visible.

Step 38
Create a Gradient Mapadjustment layer on top of the layers and pick the colors #e10019and #00601b. Lower the opacity of this layer to 20%.

Make a Color Balanceadjustment layer and change the Midtonesand Highlightssettings:

Step 39
Add a Photo Filteradjustment layer and pick Warming Filter (85).

Make a Brightness/Contrastadjustment layer to increase the contrast of the scene.

Step 40
Use a Vibranceadjustment layer to enhance the final effect.

Final Result

4 responses to “How to Create a Dreamy, Surreal Floating Photo Manipulation With Adobe Photoshop”
-

thanks for iit, very nice . if yoou can add the link for the psd, very good :)
-
Hello,
In what way I can find a Photoshop-brush by his own numer? Have I to check every numer
in ‘Brushes’? That’s a lot….Thanks en regards, Hans Keijzer.
-
Very helpful and thanks for sharing.
-
Amazing and fabulous , thanks for sharing .
Leave a Reply