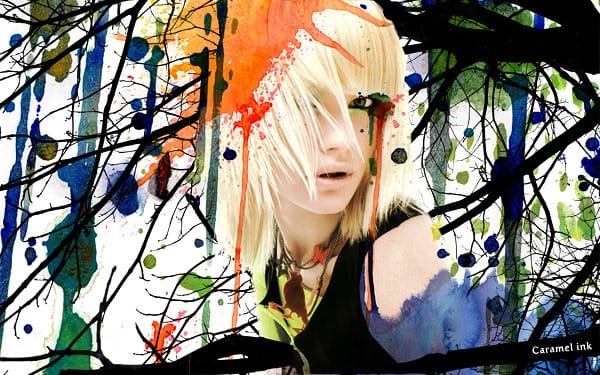
First we’ll look at the importance of choosing the right imagery and watercolor textures. Then we’ll go through some basic but powerful techniques for our design composition: background image extraction, layer masks and adjustment layers.
The tricks you’ll learn here can be applied in any design that requires a stunning background to bring the person/product to life.
Preview of Final Results
Download the PSD
Watercolor Fashion.psd | 28 MB
Download from Website
Fashion Watercolor Artwork Photoshop Tutorial
Tutorial Details
- Program: Photoshop Cs3
- Difficulty: Beginner
- Estimated Completion Time: 45 mins
Images Used
Step 1
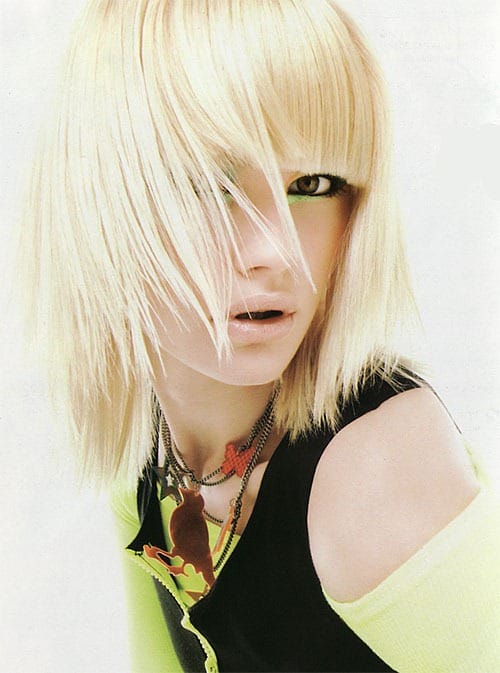
Let’s start by choosing our photo. The model’s pose is crucial in a fashion artwork. An excellent fashion photo will have the model in a stylish and effortless pose. A well lit photograph goes without saying. For this tutorial I’ve picked this beautiful stock image from Katanaz.
Step 2
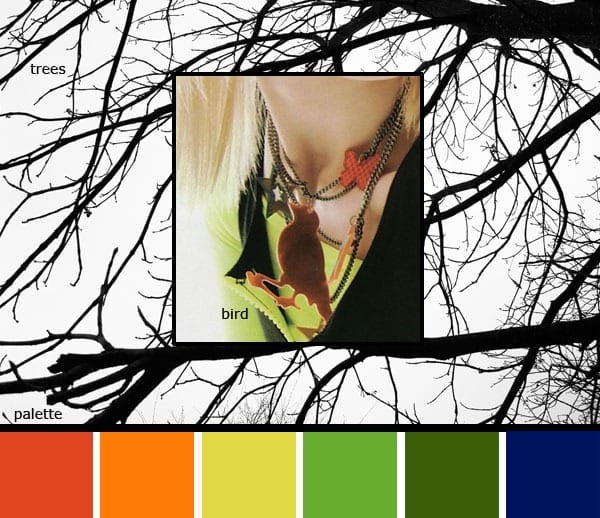
Next brainstorm ideas for the background artwork. You should ask yourself ” What elements can I use to complement the model”. Even when doing an artistic background with watercolor splashes, you should have a theme and use design elements that will enhance the model/product. Here my inspiration came from the lovely bird necklace and the bright yellow and orange tones. They make me think of a forest in summer. Hence the treesand the summer color palette.
Step 3
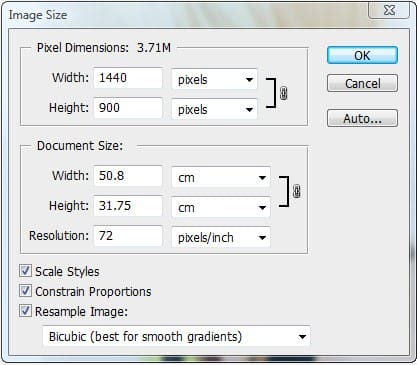
We’re now ready to begin our artwork! Let’s say we create this artwork for a fashion website. The rule of thumb for a website is to have the width at 960px but we’ll create our artwork larger so that people with wider screens can view more of the background. Create a new canvas of 1440 x 900 pixels, 72 dpi.
Step 4
Paste the picture of the model and rename the New Layer “model”. Resize (CTRL + T) the image proportionately to 45% of it’s original size. Apply a default Filter > Smart Sharpen to sharpen the image.

Step 5
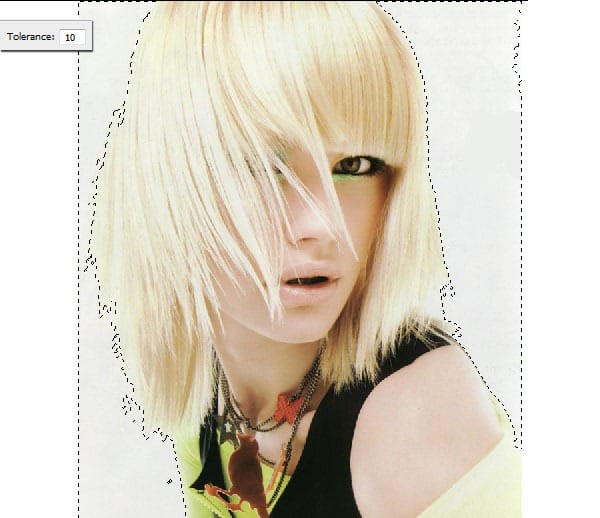
Now let’s remove the gray background behind the model. Use the Magic Wand Tool, Tolerance 10, click to make a quick selection on the left side background. Next hold Shift and click on the right side background to add it to the selection.
Step 6
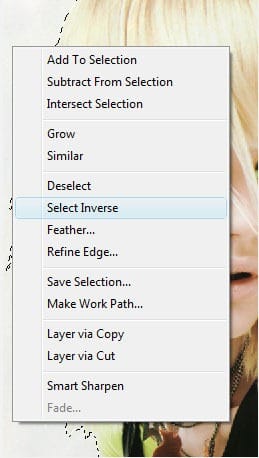
Right Click on the canvas and choose Select Inverse from the drop down menu.
Step 7
With the Magic Wand Tool still selected click on Refine Edge. This will allow you more control to refine the edge of our selection. It is a quick and easy tool that you can use in most projects where you need to extract a background.


Leave a Reply