Download Lightroom presets and LUTs, absolutely free. Use the presets to add creativity and style to your photos.
Preview of Final Result
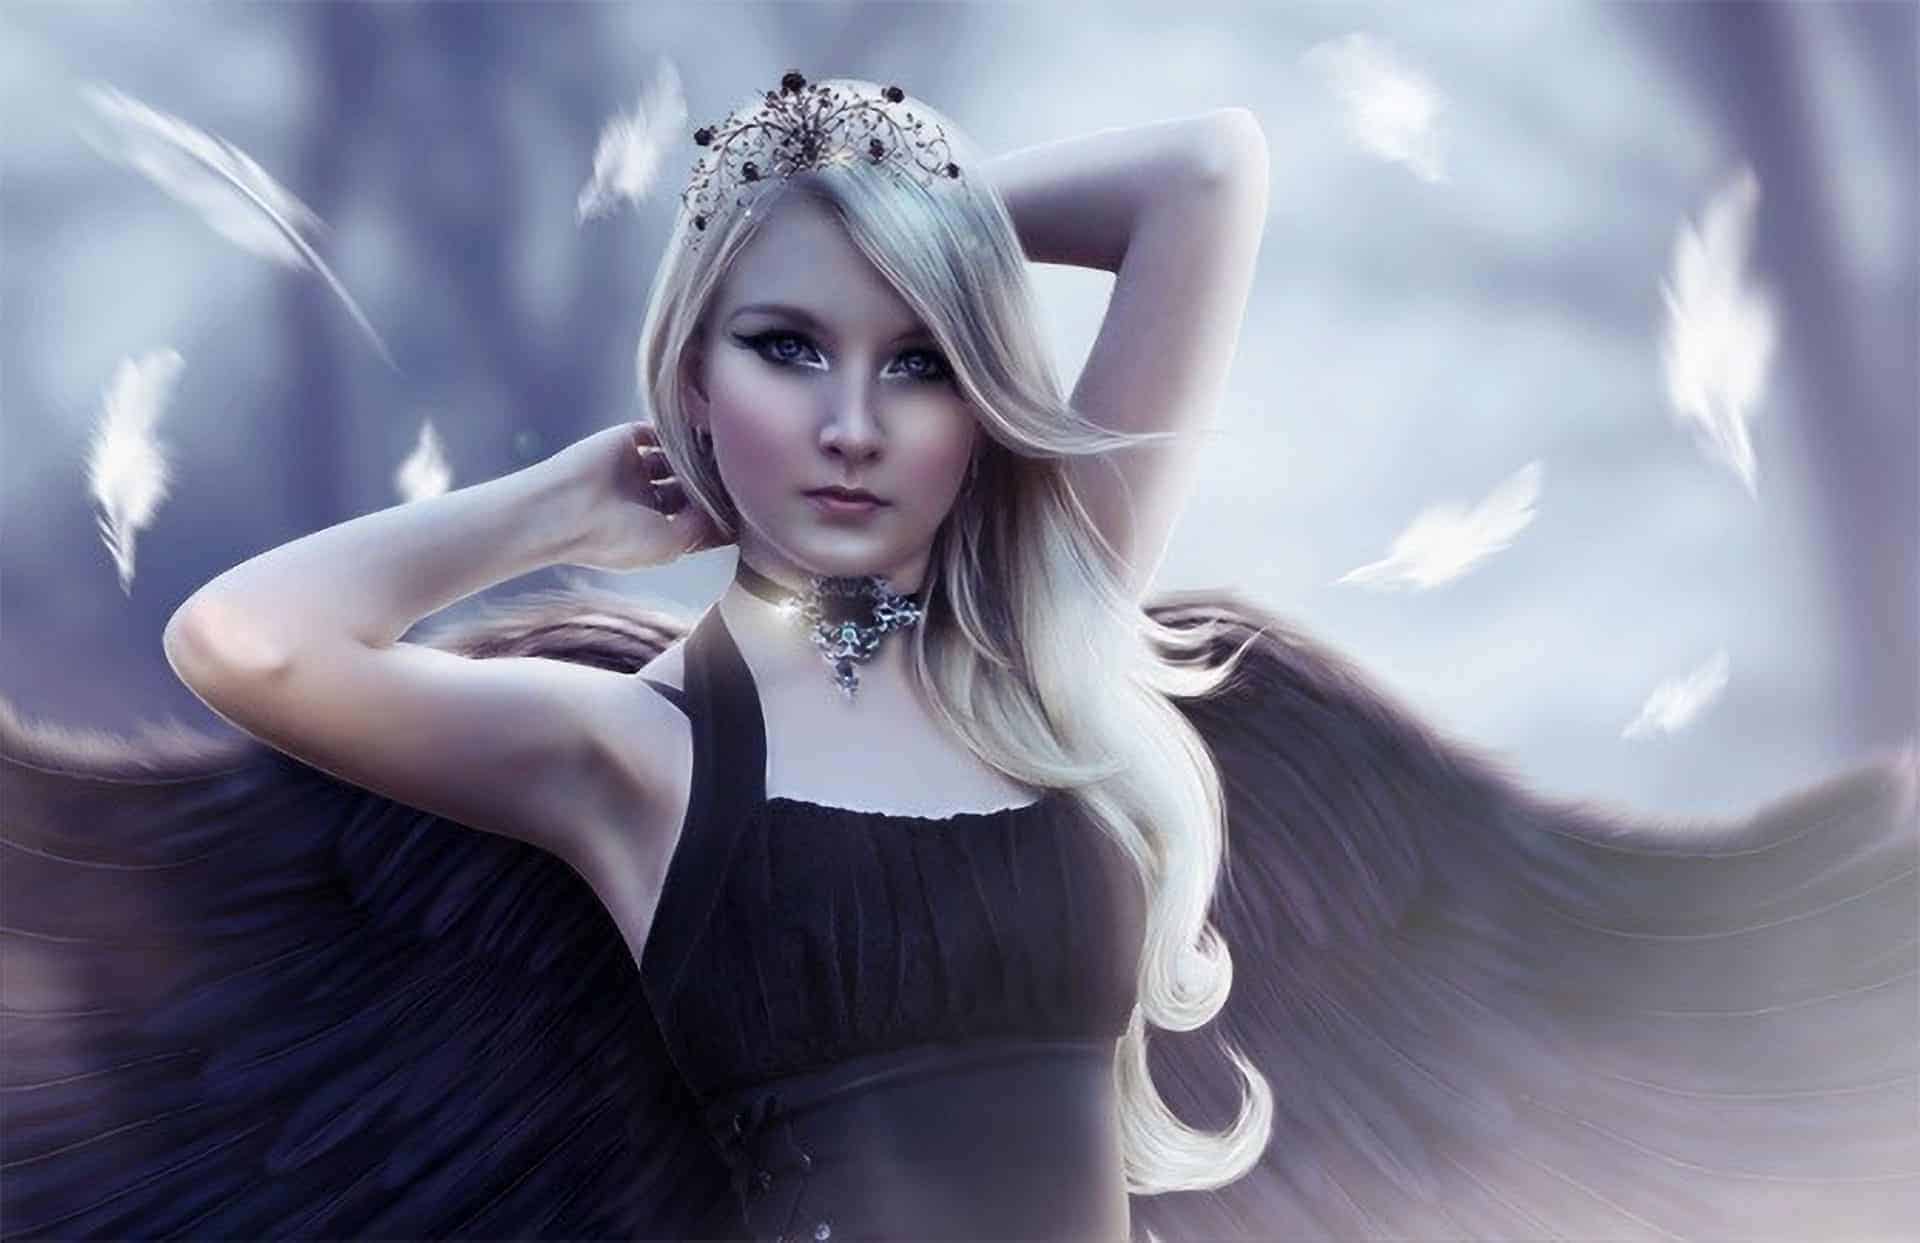
Emotional Photo Manipulation of an Angel Photoshop Tutorial
Tutorial Resources
- Model - Maria Amanda.deviantart.com
- Background - kuschelirmel-stock.deviantart.com
Wings - jtotheotothee.deviantart.com(Alternative)- Feathers - falln-stock.deviantart.com
- Crown - ybsilon-stock.deviantart.com
Step 1
Place a part of your background image as shown below.
Step 2
Go to Filter>Blur>gaussian blur and choose the desired value.
Step 3
Add the adjustment layers below: Hue/Saturation 0 -38 0 Color balance 0 -20 0
Step 4
Now working with the model. Place your model's image where you want or as shown here. Choose your pen tool and cut it around the model's body. You can use any other tool you're familiar with, but make sure to always have a mask on the original image. Sometimes, using my graphics tablet, I find it better to mask the model's image and use the eraser to isolate her from the background.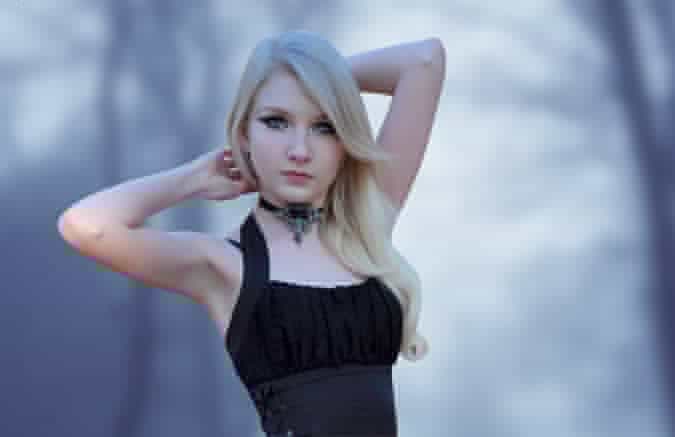
Step 5
Add layer masks to the model's layer as shown below. Tip: You can add those masks by pressing Ctrl+Alt+G or simply press Alt between every 2 layers on the layers palette. Make sure they are with the same order (Curves, Color Balance, Hue/saturation).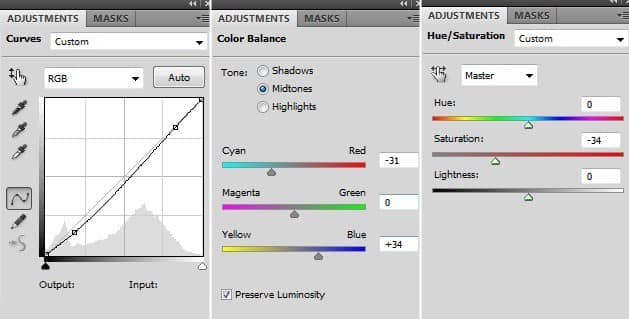
Step 6
This will be the result.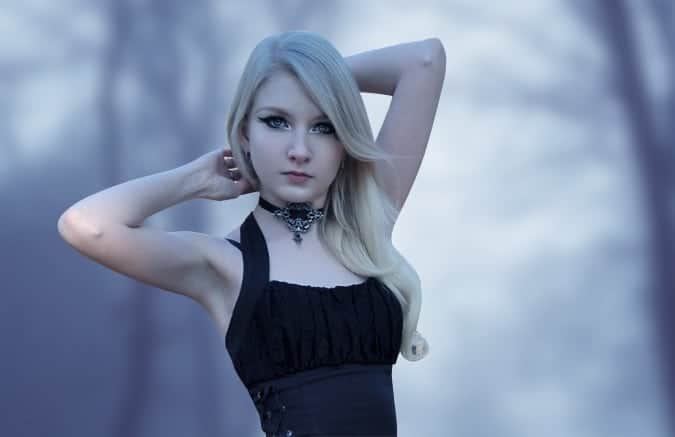
Step 7
Select the model's layer and go to layer>layer style>Inner shadow and apply the values shown below.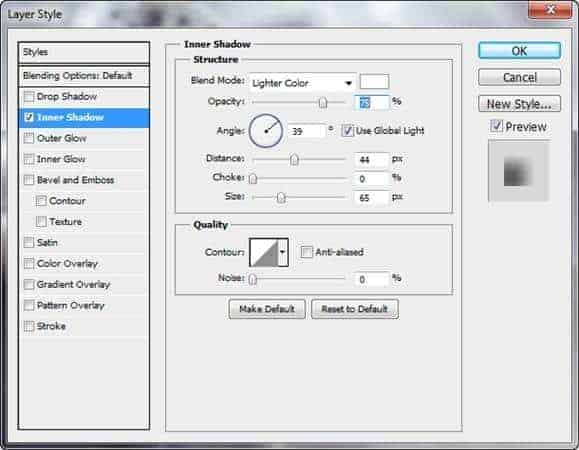
Step 8
This is how it should look like. You can also try an inner glow. Those two ways will soften the hard edges of the model.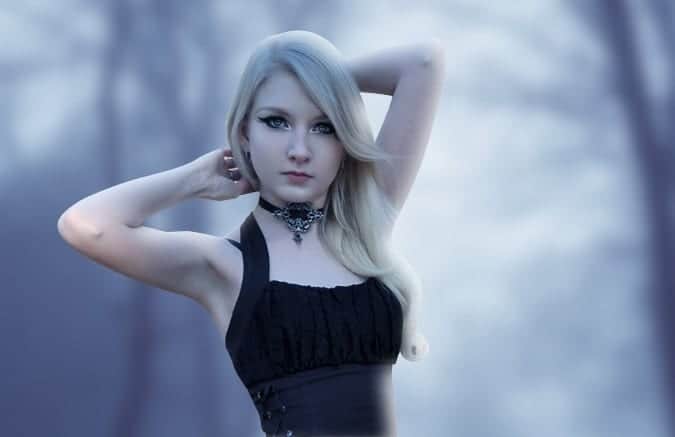
Step 9
Convert the model's layer into a smart object by right-clicking on the layer of the model and selecting convert to smart object. Don't panic, you can always go back to the original layer mask and layer style by double-clicking on that layer. Now select Filter>Blur>Surface blur with Radius: 10 and Threshold: 30 Select your smart filter mask (the white box) and fill it with black (9a). Tip1: If white was your background color and black was your foreground color select Alt+backspace. If it was the opposite, select Ctrl+backspace. Tip2: To choose default colors (Black and white) press D. To switch between foreground and background colors press Shift+X Select the brush tool and paint with white the hands and parts of the face. This will apply the effect of the surface blur therefore the skin will become softer. (9b) Be careful not to blur the mouth, nose edges, and eyes because this will make you lose details.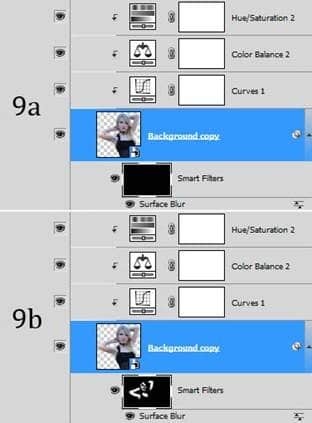
Step 10
This is how it should look like.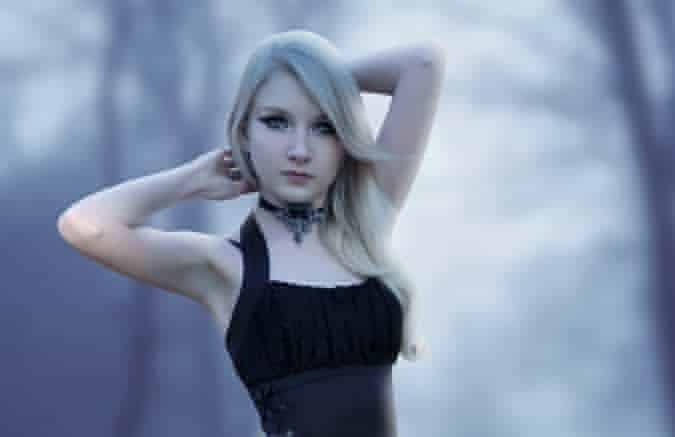
Step 11
Using a Graphics tablet I painted with white some edges on her arms and shoulder. Also, paint with light pink color on her cheeks and decrease the fill and/or opacity depending on your desire.


15 comments on “How to Create an Emotional Photo Manipulation of an Angel”
beautiful art!
Claer tutorial , fabulous ,thanks for sharing .
thank you very much for share . It's really amazing !!
its magnetic and so authentic learned many things from here. the model made is so beautiful.
its amazing.
Hey plz make a vdo of this tutorial on youtube
Thnx for the feedback Allicia. If you hover over the tab cealld Match Reports there is a drop down menu from there for each week's reports. I'll add a link to the front page also.
Actually its hard to make new image combining several images and also creative too. You have done well.
Your image works beautifully with the mask Nancy! Thanks for sharing these useful information….
Wings are not available :((
Pls fix
Very very creative tutorial and good instruction about photo manipulation.
Wings are not available :c
Hydrothunderr / hey man. ive been using this xyz too. but i was wondering what video caunpritg software you used. i wanted to contribute back to culino with a video in 4.1. great video by the way!
Really nice tutorial... It was a long time not using PS, this was perfect to
come back in the flow with it! Thank you!
Nice Tutorial maam.. "Like"
Model's picture not available pn 8-19-2012