![portal22[3] portal22[3]](https://cdn.photoshoptutorials.ws/wp-content/uploads/2012/09/portal223.jpg?strip=all&webp=82&avif=82&w=1920)
Step 23
I use some adjustment layers which are set on the top ( non-Clipping Mask) to change color of picture.
Selective Color:
![portal23[3] portal23[3]](https://cdn.photoshoptutorials.ws/wp-content/uploads/2012/09/portal233.jpg?strip=all&webp=82&avif=82&w=1920)
Color Balance:
![portal23a[3] portal23a[3]](https://cdn.photoshoptutorials.ws/wp-content/uploads/2012/09/portal23a3.jpg?strip=all&webp=82&avif=82&w=1920)
![portal23b[3] portal23b[3]](https://cdn.photoshoptutorials.ws/wp-content/uploads/2012/09/portal23b3.jpg?strip=all&webp=82&avif=82&w=1920)
Step 24
To increase the darkness for sky, make a new layer on the top. Use soft brush with color painting on two edges of sky and put the mode as Multipy 100%:
![portal24[3] portal24[3]](https://cdn.photoshoptutorials.ws/wp-content/uploads/2012/09/portal243.jpg?strip=all&webp=82&avif=82&w=1920)
![portal24a[3] portal24a[3]](https://cdn.photoshoptutorials.ws/wp-content/uploads/2012/09/portal24a3.jpg?strip=all&webp=82&avif=82&w=1920)
Step 25
In final step I use a Levels layer to increase contrast for whole picture, especially the light. Go to Layer-New adjustment layer-Levels, decrease the midtones but increase the shadows and highlights:
![portal25[3] portal25[3]](https://cdn.photoshoptutorials.ws/wp-content/uploads/2012/09/portal253.jpg?strip=all&webp=82&avif=82&w=1920)
Use soft brush on Levels layer mask to clear the contrast of sky and on the land:
![portal25a[3] portal25a[3]](https://cdn.photoshoptutorials.ws/wp-content/uploads/2012/09/portal25a3.jpg?strip=all&webp=82&avif=82&w=1920)
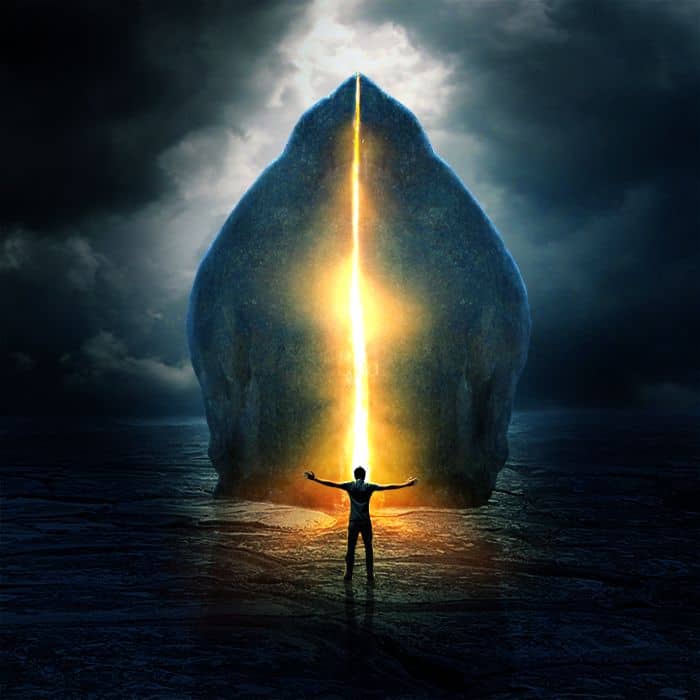
Final Results

Download the PSD
Tutorial by Jenny Le
End of tutorial


