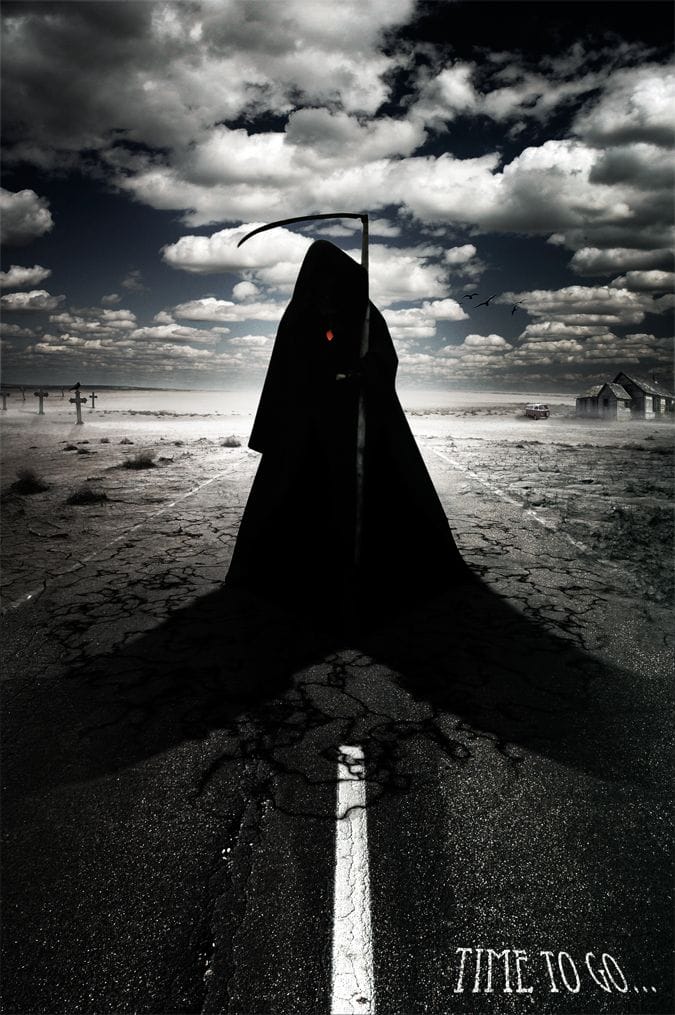
Preview of Final Results
Download the PSD
Reaper Scene.zip | 92.83 MB
Download from Website
Grim Reaper Scene Photoshop Tutorial
Tutorial Resources
Step 1
Open file “Road” in Photoshop. Use the Pen Tool (P) or the Lasso Tool (L) to make a selection of the road. To use the Pen Tool to make selections first draw the selection path then press Ctrl+Enter to transform path into selection. TIP (Hold Shift to add to selection, Alt to substract from selection and Shift+Alt to intersect with selection) After you selected the road press Ctrl+J to make new layer from selection. Turn off the original “Road” layer.

Step 2
Open file “Desert” and make a selection of the desert. Press Ctrl+J to make a new layer from selection than Ctrl+C to copy and into our document Ctrl+V to paste. Or you can simply drag and drop it into our document. Place it like shown in the image below. Place the “Road” layer above the “Desert” layer. Add a quick layer mask to the “Road” and using the Multi Purpose Brush with a black color mask away the edges of the road so it blends with the desert seamlessly. Lower the opacity and increase the size to mask the middle of the road. Look at my mask below for inspiration.

Step 3
Open file “Clouds” and press Ctrl+A to select all and Ctrl+C to copy than paste into our document by using Ctrl+V. Resize this layer like shown below than move it below “Road” and “Desert” layers. Because it is below the other layers we can skip adding a layer mask and to obtain the required clouds we will drag this layer up and down until it fits the scene. To blend the various layers into a veridical scene and to set a dark mood let’s add a curves adjustment layer and drag the curve downward. Because we want to keep the end of the road fairly light let’s select the radial gradient tool and with black and white as our default colors drag from the middle of the curves layer mask to the edges.

Step 4
Time to add the Grim Reaper! Open file “Black Cape” and make a selection of the Reaper (the person holding a scythe). Ctrl+C to copy and Ctrl+V into our document to paste. You probably noticed that this is a low-res picture with a lot of noise but for the purposes of this tutorial will be okay. To get rid of some of the color noise make a duplicate of the “Reaper” layer and apply Filter > Noise > Reduce Noise. Change the blending mode of this new layer to color so only the color noise will be affected leaving us with a crisp and detailed Reaper.
4 responses to “How to Create a Grim Reaper Scene Artwork in Photoshop”
-

some very cool designs. Thanks a lot for compiling an st.d sharing this li
-
Do I HAVE to pay for “Clouds” picture to have it..?
-
This is an awesome tut but the “desert” picture is no longer available on DeviantArt…..Could you suggest another pic?
-
@PhasmaParanorma I just looked at different pictures on Google of a “cracked desert” and found the most suitable one! :)
-
Leave a Reply