Make your artwork look like they're from an alternate universe. These Cyberpunk presets work with Photoshop (via the Camera Raw filter) and Lightroom. Download all 788 presets for 90% off.
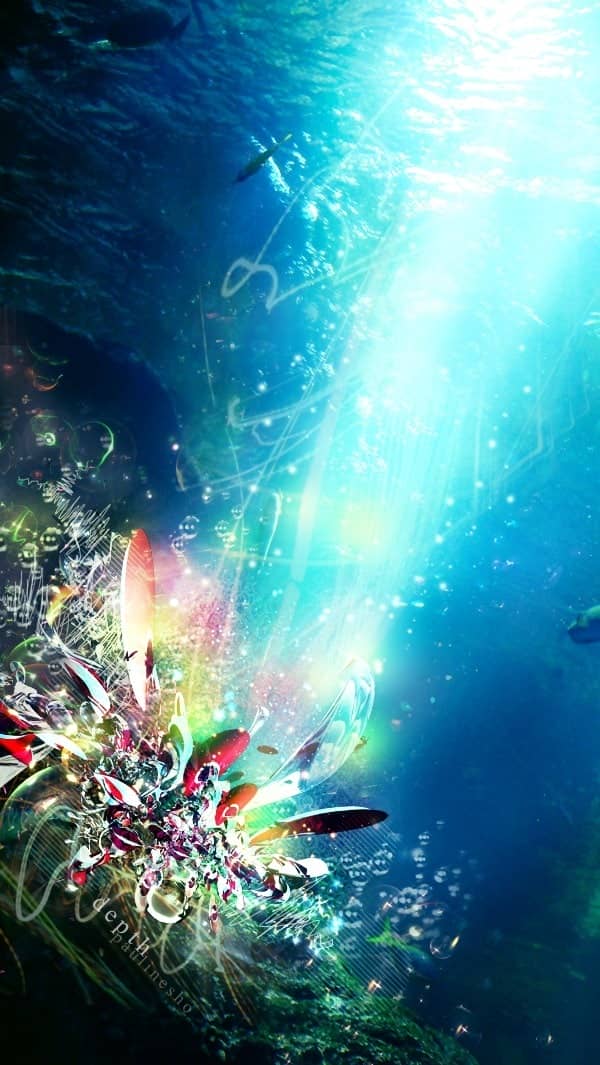
Ever imagined how the underwater world could have a creative, abstract side to it? This tutorial will guide you step by step on how to bring colors and life to a simple piece of stock photo using photomanipulation techniques. You will learn how to turn pieces of photographs into your very own piece of art. The steps are simple and rather easy to follow, don't be surprised at the technical simplicity behind this seemingly intricate piece.
Preview of Final Results
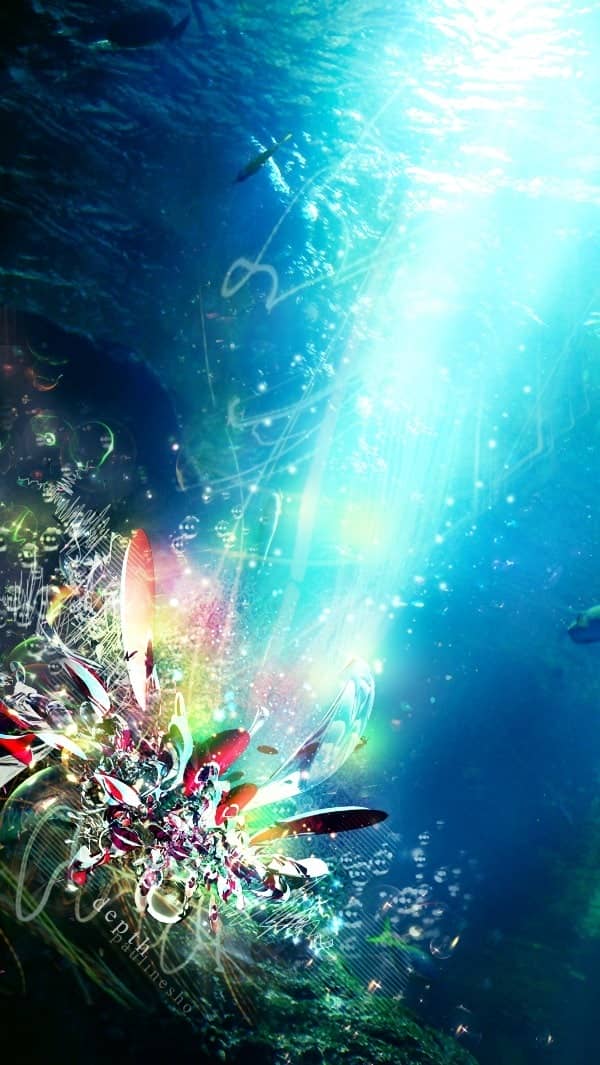
Depth: Underwater Photomanipulation Photoshop Tutorial
Resources
- Ocean stock - Bakanekonei
- Water Droplets - RaeyenIrael-Stock
- C4D Main Piece - stinky666
- C4D Renders - stinky666
- Vintage Texture - Lost & Taken
- Light Blur - Lost & Taken
- Light Texture - Sanami276
Step 1 - Creating a new file
Before creating anything you should visualize a concept which will be the basis of the piece, sort of like jotting down the main points before writing a full length essay. We usually start with the bottommost layer, which is the background. The background used here can be found through the link above (thank you Bakanekonei).

And it's always the best to keep the resolution as high as possible. So don't bother changing the image size.
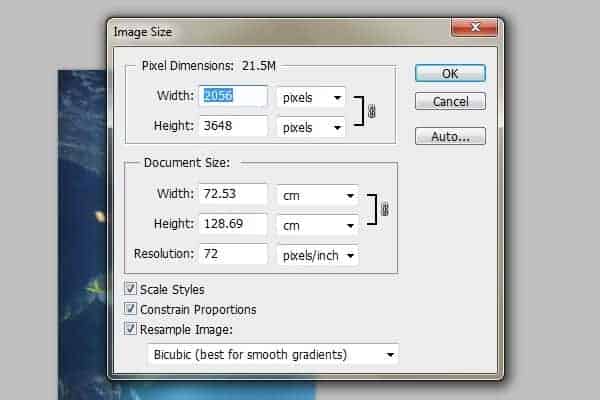
Step 2 - Erasing unnecessary parts
The next thing we're going to do is to slightly alter the background, so that it fits our concept. What we want to is shift the focus onto one subject, that is the C4D piece we'll deal with later. But you'll realize that the fish swimming around and the glowing eyes of the lion seem to steal the attention away.
So what we do is erasing parts that will possibly steal the attention and keep the background simple.
For simplicity, I'll be using the default soft brush to do all the erasing in this tutorial.

Like this.
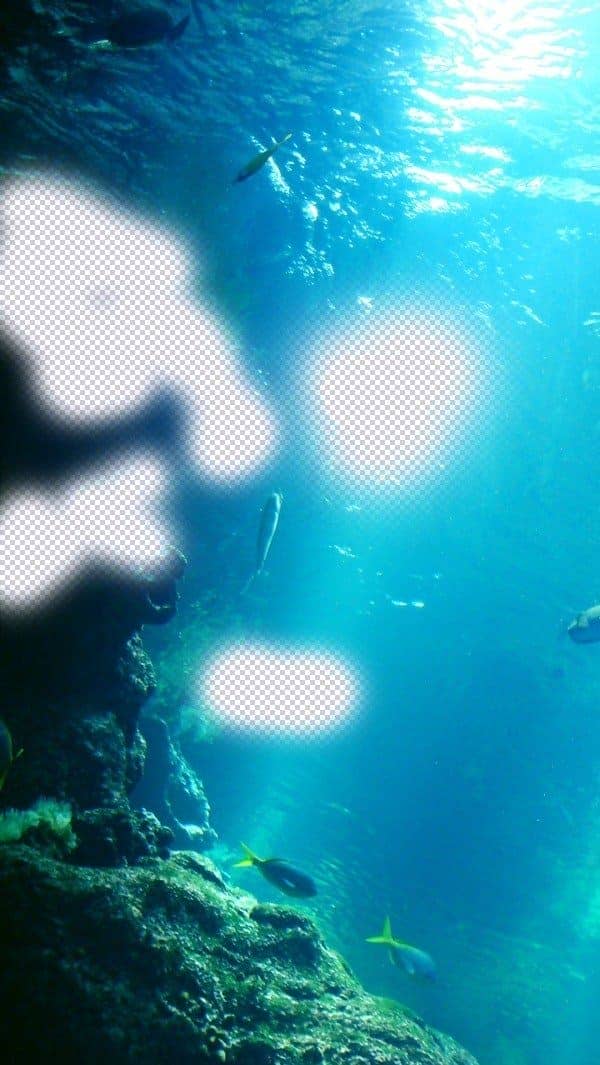
Step 3 - Vector Mask
Try to use vector mask because you can undo easily in case you wrongly erase. Click on the button (cicrcled in red) below the layers to create a vector mask.
Then, use a black default soft brush to erase. To undo the erasing, just use a white soft brush and brush over the background. While doing this, make sure you're selecting the vector mask in the Layers panel, not the layer itself (which shows your image). The vector mask is the one on the right. But it's alright to do it the traditional way, which is what I do too.
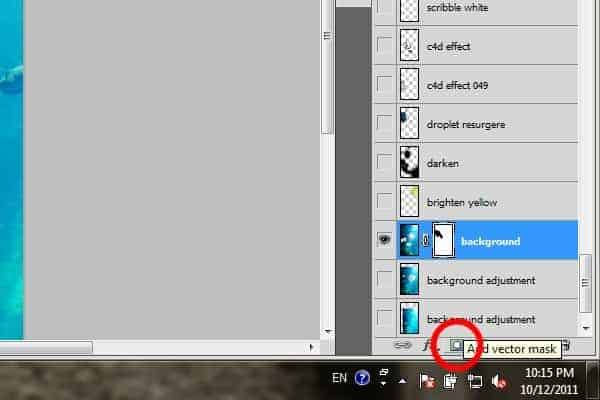
Step 4 - Duplicating and Adjusting Background
Now duplicate the layer (Ctrl+J) and place it below the main background. Move the duplicated layer around so that both layers blend together well and appear to be as one.

6 comments on “How to Create an Underwater Abstract Art in Photoshop”
Elle, Glad you got value from the post. I think it's great too. And, I think people often unstmedeirate the curiosity and adventurous spirit in these age groups!
Thankyou for share bz this is extremely nice and useful
Some of these tutorials are extremely good, magazine like. Thanks for sharing!
Thank you for the tutorial. It turned into my first photoshop project; took me a few hours and some frustration, especially at the beginning, but I feel I understand it much better now :) your directions were also very clear!
I really can't find the C4D craze from stinky666, can you maybe share the picture or a link to the picture?
كلشي ما فتهمت