Download Lightroom presets and LUTs, absolutely free. Use the presets to add creativity and style to your photos.
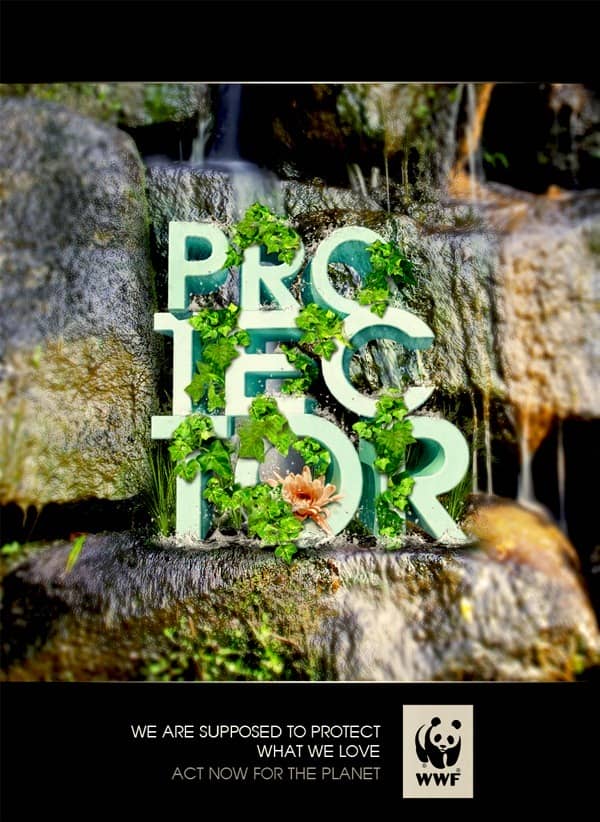
In this tutorial we are going to learn how to make a poster inspired by WWF creative posters. With a couple of images, we will create a beautiful realistic typography with natural theme. We will learn how to blend these images together to make them become a nice one. This tutorial is full of tricks and tips to manage layers and your images.
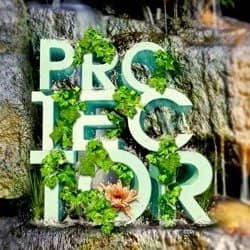
Preview of Final Results
Resources
- Grass - Alegion-stock
- Splash - Best-stock
- Lotus Flower - AJK-orginal-stock
- Floral Frames - free sources
- Water Fall - free sources
Step 1
We start with Sketch Up Pro - a free 3d software of Google - to make a 3d typography. Of course you can use any other 3d software to do this.
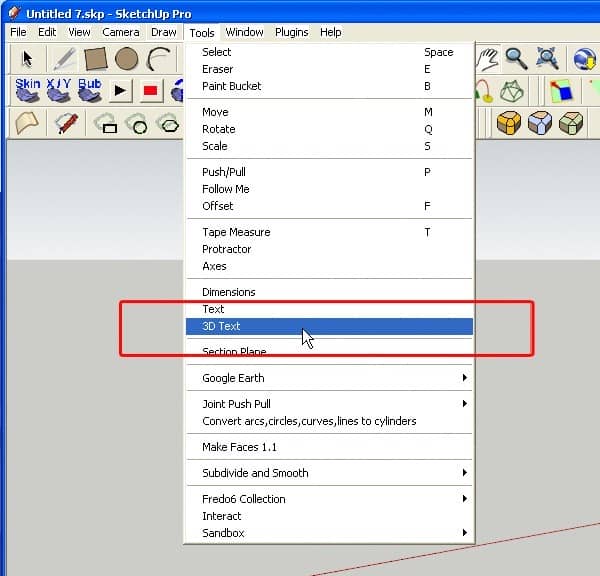
In Sketch Up window. Choose Tools>3D Text
Step 2
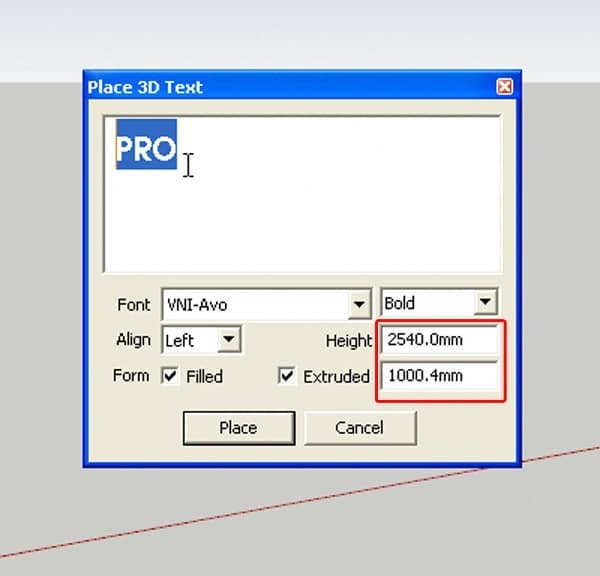
A new window appears! Now simply type your text in. I typed "PRO" here. You could choose any font you want to as long as it's beautiful :). Please set Height and Extruded like the image. Then just click Place or press ENTER.
Step 3
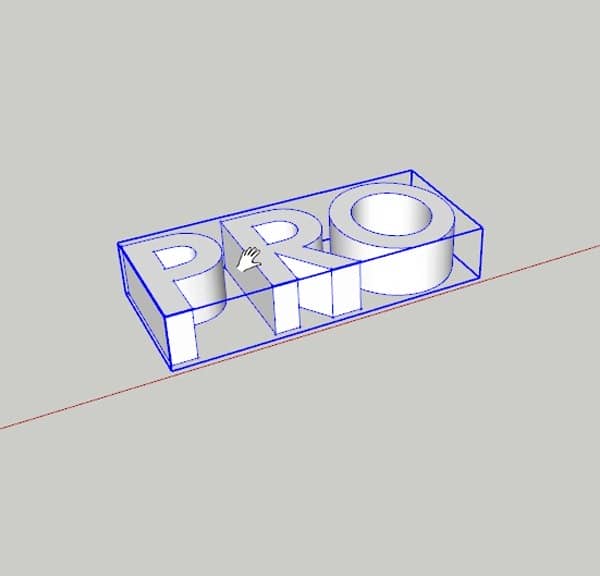
And your 3D text appears.
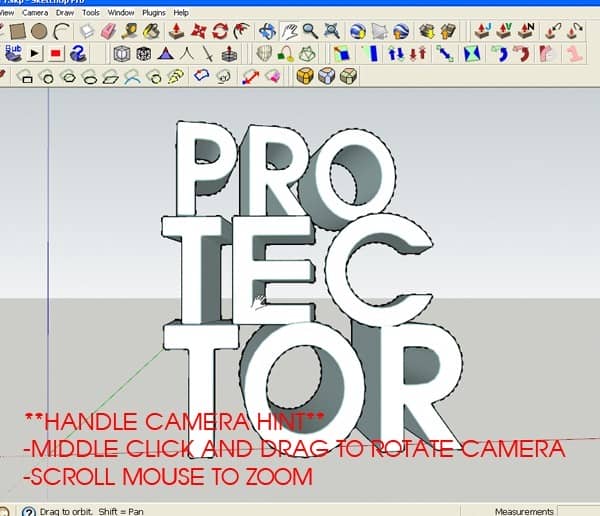
You can handle your camera easily by middle mouse click and drag to orbit; and scroll mouse to zoom in / zoom out
You can move your text by press "M" then click in your text and just drag it.
Step 4
Repeat step 2 to make "TEC" text and "TOR" text ; then move it like this:
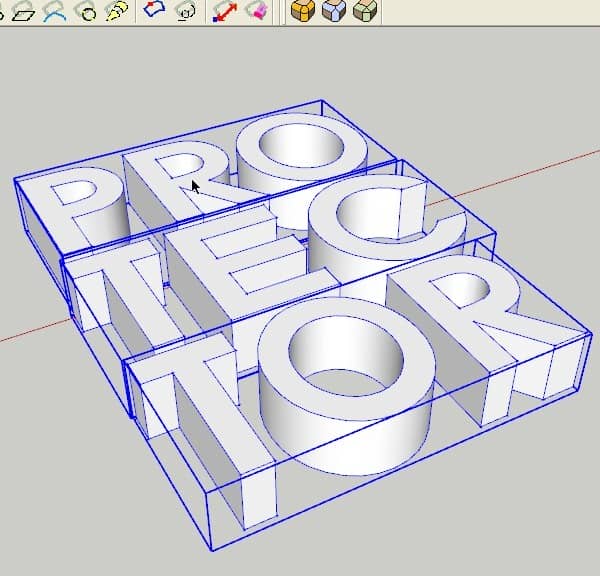
Step 5
Click Rotate tool or just press R while still selecting 3 texts
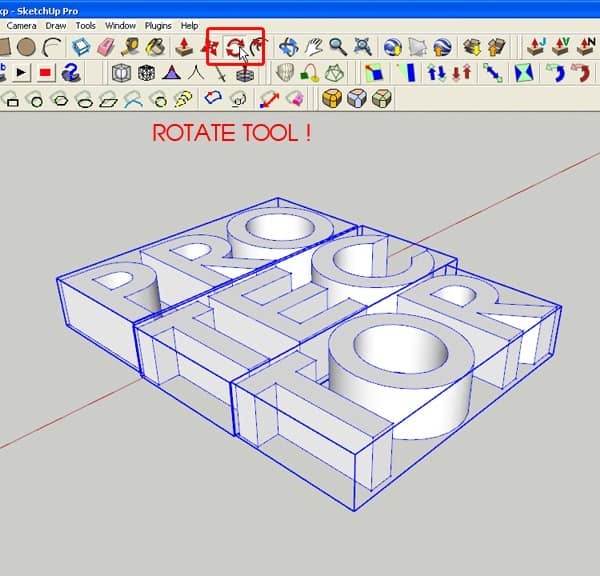
Step 6
Then click your rotate tool on the side of the text ; then click and drag to rotate it ( on blue axis ) to make the texts "stand up" like this.
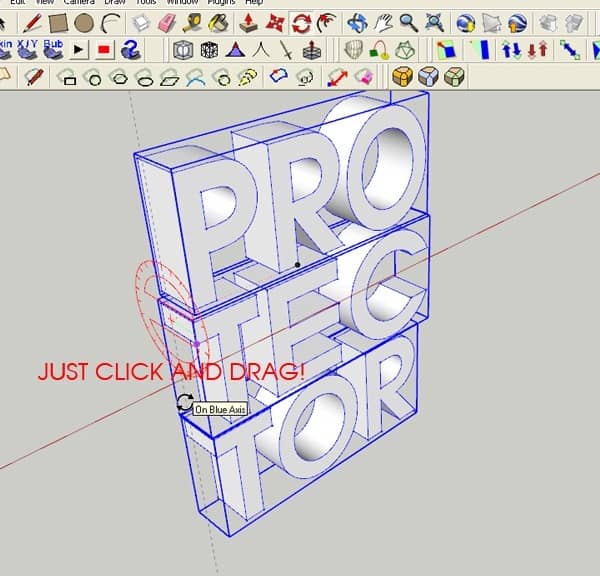
Step 7
Now select one of your texts - then press S - ( this is Scale tool ) - then click and drag your text like this to make it thicker.
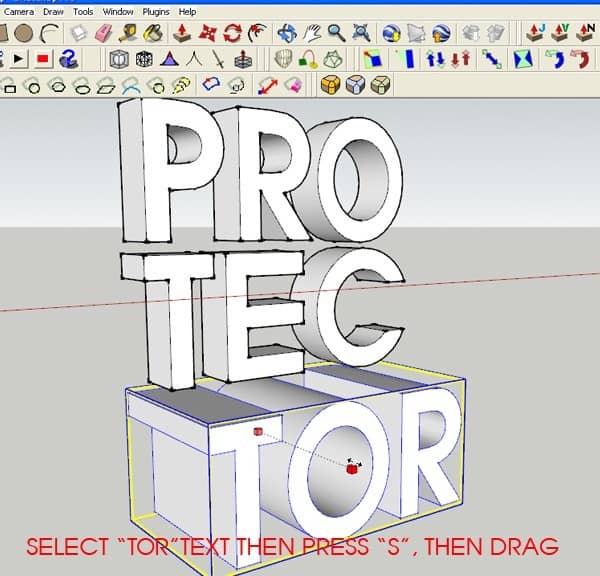
Step 8
Repeat step 7 for all your texts to have this:
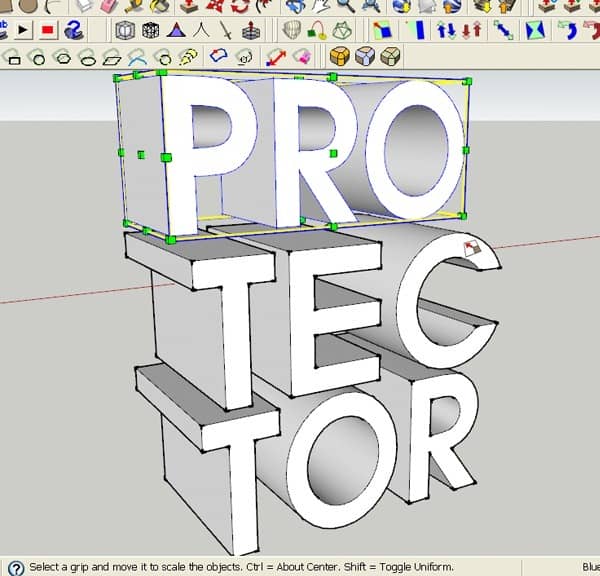
Step 9
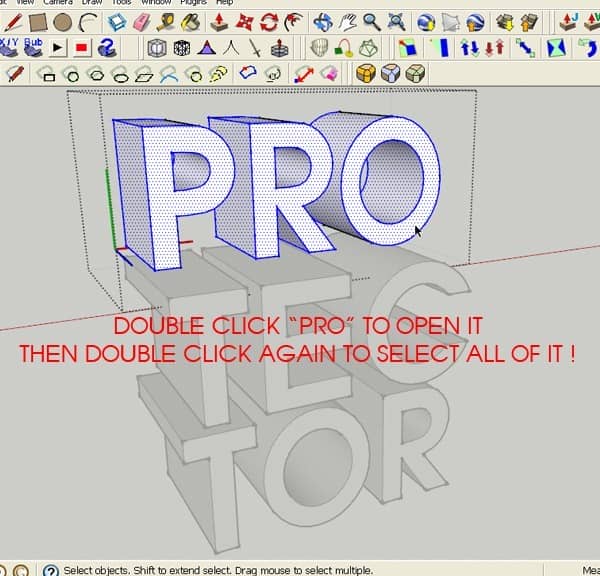
click on PRO to choose it. Then double click to open it. Then double click again to select all of it. If your text is covered with blue dots like this then it's fully selected!
Step 10
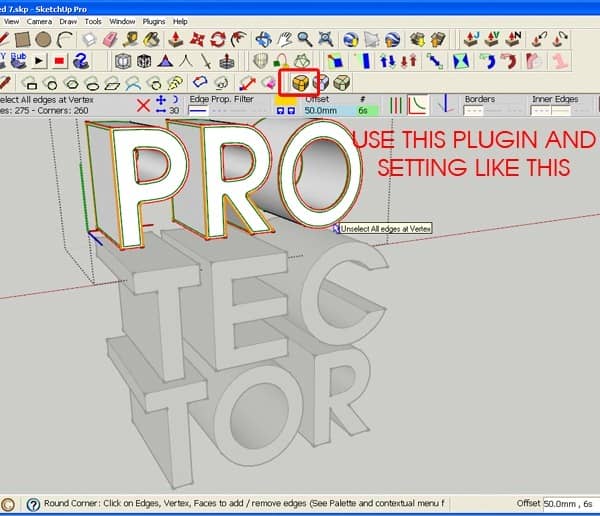
While selecting the text. Click this button ( in the image ) to use the plugin (Round Corner) . Then setting like below. And press ENTER to execute
Step 11
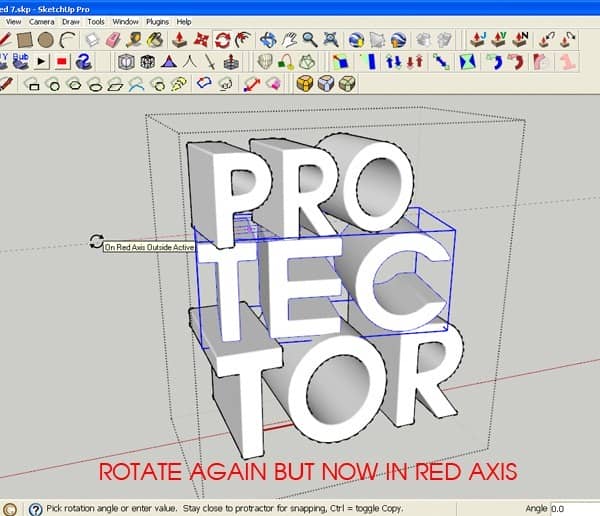
Just wait a few second and the plugin will make nice round corner for your text!. Do it again for "TEC" and "TOR" to have this. Then use the ROTATE TOOL again to adjust "TEC" a little on red axis to make dynamic feeling.
Step 12
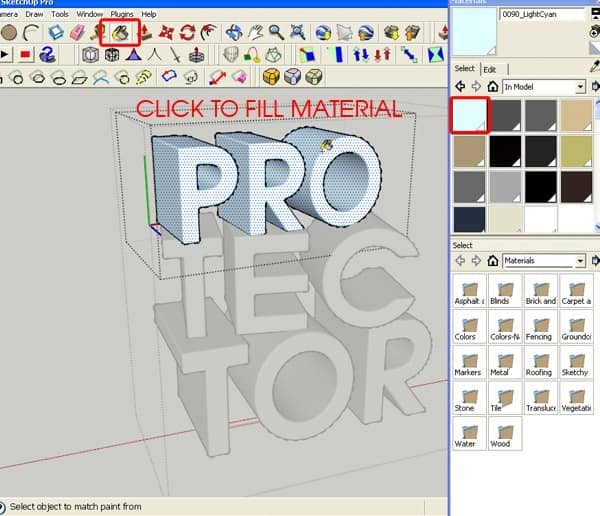
Press "M" or click this icon to access Material dialogue. Then choose this nice cyan color ( or any light color you like for your text ) ; then you just click the text to fill material. Do it again for all 3 texts. I just want a little color for the best render image ( maybe white is just ok - but I prefer a little hue )
Step 13
Now adjust your camera to this nice view. We will render this view.
Step 14
You will need Vray for Sketchup - a well-known render engine - . We don't have to setting much because the default setting of Vray is already nice enough. I just need to adjust a little about image size.

7 comments on “Create a Nature Text Effect Poster in Photoshop”
Hello There,
Thanks for taking out your time and create this awesome step by step tutorial of Natural Poster.
Definitely good to use your tips in my new poster design
How to restore image after fixed?
Chomir Ali I want delete sun image what to be made by effect
Thanks for this tutorials...really helpful
niceeee
WOW....
thanks