
Sometimes a print or online project needs an outline-type silhouette instead of an actual photo, in order to illustrate a project. By using the Threshold tool and the Gradient tool, we can make a few unique effects to complement a print of online design.
Preview of Final Results

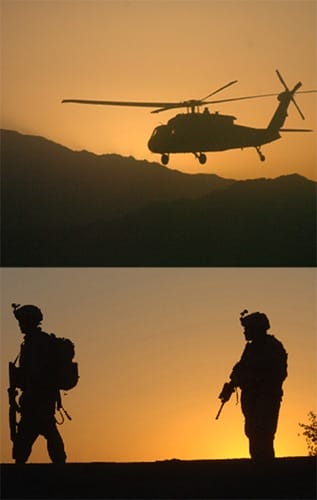
Silhouettes and Gradients Photoshop Tutorial
Step 1
Open up an image that has a clearly-defined outline that differentiates elements within the photo. Download one of these two support files to follow along with these examples, which are in the public domain.
Support Files
Step 2
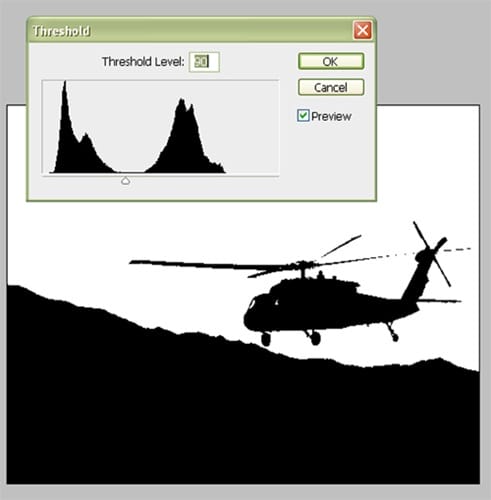
Go to Image>Adjustments>Threshold.

Step 3
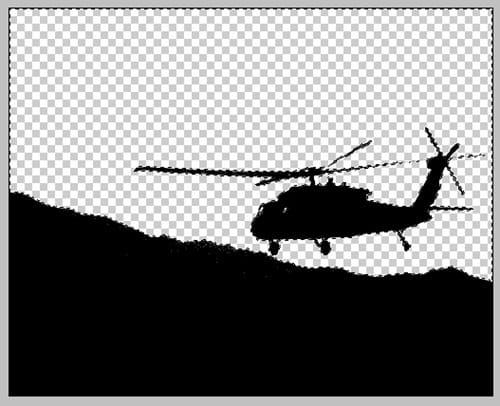
Drag the arrow so that the subjects in the photo and other areas we want to be visible are black. For the helicopter photo, place the arrow between the two areas of pixels. For this example, I set it to 90. Press OK.
Step 4
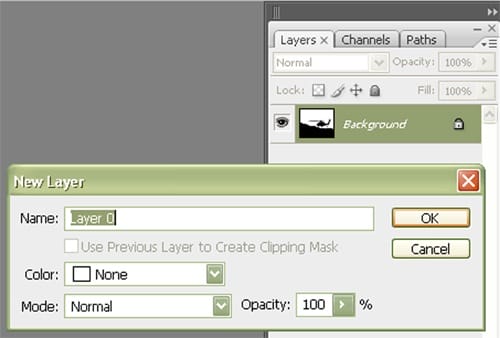
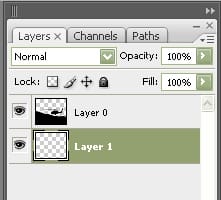
We need to make the Background layer a normal layer in order to remove the white pixels. Double-click the Background layer and click OK to name it its default name, Layer 0.
Step 5
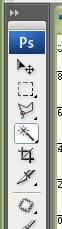
There are many ways to select the white pixels, but let’s just use the simple Magic Wand tool.
Step 6
Set the Tolerance to 0 and make sure Contiguous is unchecked. This will ensure that the white pixels that are not adjacent to, or contiguous to, the white area of pixels that we click will still be selected.

Step 7
Click somewhere in the white pixels and press Backspace to delete them
Step 8
Next, click on the New Layer icon on the bottom of the Layers palette to create a new layer. Click-and-drag this layer so it’s below Layer 0.
Step 9
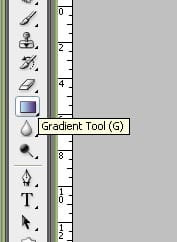
With the Marquee Selection tool, click somewhere on the image to de-select the pixels, if they are still selected. Select the Gradient tool.
Step 10
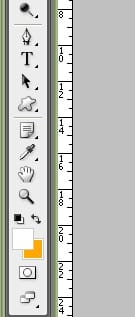
With Layer 1 selected in the Layers palette, and the Gradient tool selected, double-click on the Foreground Color selector near the bottom of the toolbar. Set it to White. Double-click the Background Color selector and set it to an orange hue. I set mine to #ffa800. This sets the color of each side of the gradient.
Step 11
Click-and-drag from the top of the image to about a fourth from the bottom. Press Shift to maintain a straight vertical line.
23 responses to “Silhouettes and Gradients”
-

Pretty decent tutorial
-
how i do dis shit?
-
I liked it, But it could use just a bit of work on explaining certain things.
-
I got an F on this tutorial. Im failing high school :(
-
easy
-
ayee lmao
-
HOLA AMIGUITOS DE YOUTUBEEEEEE
-
Hola compallero
-
-
Good One….It really works
-
not bad
-
Worthless
-
I don’t understand! IT’S HARD!:c
-
no mms
-
-
It really works thank you i was having problem with the photoshop.
-
very easy and finished!
-
tis is bob
-
-
i have seen really long tutorials but this one was quick and easy!
-
Very nice and this quick tutorial was very much helpfull for me. many many thanks.
-
quick tutorial, and very handy for a quick brainstorming !! great!!
-
nice and thanks for this quick tutorial
-
im am bob
-
is tis a good website
-
i know dude bob is my homie
-
Leave a Reply