


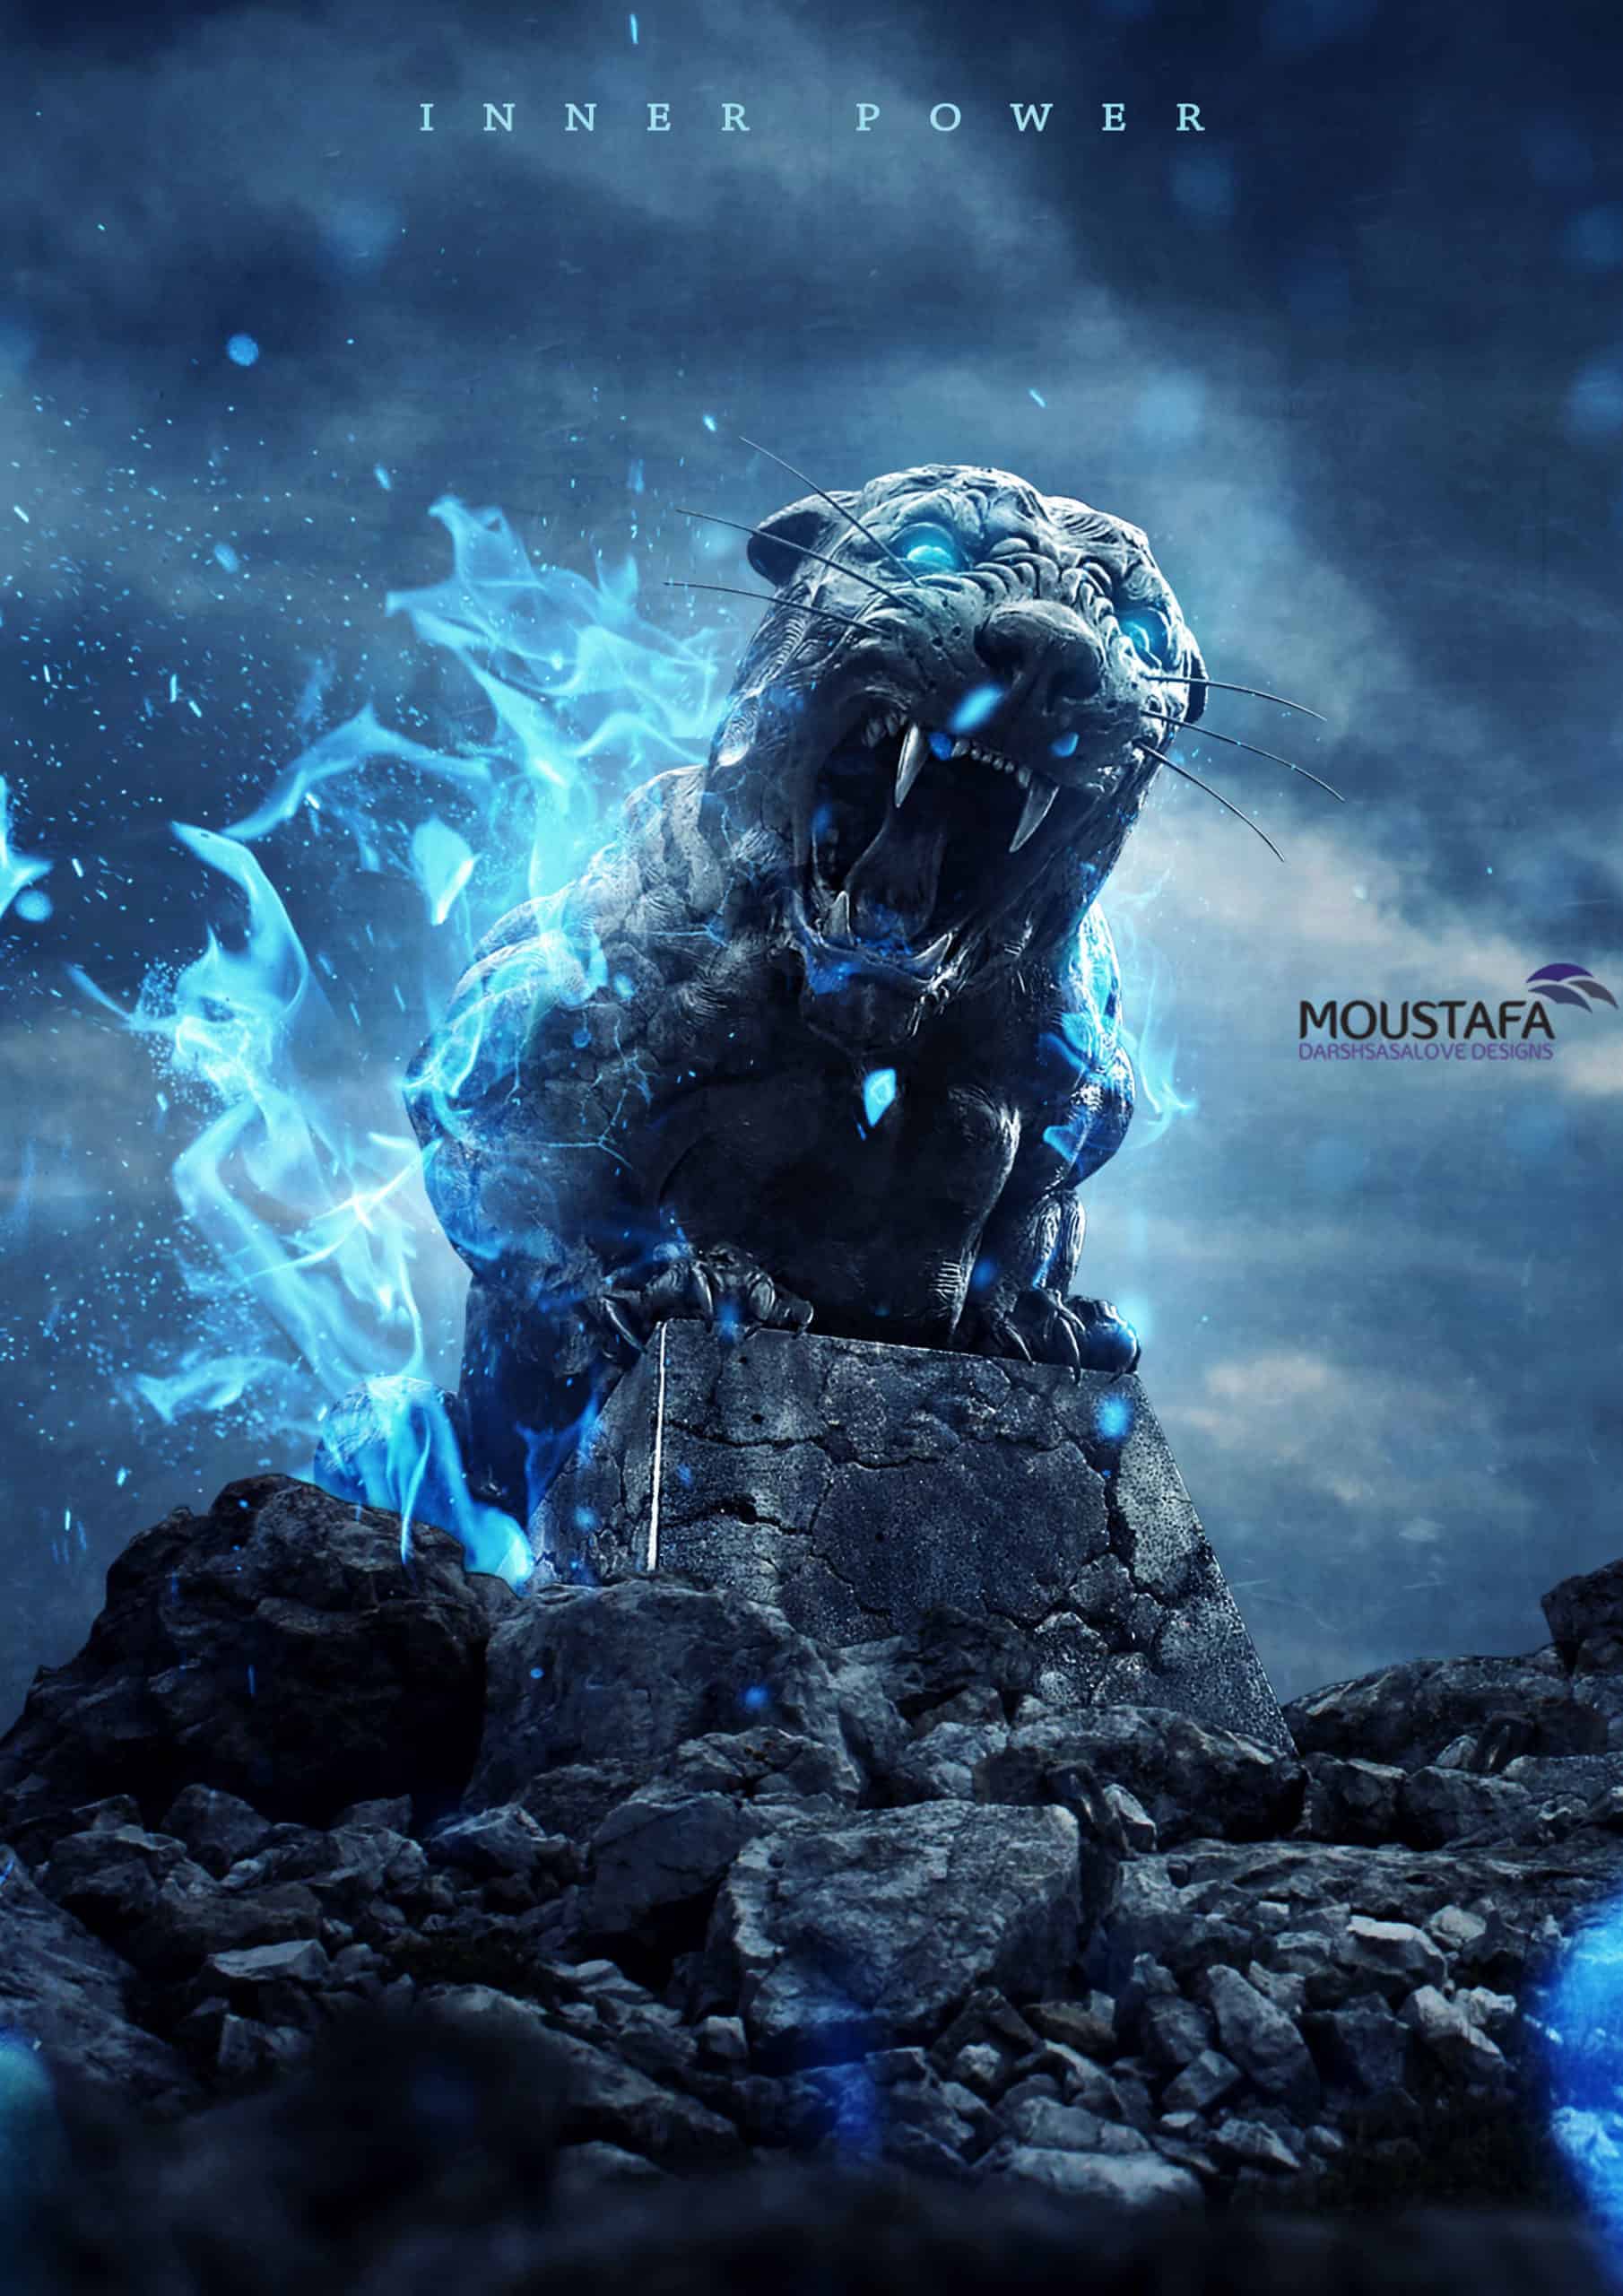
In this tutorial, I’ll show you how to create a fantasy photo-manipulation using basic adjustments and some stocks and how to add some textures and make it look like a fantasy fire and show you the way how to use the clipping mask and the mask as a professional and play with the lights.
Preview of Final Results
Tutorial Resources
- Panther– SephirothXer0-Stock
- Rocks– ALP-Stock
- Sky– sacral-stock
- Fire 1– Ayelie-stock
- Fire 2– Ayelie-stock
- Fire 3– Ayelie-stock
- Cracked Wall Texture– adigitaldreamer
- Texture 1– smaragdistock
- Texture 2– Sirius-sdz
- Texture 3– Sirius-sdz
- Texture 4– Sirius-sdz
- Texture 5– Sirius-sdz
- Texture 6– koko-stock
Step 1
Let’s start with creating new document in Photoshop. Go to . Set the width to1038px, height to 1468px, and resolution on 300 Pixels/Inch.

Step 2
Now, Place sky stock as it is shown by selecting .. and name it Sky. Photoshop will automatically place the image as smart objects, then Resize it to be like this.

Step 3
Place the Rock Stock too by selecting .. and place it as shown in the image below. Name it “Rock Back”.

Step 4
Select the Pen tooland set the mode to “Path”.
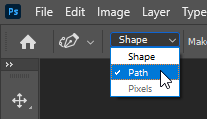
Use the Pen tool to create a path around the rock as shown below.

Step 5
Right-click on the path and select “Make Selection”. Set the “Feather Radius” setting to 1 pixel then click OK.

Step 6
In the Layers panel (), click on the “Add layer mask” button. Make sure that you have the “Rock back” layer selected.

Step 7
The layer mask will hide the area that we selected earlier. Your results should look like the image below.

Step 8
Go to and place the Panther stock image. Like in the previous steps, use the Pen tool to create a selection of the panther. Right-click on the path and select “Make Selection”. Click on the “Add layer mask” button in the Layers panel.

Step 9
Select the “Rock Back” layer and duplicate it (Ctrl/Cmd+J). Move the layer above the “Tiger” layer. Flip the layer by going to .

Step 10
Duplicate the “ROCK” layer and rename it to “ROCK Shadow”. Move this layer under the “ROCK” layer (so that it’s 2nd from the top).

Step 11
Rasterize the “Rock Shadow” layer by right-clicking on the layer and selecting “Rasterize Layer”. Then, go to .

Step 12
Right-click on the “Rock Shadow” layer and select “Blending Options”. Checkmark the “Color Overlay” style and use the following settings:
- Blend Mode: Normal
- Color: Black
- Opacity: 100%

Step 13
Blur the “Rock Shadow” layer by going to . Set the “Radius” to 10 pixels then click OK. Lower the layer’s opacity to 50%.


