Preview of Final Results

Tutorial Resources
- Dark clouds ahead– Free Images
- A slow fall– mjranum-stock
- Wing PNG 1– evelivesey
Step 1
Start by creating 1416×1416 px image. These are dimensions of cd cover.
Step 2
Paste “Dark clouds ahead” stock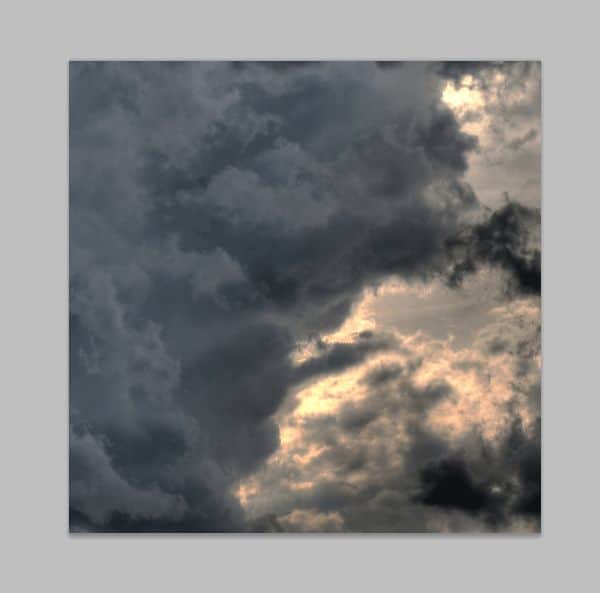
Step 3
Add new adjustments layer (menu Layer > New adjustment Layer) with brightness/contrast. Set it: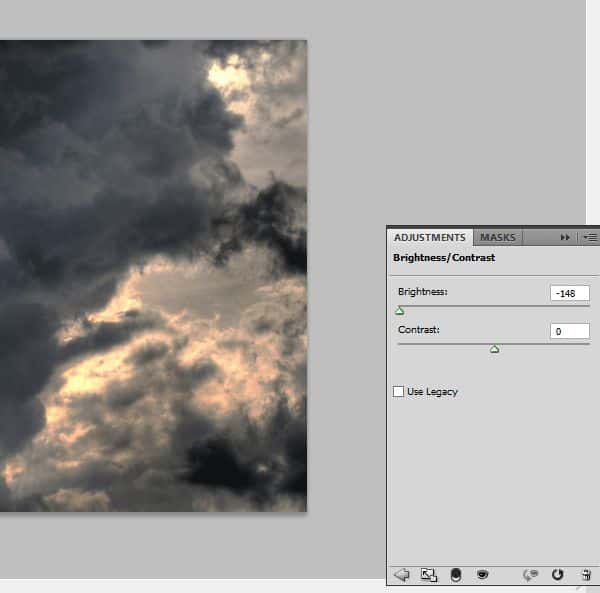
Step 4
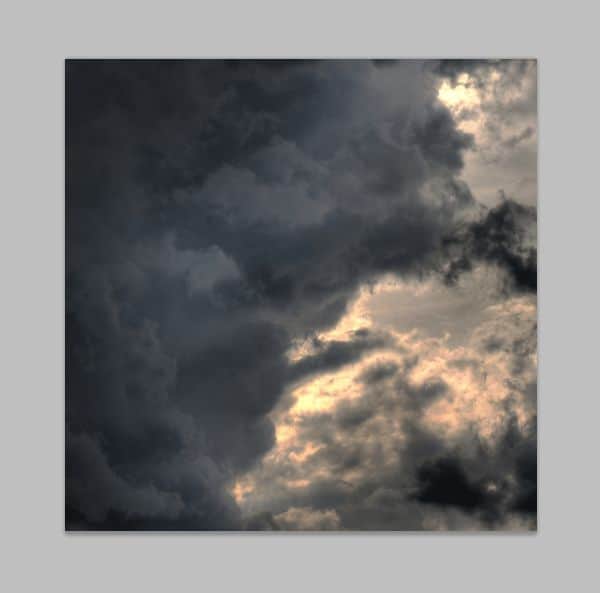
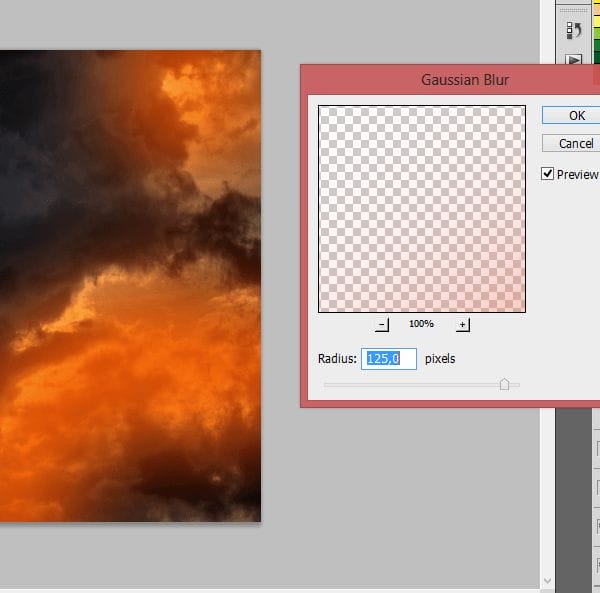
Still background isn’t well. Add new adjustments layer with brightness/contrast. Set it:
Step 5
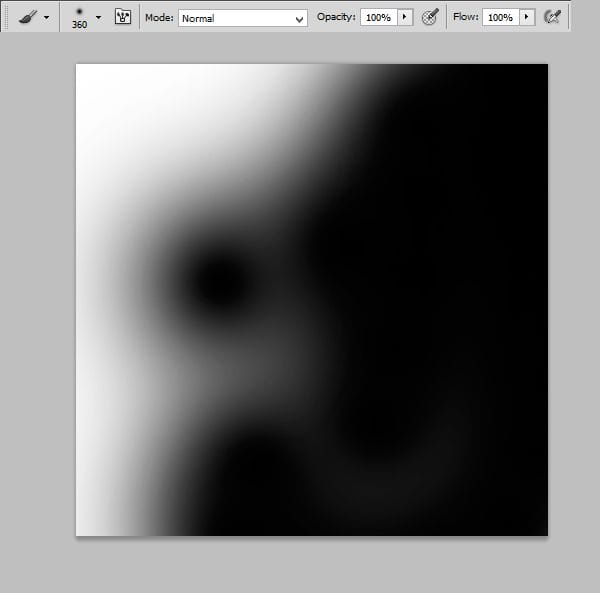
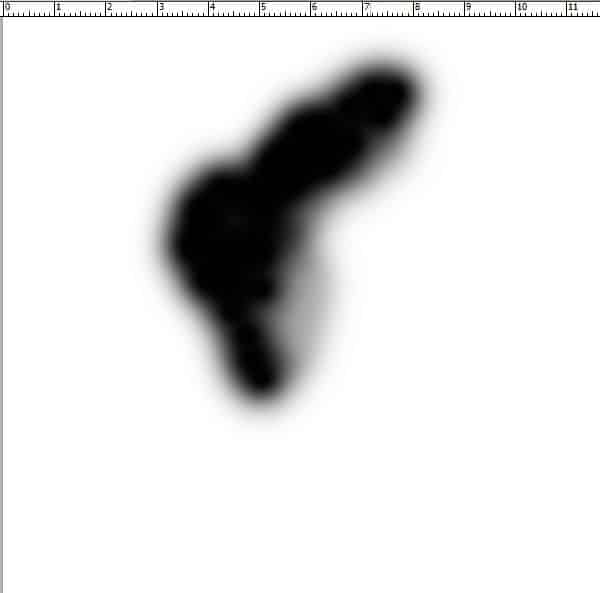
Now you should add some lights on background. Add new layer. With the same brush and #f46307 color draw, where you want to show lights.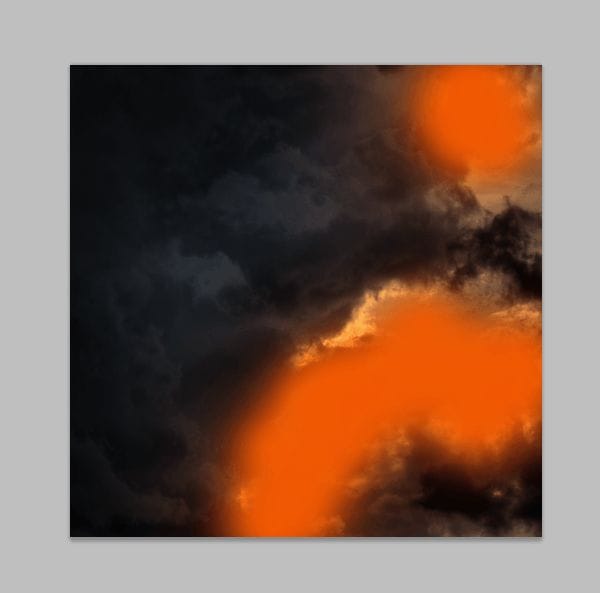

Step 6
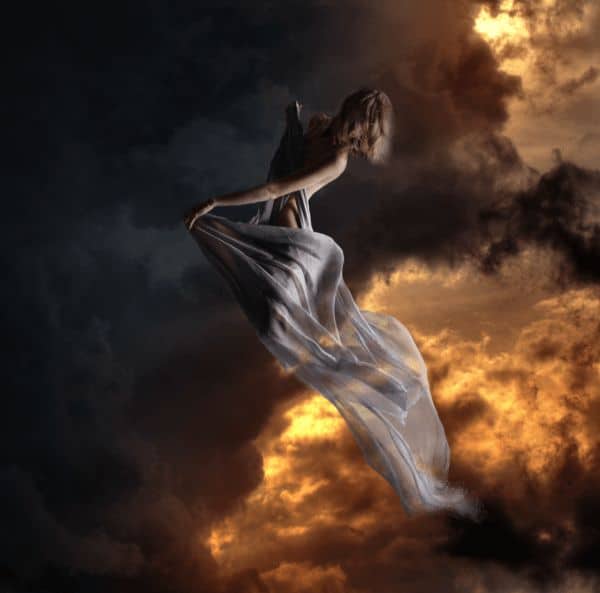
It’s time to model! Paste “A slow fall stock” and mask it.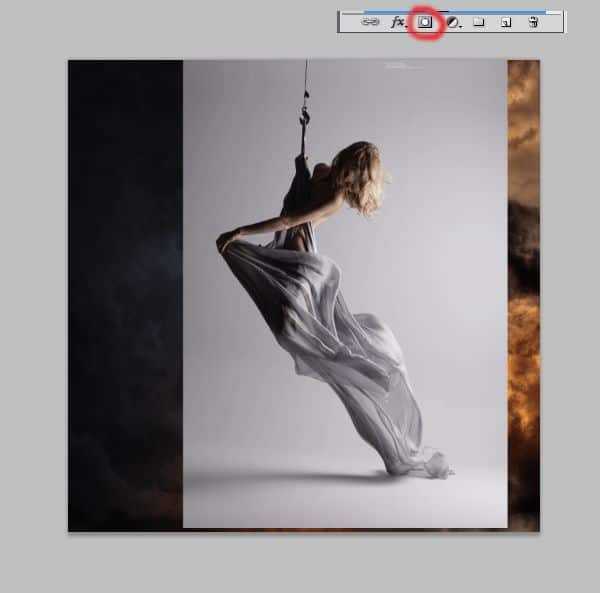
Step 7 – drapery
But what with this awesome silk material? Here’s the trick! Choose 38 px soft brush and change opacity of it to 40%. Then draw gently on lighter parts of material, but remember: try to use different opacity and size. On folds, opacity should be smaller.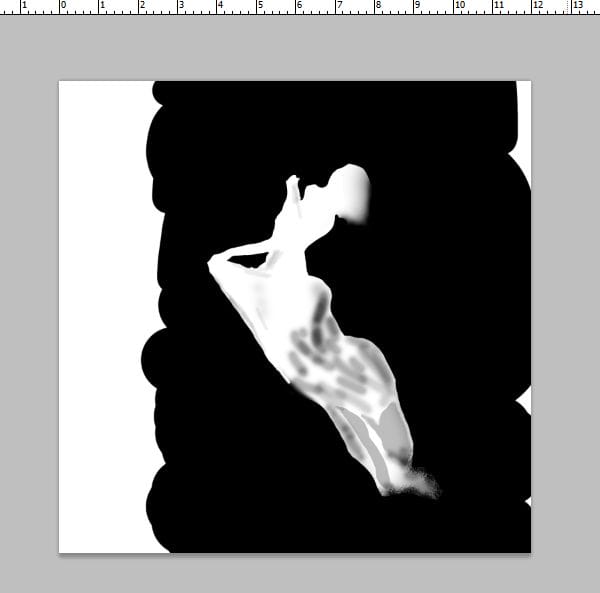
Step 8
Now prepare model to particles. With Rough round bristle black brush on mask draw some on the edge of material.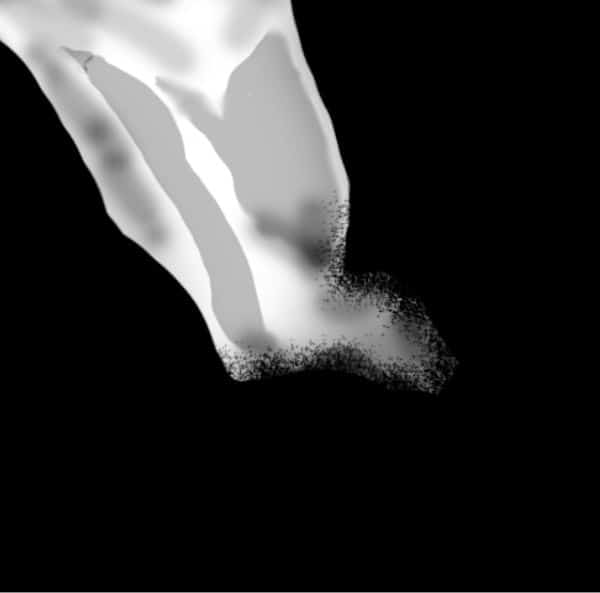
Step 9
On layer with model add adjustment layer with color balance. (Right Click on Adjustment layer > Create clipping mask)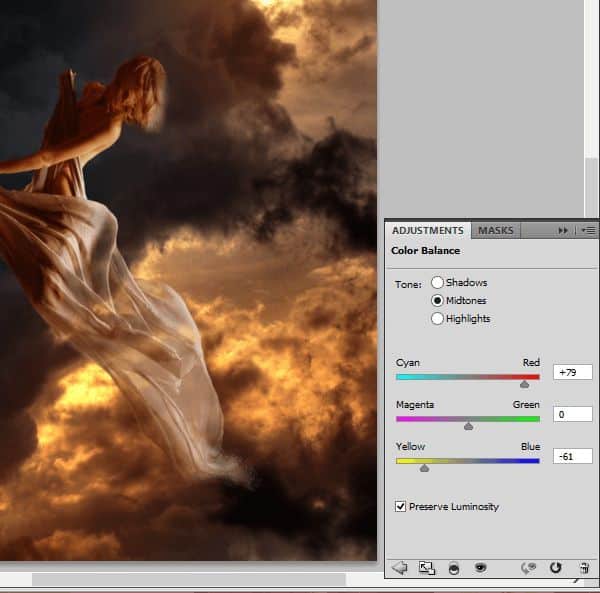

Step 10
We’ll start making wings. Under the model layer paste first wing. Transform it free and in perspective.
Step 11
Do the same with second wing.
Step 12
Now press ctrl and choose layers with the wings. Then Click Right Mouse Button and from menu choose Convert to smart object.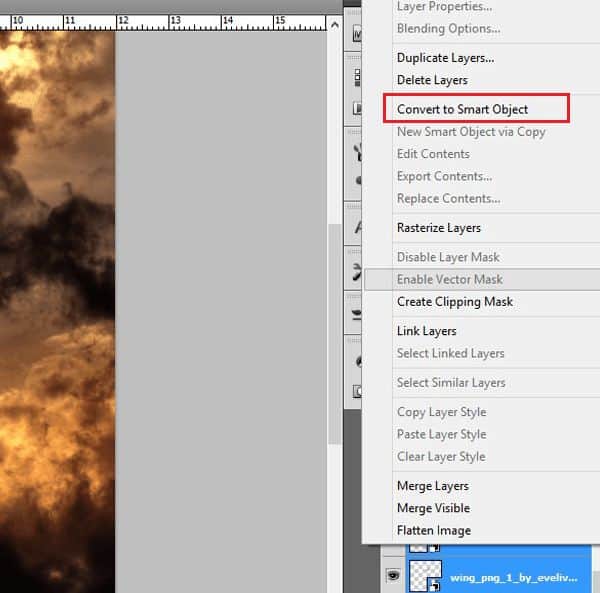
Step 13
From menu choose Filter > Filter gallery. From menu choose Stylize > Glowing edges.18 responses to “How to Create a Flying Angel Photo Manipulation in Photoshop”
-

Thanks for your tutorial but the 3rd stock photo is broken! Any mirror???
-
Fixed! Thank you for letting us know!
-
-
Thank you for the lesson. It was very interesting to work with the “hand” and I enjoyed working on “Wings” Each piece of lesson is a masterpiece . Step 39 is beautiful. I tried, it’s my work http://j-p-g.net/if/2015/09/26/0380636001443278656.jpg
-
👍
-
-
simply woow !!!!!!!
-
awesome and unique collection of sequence photography i love it.
Thank for sharing. -
the steps are incomplete…
-
Amazing Tut. Thanks a lot for great sharing!
-
Great job I have learned a lot from your tutorial. Thank you so very much.Shading has always eluded me, but you made it seen so easy.
-
Great job I have learned a lot from your tutorial. Thank you so very much.
-
so nice
i come here everyday
wanna learn more skills -
I disagree, her English is fine. However, she should be more clear with some instructions. I mean, for example you tell people to add an adjustment layer or transform it. Sure, most of us know that but some don’t. You need to tell us where to find it in brackets like this: (Cmd+T or Edit\Transform).
-
Sorry but it is just impossible to understand what your saying in English as it makes no sense.
-
Powiedzcie jak zrobić photoschop? Bo ja nie wiem jak zrobić photoschop.
-
very interesting
-
I love this design it’s really unusual and original
it symbolises hope and death and matches my personality]
please can you make some more pictures like this
love you lots like jelly tots
smithy blue -
Very nice
Thank you! -
pingin ngganti foto provil
Leave a Reply