
In this tutorial I’ll show you how to create an emotional scene using photo-manipulation skills. You’ll learn how to play with color, blend using adjustment layers and brush, add texture, work with lighting effect and more.
Tutorial Resources
- Model – TwilitesMuse
- Cave – chocolateir-stock
- Land – oddmountain
- River – Burtn
- Sky – Vividlight
- Mountains – Burtn
- Bear – aussiegal7
- Tortoise – EveLivesey
- Vulture – Momotte2stocks
- Leaves – Meyiing
- Trees – dbszabo1
- Grass-1.jpg – zememz
- Texture 1 – smaragdistock
- Texture 2 – MoraNox-Stock
- Texture 3 – ClarabellafaireStock
Step 1
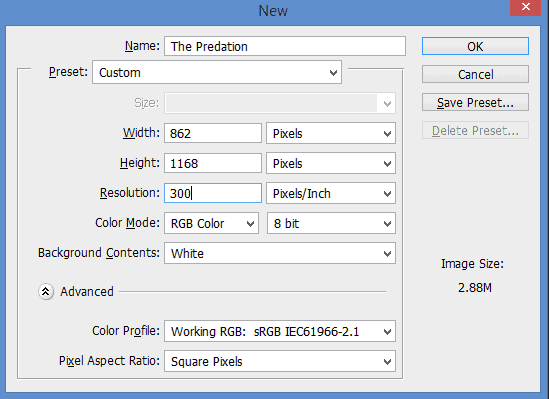
Let’s start with creating new document in Photoshop. Go to File > New .. Set its Width on 862px, Height on 1168px and Resolution on 300Pixels/Inch. Press OK.
Step 2
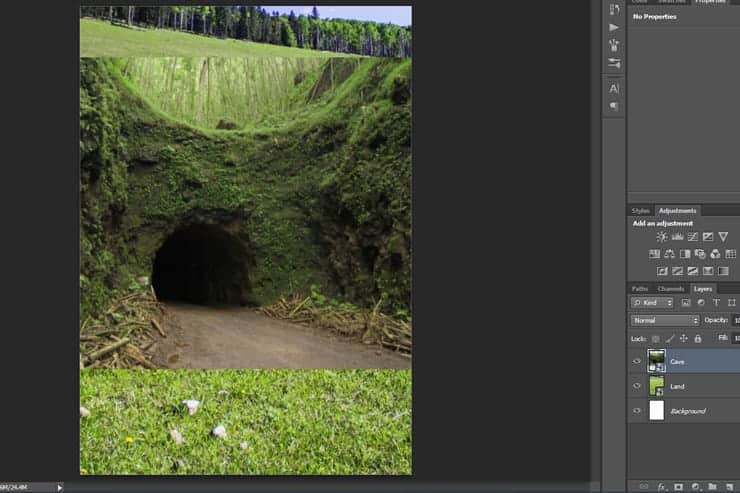
Now, Place Land Stock and name it “Land” As it shown.

Step 3
Place Cave Stock as it shown and name it “Cave”.
Step 4
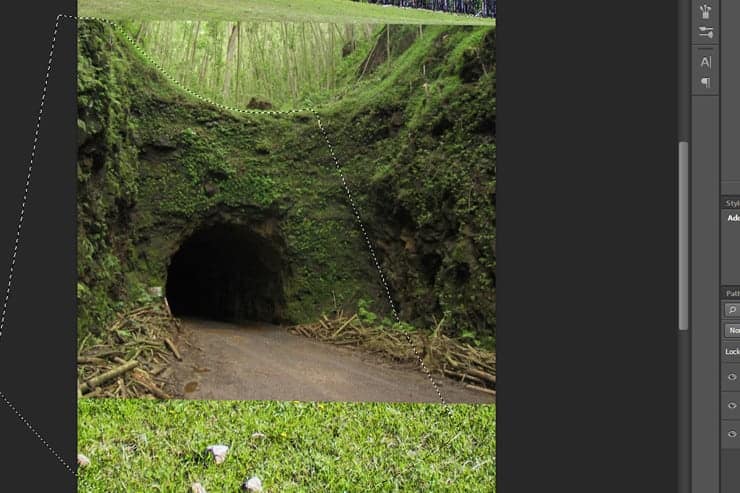
Use Pen Tool make path around the cave as it shown.

Step 5
After Finish the path press right click and choose Make Selection and make Feather Radius 0.9 pixels as it shown.

Step 6
Now you made selection around cave as it shown.
Step 7
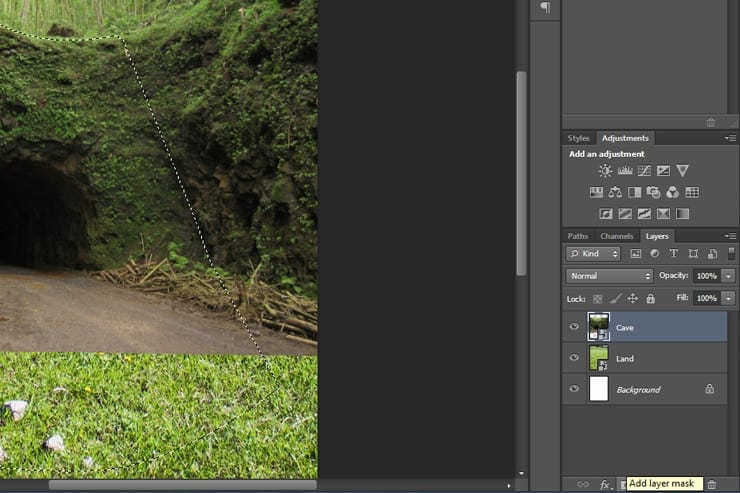
Click on “Add Layer Mask” Or Go to Layer > Layer Mask > Reveal Selection.
Step 8
Now You made the area inside the selection visible(white area in the mask) and the rest of area invisible(black area in the mask) as it shown.

Step 9
On the mask layer, use soft brush with (size : 145 px / hardness 50%) as it shown.

Step 10
Now make sure you are using Black color then, paint on the area which front of cave as it shown.

Step 11
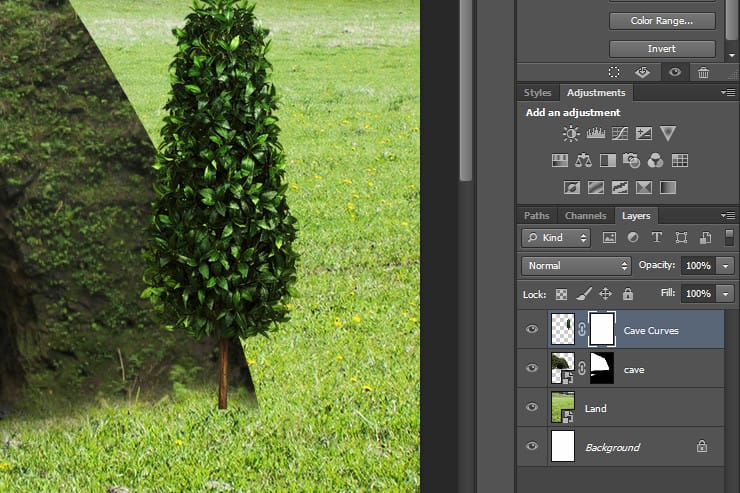
Open Trees File and use this one.

Step 12
Take this tree to Design file and name it Cave Curves as it shown, then Add Layer Mask to it.
Step 13
Now Transform the layer to adjust the Cave, then use Soft Brush with black color and paint in Layer Mask.

Step 14
Repeat it Around the cave as it shown ,then put them in Group and Name it Cave’s Grass.

Step 15
Use Same technique With others trees around Cave to get it like that.

Step 16
Now Add Layer Mask To “land” Layer.

Step 17
Use black Brush and Paint the are behind the cave as it shown(paint in Layer Mask).

Step 18
Place “River” stock between “Land” layer and “Cave” layer as it shown.

Step 19
Add Layer Mask To “River” layer as it shown.

Step 20
Use black Brush and Paint the are behind the cave as it shown(paint in Layer Mask).

Step 21
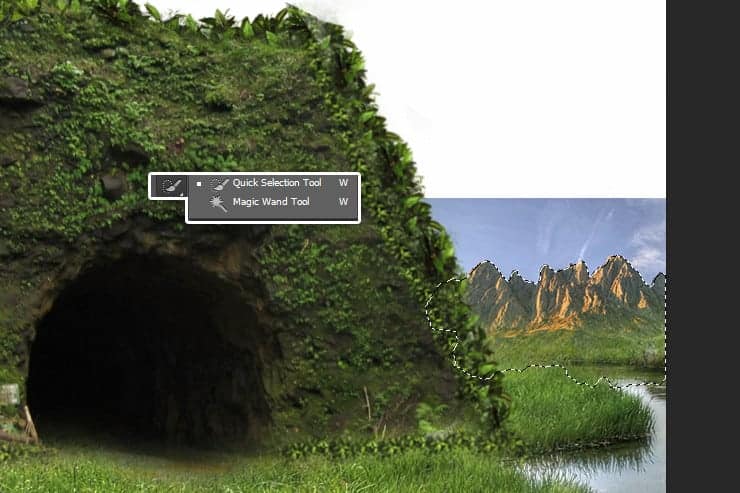
Place “Mountain” file and transform it as it shown.

Step 22
Using Quick Selection Tool Make Selection around “Mountains”
Step 22
Using Quick Selection Tool Make Selection around “Mountains”
Step 23
Now Add Layer Mask to “Mountains” Layer and that what you get.
9 responses to “Create a Hungry Bear Composite in Photoshop”
-

This would be a really cool tutorial if it had the image steps
-
No images steps.
-
asw creative work
-
really…shadows from bear an the lights on bear doesnt fit for me
-
The lighting was fantastic…
nice… -
Is it possible to have source file/ psd because many source images are not available any more?
-
I also can’t find the images
-
Nima
-
no have Bridge Stock.
Leave a Reply