Learn how to create this eerie abstract photo manipulation called “The Pain”. You’ll learn how to combine different stock photos to create this scene then apply a cold color tone to it.
Preview of Final Results

The Pain Photoshop Tutorial
Tutorial Resources
- Grunge texture 1 – darkrose42-stock
- Grunge texture 2 – darkrose42-stock
- Model – Adobe Stock
- Dried blood splatter brushes – Photoshop Tutorials
- Glossy blood splatter brushes – Photoshop Tutorials
- Cobweb brushes – Obsidian Dawn
- Cobweb texture – Fantasystock
- Wire – Morguefile
- Bandage – Titelgestalten
Step 1
Create a new document with the size of 1333x1000px and fill it with white (or any sizes and any colors you like).

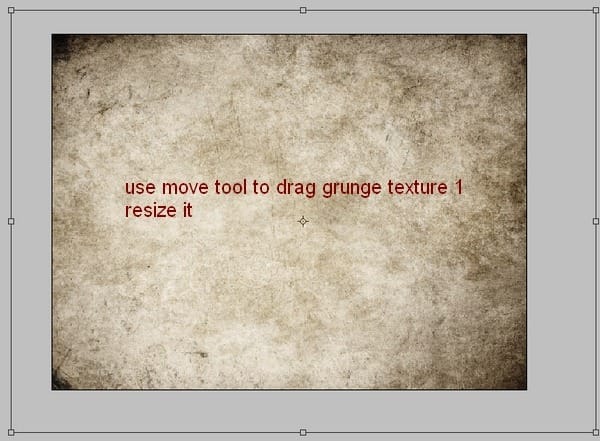
Open grunge texture 1 stock. Use Move Tool (press V to active it) and drag it into our main document, resize it as shown below:
Choose Edit-Transfrom-Flip Horizontal:
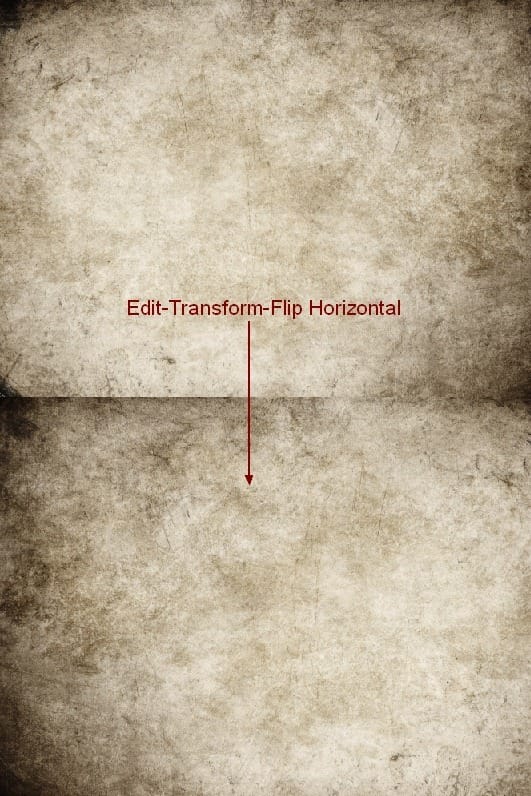
Then press Cmd/Ctrl+Shift+U to desaturate this texture. You’ll see it turns into black and white:

Step 2
Open grunge texture 2 stock. Drag it into our canvas and do the same technique in step 1 ( resize, transform, flip it). You may notice that I only use the center part of this texture for this tutorial:
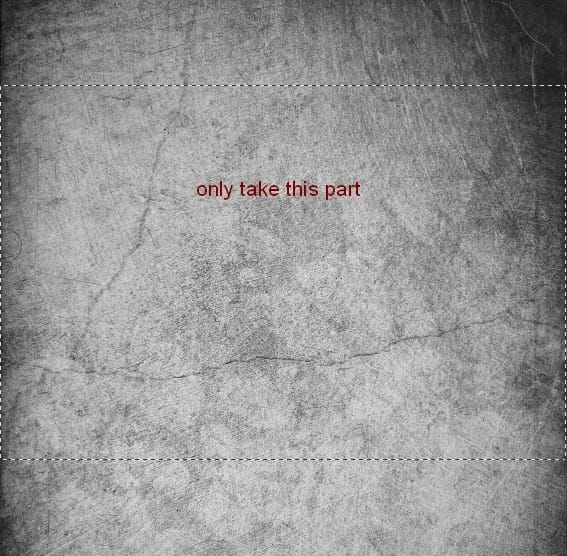
Change the mode of it to Multipy 50%:

Step 3
There is a part on background that I want to fix. It’s a carved circle on the right edge. Create a new layer ( hit Cmd/Ctrl+Shift+N to do it) and press S to active Clone Tool. I use this tool with settings below :
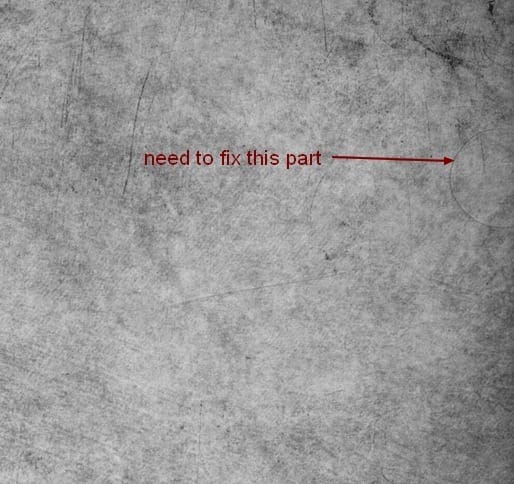

Hold the Alt key on the part of source then clone over this circle. If you’re not familiar with this tool you can follow many good tutorials over the web.
Here is my result:
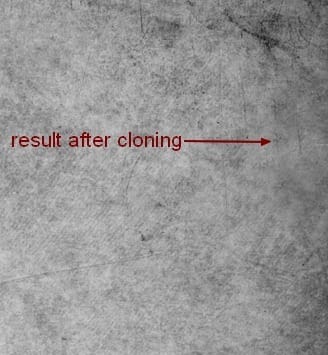
No need to be so cleaned with it as we’re working on grunge background!
After cloning this part becomes a bit blurred. Don’t worry, you just need to sharpen it. Go to Filter-Sharpen-Unsharp Mask:

Step 4
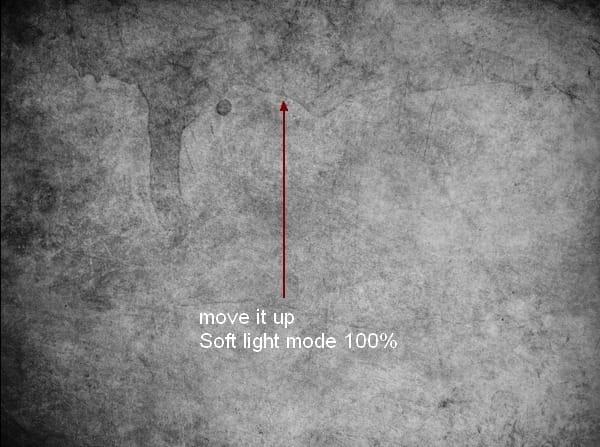
Now we’re going to add splatter effect for background. Create a new layer and set foreground color to black. Choose dried blood splatter you’ve downloaded and take one for your taste and draw on background. You can see my choice of brush:

Move it to the top of picture and change the mode to Soft light 100%. Depending on the boldness of brush you can vary opacity or even duplicate it to get the effect you want.
Step 5
Make a new layer and I use the first brush of brush pack to continue painting on the left side of background and I set the mode of it to Soft light 50%. Then I duplicate it and move it to the right.
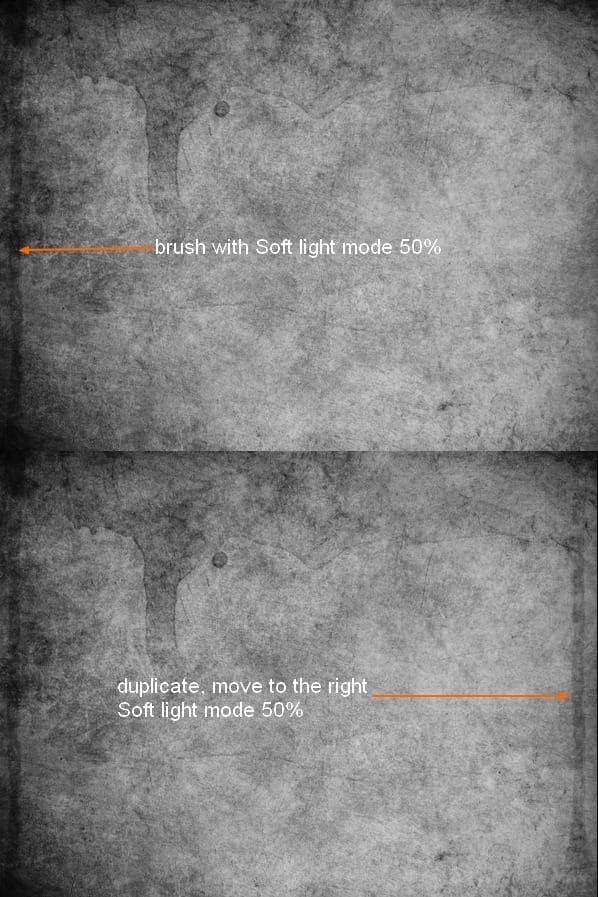
Continue with two layers ( or number of your choice) and draw some small splatters. I set one layer to Soft light 50% and another to 100%. You can add layer mask to erase any unecessary parts:
15 responses to ““The Pain” – Create this Eerie Abstract Photo Manipulation”
-
I think the instruction is pretty good however when I enter some of the values for the blood colors they don’t look like yours ….not sure if that is because I have an older version or what.
-
Which step are you not getting the right color for?
-
-
You can turn this artwork into a symbolism of the Hong Kong police force by putting the blood in one eye only.
-
Where is the pain? She looks pretty comfortable! lol
-
cool
-
Wonderful tutorial..Thanks for sharing.
-
your work is amazing …..well done xx
-
it was great.can you please send this instruction to my email.
-
cool!
-
yes girl.
-
wow what a great tut, thank you very much <3
-
Great tutorial, thank you very much :) Easy to follow and an awesome result! Cheers
-
Can’t download the model stock, please reupload it! Thanks for the tut!
-
i love it^^
-
excellent! better remove the earring and ring,redo the nails pure black

Leave a Reply