
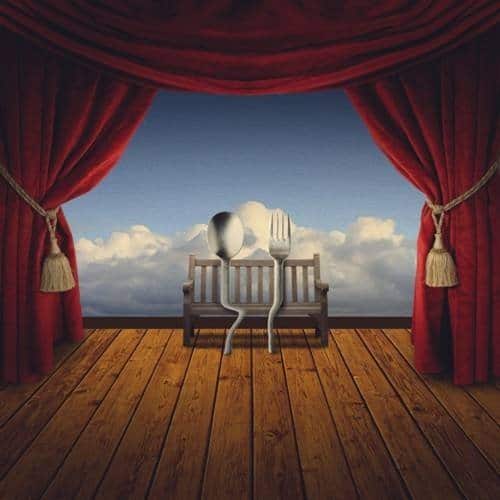

Learn how to create this stunningly surreal image of a pair of cutlery in theater-like room with red velvet curtains. This artwork was inspired by the works of Salvador Dali. This tutorial will show you how to create a hardwood floor, blue-sky backdrop, and more.
Preview of Final Results

Tutorial Resources
- Old Wood Texture – kovik
- Formby Dunes 8 – Tasastock
- Curtain 04 – LunaNYXstock
- Bench 1 – bean stock
- Cutlery – teambo
Step 1 Create a New Photoshop Image File
Now, let’s start by creating a new image file, go to the Menu bar and click , and then input the following values on their respective fields:
- Preset: Custom
- Width: 3000px
- Height: 3000px
- Resolution: 300pixels/inch
- Color Mode: RGB Color; 8 bit
- Background Contents: Transparent

Step 2 Create the Wooden Floor
In this step, we will be creating the wooden floor of our artwork. To start, let’s open “Old Wood Texture” by kovik. Once open, activate the Move tool by pressing V on your keyboard and then left-click on the wood texture while dragging it to our 3000×3000 pixel canvas.
Once that has been done, position it on the canvas as shown below:

Step 3
Next, we would need to resize the wood texture to properly play its part. First, activate the Transform tool by pressing Ctrl/Cmd + T, once this has been done, you’ll notice a series of squares surrounding the wood texture – that is the Transform tool.
Now, let’s resize the wood texture by following the instructions shown on the image below:

The result:

Step 4
Next, we will need to give the proper perspective for the floor. To do that, we would need the help of the Transform tool once again. Activate the Transform tool (Ctrl/Cmd + T) and then right click on the canvas to bring up the contextual menu. It should look like this:

Now, once activated, click on Perspective.

Let’s now fix the wood texture’s perspective!


Step 5
Next, we will now enhance the shadows on the wood texture. First let’s create a new layer above the wood texture by pressing Ctrl/Cmd + Shift + N. Once done, a box as shown below would appear:

Step 6
Now that we’ve also given this new layer a name, let us activate the Brush tool by pressing B. Before you proceed, make sure that the Brushes to be used are the default PS brushes. The default Photoshop brushes are shown on the image below, if that’s not what you see, then follow the instructions below:

Right click the canvas while a layer is selected and while the Brush tool (B) is activated and then click on the button highlighted below:


